
To master seamless color progressions in gradient and ombré nails, start by choosing complementary shades or colors on the same hue spectrum. Use tools like sponges for a soft blend or small brushes for precise control, applying layers gradually and blending thoroughly. Practice different techniques and experiment with color combinations to improve your skills. With patience and consistent effort, you’ll create stunning, professional-looking ombré designs—keep exploring to uncover even more tips and tricks for perfecting your style.
Key Takeaways
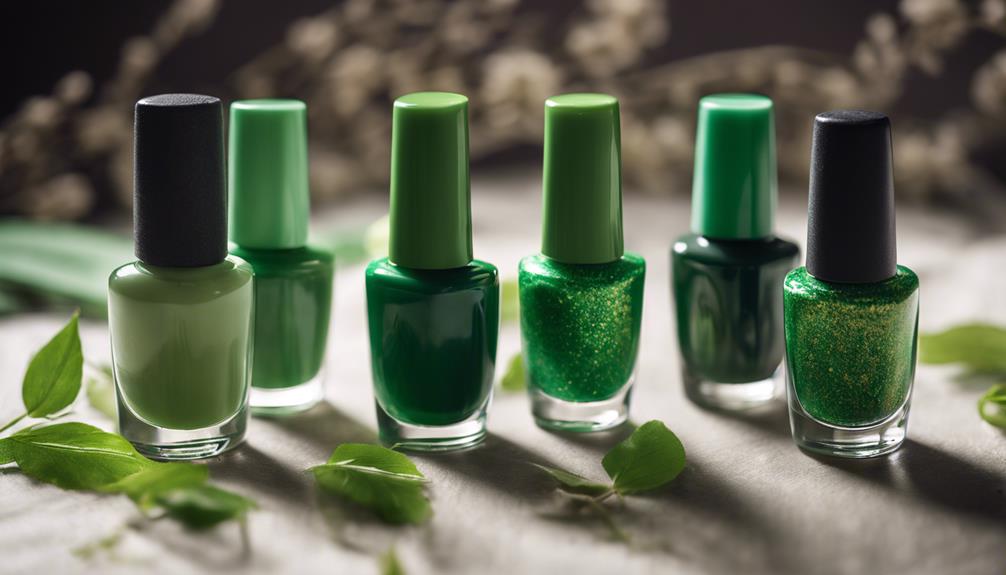
- Choose harmonious shades within the same hue spectrum for smoother, natural transitions in gradient and ombré nail designs.
- Use a sponge technique: dab overlapping colors onto nails gradually to create seamless blends.
- Employ fine brushes to gently blend color boundaries, ensuring a polished and professional gradient look.
- Apply base coats and layer colors carefully, using small dots or streaks for precise, controlled ombré effects.
- Practice patience and experiment with tools and color combinations to perfect your blending skills and achieve flawless transitions.
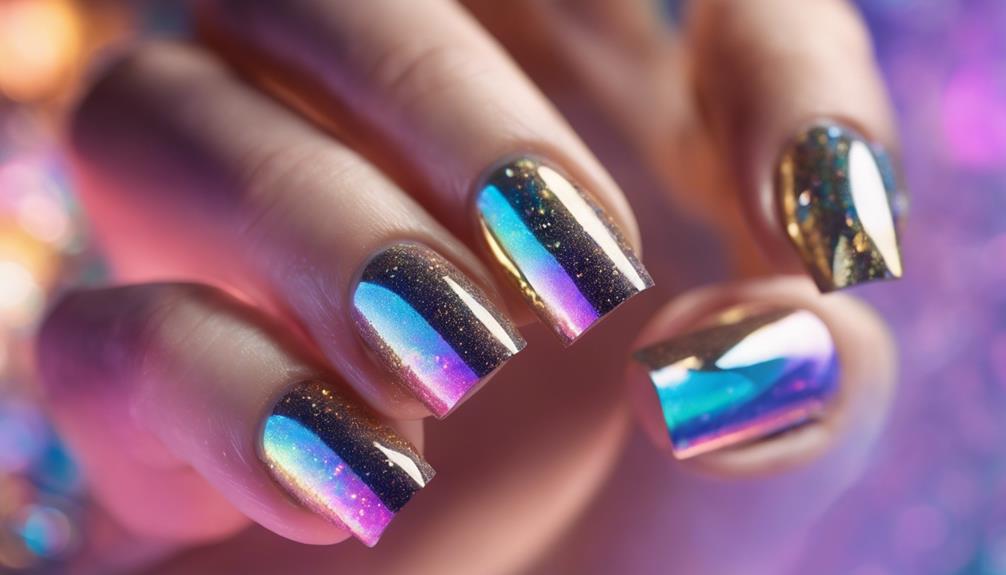
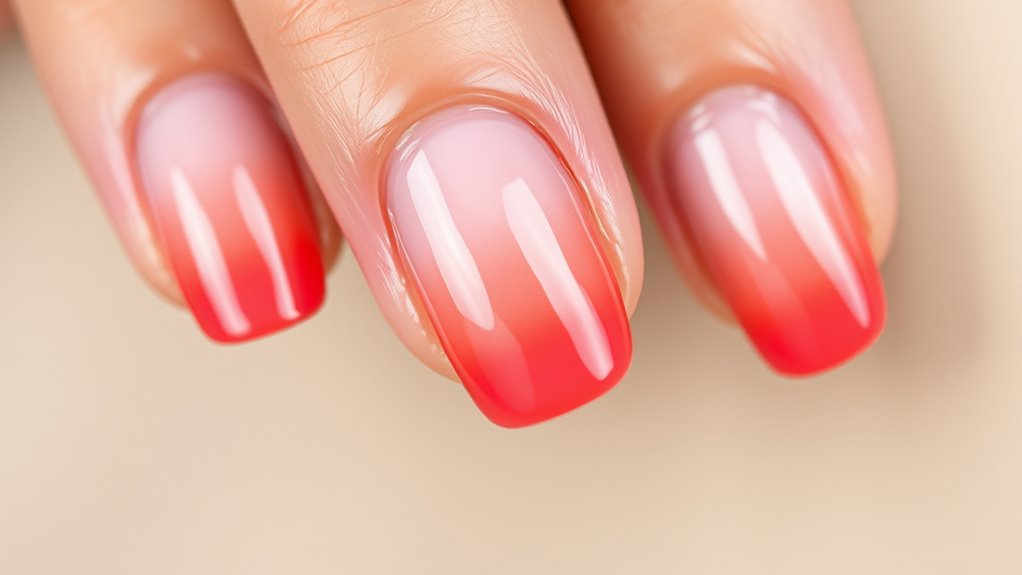
Have you ever wondered how to create a seamless progression of colors on your nails? Achieving a flawless gradient or ombré effect might seem tricky at first, but with the right techniques, you can master beautiful color transitions that look professional and polished. The key lies in understanding effective color blending and design techniques. When you start, pick two or three shades that naturally flow into each other—think of colors on the same hue spectrum or complementary shades. This foundation makes blending smoother and results in a more natural transition.
One of the simplest ways to get started is by using a sponge. After applying your base color and letting it dry, dab a small amount of your chosen shades onto a makeup sponge, slightly overlapping each color. Lightly press the sponge onto your nails, working from the tip downward or upward, depending on your desired gradient direction. This technique transfers a soft, gradual blend of colors, creating that seamless ombré look. To enhance the effect, repeat the sponging process a few times, building up the color intensity gradually. Remember to clean the sponge between uses to avoid muddying the colors.
Dab sponge onto nails for a soft, seamless ombré; repeat to deepen color, and clean sponge between uses.
For more precise control, you can also use a fan brush or an angled brush to blend the shades directly on the nail. Apply the different colors side by side and gently brush back and forth along the line where they meet. This allows you to create a smooth transition and fine-tune the blend. If the colors start to streak or look uneven, a small dot of clear topcoat can help blend harsh lines and smooth out the transition.
Another effective design technique is to work with gel polish and a small brush. After applying your base coat and curing it, add small dots or streaks of your second color along the edge of your first layer. Quickly use a clean brush to gently drag the color into the base, creating a gradient in real-time. This method gives you more control and precision, especially if you prefer a more detailed or intricate ombré design. Additionally, understanding color blending techniques can significantly improve your results and help you achieve more professional-looking nails.
No matter which method you choose, patience is essential. Take your time to build the colors gradually and blend thoroughly. Practice makes perfect, and experimenting with different color combinations and blending tools will help you develop your signature style. With these design techniques, you can confidently create stunning gradient and ombré nails that showcase your creativity and skill in color blending.
Frequently Asked Questions
What Tools Are Best for Creating Seamless Color Transitions?
To create seamless color progressions, you should use a fan brush or a small, flat brush. These tools excel at blending colors smoothly through brush techniques, allowing for gradual shifts between shades. Focus on soft, overlapping strokes and gentle color blending to achieve a flawless ombré effect. The key is patience and light application, ensuring each layer blends seamlessly into the next for a professional gradient look.
How Long Do Gradient and Ombré Nails Typically Last?
Ever wondered how long your stunning gradient or ombré nails will last? Typically, they stay beautiful for about 1-3 weeks, depending on your nail longevity and maintenance tips. To keep them looking fresh, avoid harsh chemicals, wear gloves when doing chores, and apply top coats regularly. Proper care guarantees your flawless color transitions remain vibrant longer, making your manicure a lasting statement of style.
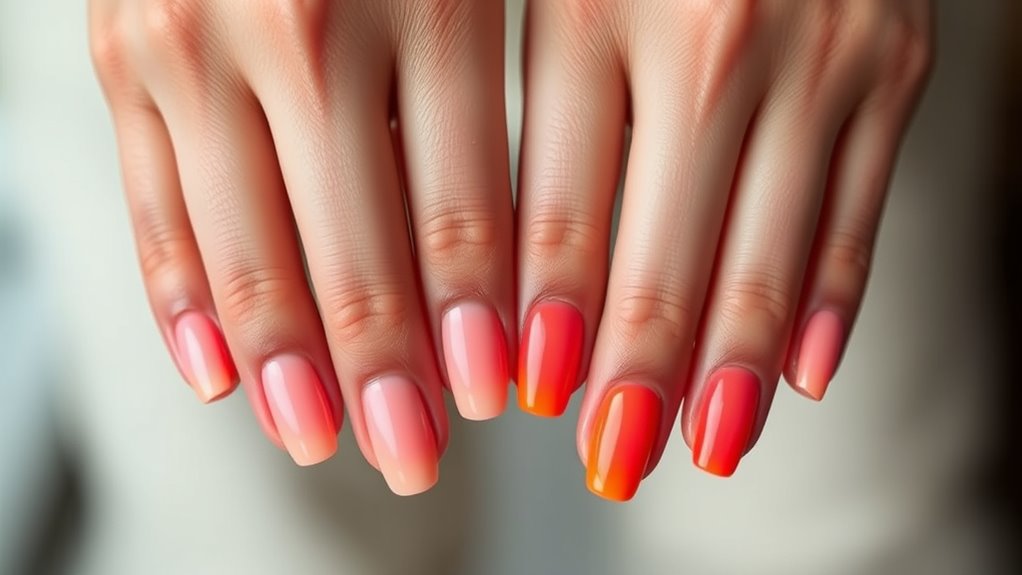
Can These Techniques Be Customized With Different Color Schemes?
Yes, you can customize gradient and ombré nails with different color schemes. You have plenty of options for custom color choices, allowing you to create personalized designs that match your style or mood. Whether you prefer vibrant, subtle, or pastel shades, a skilled nail artist can blend these colors seamlessly. This customization guarantees your nails are truly unique, reflecting your personality and making your manicure stand out.
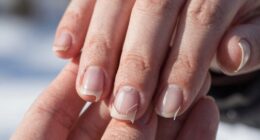
Are There Any Specific Nail Shapes That Suit These Styles Better?
A picture is worth a thousand words, so choose nail shapes that highlight your style. Oval, almond, and stiletto shapes suit gradient and ombré nails best because they enhance the smooth color transitions. Nail shape compatibility and design versatility go hand in hand, allowing you to experiment confidently. You’ll find that these shapes make your color blends pop, creating a stunning, eye-catching look that’s perfect for any occasion.
How Do I Fix Uneven or Blotchy Gradient Nails at Home?
To fix uneven or blotchy gradient nails at home, start with custom blending by blending the colors smoothly using a sponge. If you notice color inconsistencies, apply a thin layer of clear polish and gently dab to even out the gradient. For persistent blotchiness, use color correction techniques by layering lighter shades over darker spots. Practice patience, and with time, your progressions will become seamless and professional-looking.
Conclusion
Now that you’ve mastered the art of gradient and ombré nails, your fingertips are a canvas of seamless color shifts, like a sunrise melting into the sky. With each gentle blend, you create a dance of shades that whisper elegance and creativity. Let your nails be a vibrant symphony of hues, flowing effortlessly from one tone to the next. Embrace this skill, and watch your style bloom with every flawless, breathtaking transition you craft.