
To achieve a cleaner at-home manicure finish, start by thoroughly removing old polish and pushing back cuticles using oil or warm water. Shape your nails smoothly with a file, then clean and dry your nails before applying a base coat. Use thin coats of color and let each dry fully. Finish with a high-quality top coat and clean around the edges with a small brush dipped in polish remover. Keep practicing and you’ll see your manicure stay flawless longer.

Get beauty and skincare favorites delivered free with Prime
- Fast, free delivery on millions of items
- Prime Video, Amazon Music and more included
- Member-only deals all year
Key Takeaways
- Use a fine brush dipped in remover to clean around nails for sharp, neat edges.
- Apply thin, even coats of polish and let each layer dry completely before the next.
- Push back cuticles gently and avoid cutting to create a clean nail edge.
- Finish with a high-quality top coat for a glossy, smudge-proof seal.
- Keep nails moisturized and free of oils before application for smoother, longer-lasting results.
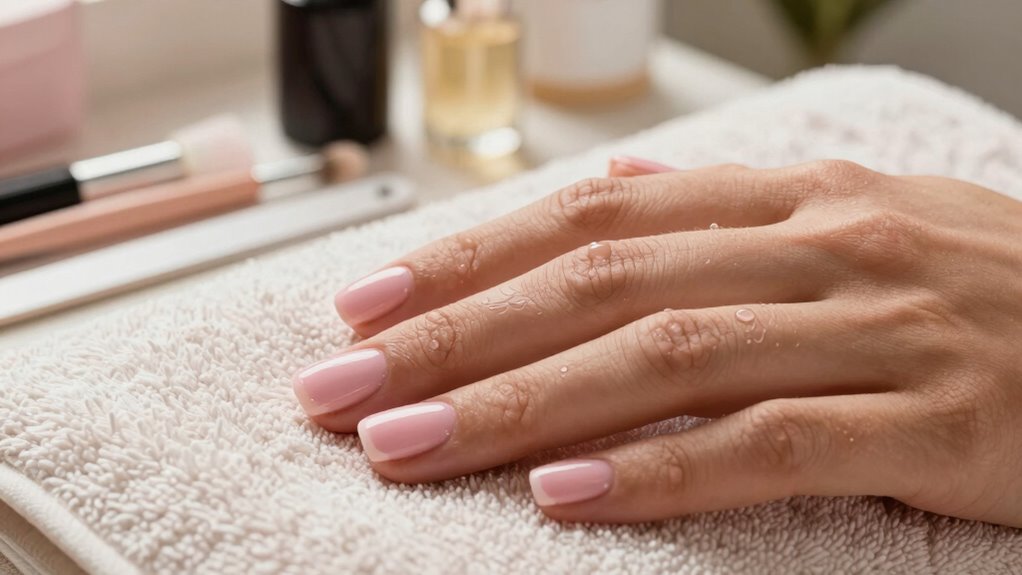
Getting a professional-looking at-home manicure doesn’t have to be complicated if you follow a few simple steps. The key to a clean, polished finish lies in preparation, attention to detail, and patience. Starting with nail polish removal, make sure you remove any old polish thoroughly. Use a gentle, acetone-based remover and cotton balls or pads, carefully wiping each nail until it’s completely free of residue. This step guarantees that your new polish adheres smoothly and helps prevent uneven lines or bubbling. Once your nails are clean, it’s time to focus on cuticle care.
Start your at-home manicure with thorough polish removal for a smooth, flawless finish.
Proper cuticle care is essential for a neat, tidy manicure. Gently push back your cuticles with a cuticle stick or orangewood stick after softening them with cuticle oil or warm, soapy water. Avoid cutting your cuticles; instead, pushing them back creates a clean edge and prevents overgrowth that can interfere with polish application. After pushing back, use a cuticle remover if needed, but don’t overdo it—this keeps your nails looking healthy and prevents damage. Once your cuticles are managed, give your nails a quick buff with a fine-grit buffer to smooth out ridges and create a uniform surface for polish.
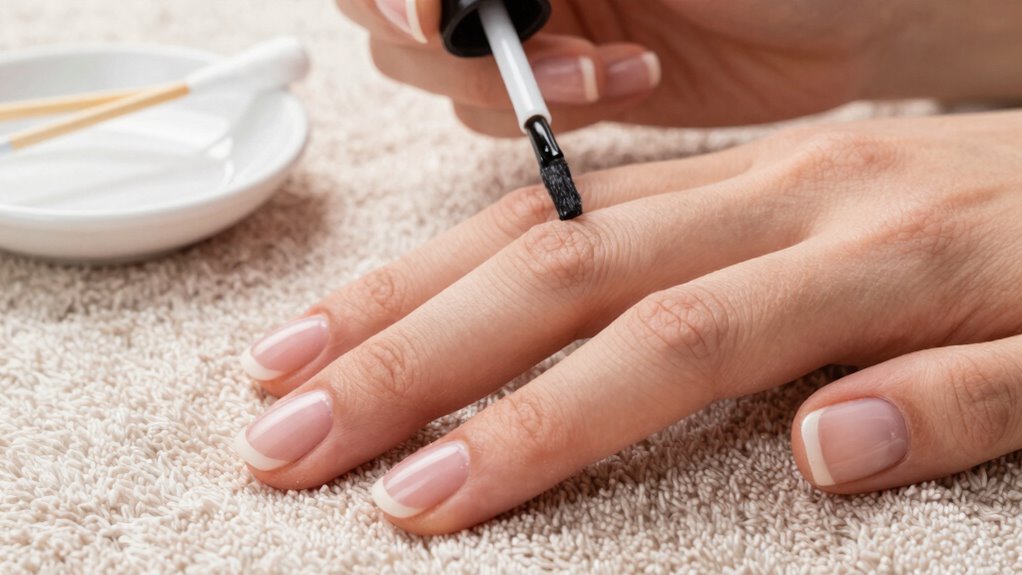
Next, shape your nails with a nail file, moving in one direction to avoid splitting. Choose a shape that suits your style—squares, rounds, or almonds—and file each nail consistently. After shaping, wash your hands to remove any dust and oils, then dry thoroughly. Applying a thin layer of base coat is fundamental; it not only helps the polish glide on smoothly but also protects your nails from staining and extends the wear of your manicure. Take your time to apply the base coat evenly, covering the entire nail surface without flooding the cuticles. Additionally, nail health can be maintained by ensuring your nails are well-moisturized and free of damage before applying polish, which contributes to a cleaner, longer-lasting finish. Using a proper nail prep routine can further enhance the adhesion and durability of your manicure. Incorporating quality tools such as fine brushes and buffers can make a significant difference in achieving a professional look. Moreover, choosing high-quality polish can help prevent chipping and ensure a smoother application.
For an even better finish, consider applying a thin layer of top coat rather than a thick one, as this helps the polish cure faster and prevents smudging. When applying your colored nail polish, use thin coats to prevent streaks and bubbles. Let each layer dry completely before adding the next, which reduces smudging and uneven finishes. Finish with a high-quality top coat, applied swiftly and evenly across the entire nail. This seals in the color, adds shine, and helps your manicure last longer. After the top coat has dried, clean up any excess polish around your nails using a small brush dipped in nail polish remover—this step is vital for a sharp, professional look. With these simple steps, your at-home manicure will look cleaner, more polished, and professionally finished.
As an affiliate, we earn on qualifying purchases.
Frequently Asked Questions
How Often Should I Redo My At-Home Manicure for Best Results?
You should redo your at-home manicure every 5 to 7 days for best nail care and polish longevity. Regular touch-ups help prevent chips and maintain a fresh look. Keep your nails clean, moisturized, and avoid harsh chemicals to extend the life of your manicure. When you notice chips or dullness, it’s time for a quick refresh. Consistent upkeep ensures your nails stay healthy and your polish stays beautiful longer.
Can I Use Regular Nail Polish Remover for Touch-Ups?
You can use regular nail polish remover for touch-ups, but it might affect your nail polish longevity if used excessively. To maintain a clean look, opt for gentle removal techniques, like soaking a cotton ball and pressing it on your nail for a few seconds. This minimizes damage and helps keep your manicure fresh. Be careful not to overuse remover, as it can dry out your nails and weaken your polish.
What’s the Best Way to Prevent Smudging After a Manicure?
To prevent smudging after your manicure, start with proper nail prep by cleaning and drying your nails thoroughly. Once your polish dries, apply a quick-dry top coat to seal in color and add durability. Imagine you’re rushing out the door; the top coat acts as a protective barrier, minimizing smudges and dents. Be patient, and wait a few minutes before using your hands to make sure a long-lasting, smudge-free finish.
How Do I Fix Uneven or Bumpy Nail Polish?
To fix uneven or bumpy nail polish, start by gently buffing the bumps with a fine nail buffer to smooth the surface. Then, guarantee your nail polish consistency is not too thick or thin; if needed, thin it out slightly. Apply a thin, even layer of topcoat to seal the surface and hide imperfections. Finish with a second topcoat for a smooth, glossy finish that lasts longer.
Are There Specific Tools Recommended for a Professional-Looking Finish?
You should use specific tools for a professional-looking finish, like cuticle tools to clean and prep your nails, and a nail buffer to smooth the surface. These tools help create a clean, even base for polish and eliminate bumps or ridges. Gently push back cuticles with the cuticle tool, then buff your nails to a shine. Using these tools consistently guarantees your at-home manicure looks polished and salon-quality.
Conclusion
With a little patience and attention to detail, you can achieve a beautifully polished look right at home. Remember, perfection isn’t about flawlessness but about feeling confident and comfortable with your nails. Embrace the process, enjoy the small victories, and don’t be too hard on yourself if things aren’t perfect. After all, a gentle touch and a positive attitude are the secret ingredients to a truly elegant manicure finish that’s uniquely yours.
Columbus Day / Indigenous Peoples' Day Picks
long weekend sales
As an affiliate, we earn on qualifying purchases.