
Creating your own nail charms is a fun way to personalize your manicure and make it stand out. You can choose from materials like polymer clay, resin, metal, or acrylic to craft unique designs that match your style and mood. Techniques like layering, marbling, and stamping add texture and depth to your charms. With some practice and creativity, you’ll develop a signature look. Keep exploring to discover even more tips and ideas for customizing your nails perfectly.
Key Takeaways
- Use versatile materials like polymer clay or resin to craft personalized and unique nail charms.
- Experiment with techniques such as layering, marbling, and stamping to add depth and detail to your designs.
- Attach charms securely with strong nail glue, ensuring nails are clean and dry for better adhesion.
- Combine different materials and techniques to create customized accessories that match your style and mood.
- Practice regularly to refine your skills and develop a signature look with eye-catching, one-of-a-kind nail art.
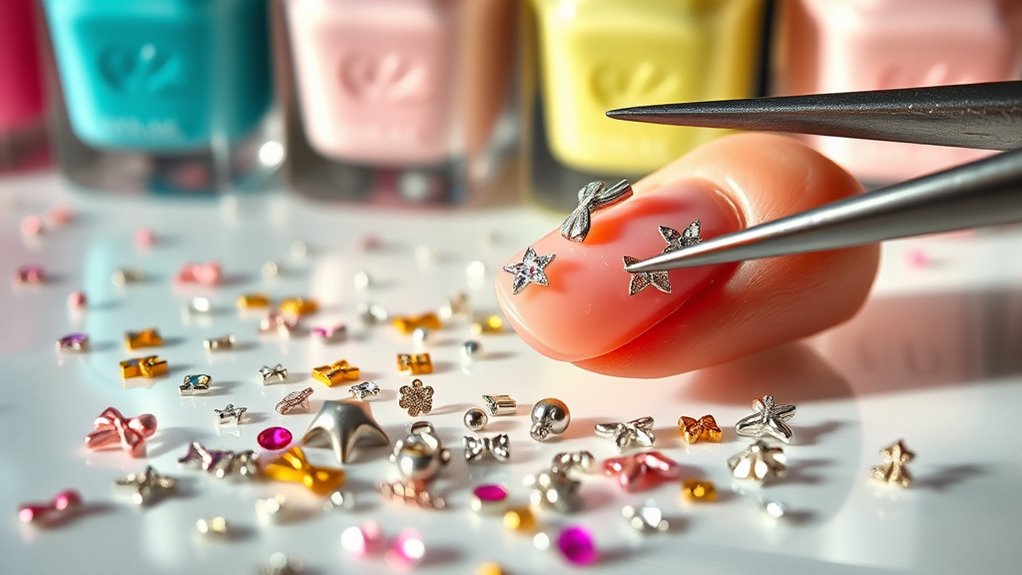
Creating your own nail charms is a fun and cost-effective way to personalize your manicure. When you immerse yourself in making your own charms, you open up a world of creative possibilities, allowing you to craft designs that perfectly match your style and mood. The key to successful DIY nail charms lies in understanding various nail art techniques and choosing the right charm material options. These elements work together to help you produce unique, eye-catching accessories that elevate your nail game.
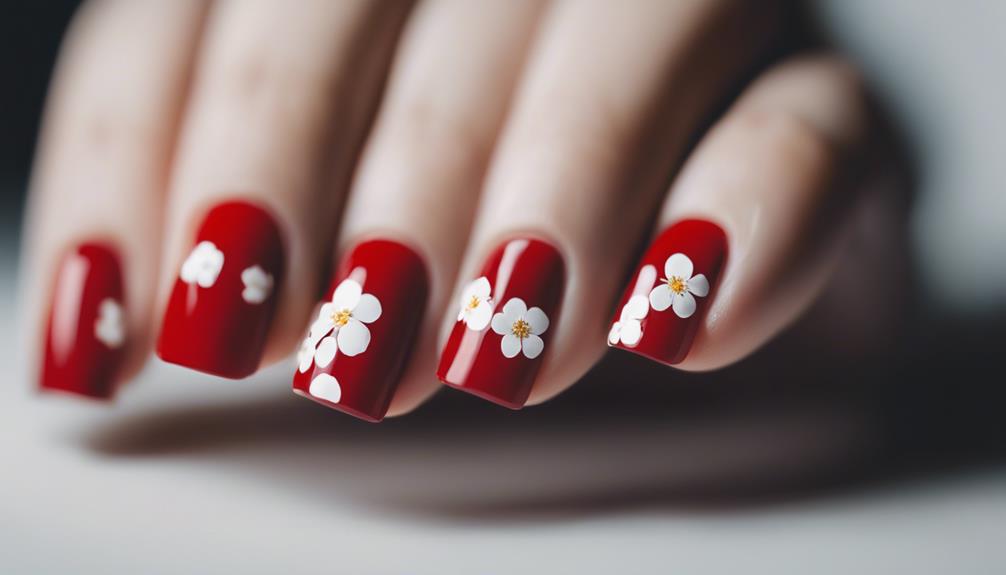
Start by exploring different nail art techniques to elevate your charm-making process. Techniques like layering, marbling, and stamping give you a variety of ways to add depth and detail to your designs. For example, layering different colors of acrylic or gel can create a textured, multi-dimensional look, while marbling allows you to blend shades seamlessly for a more artistic effect. Stamping, on the other hand, provides intricate patterns that can be transferred onto your charms for an ornate finish. Mastering these techniques guarantees your charms aren’t just cute but also professionally finished, giving your manicure a polished, deliberate appearance.
Explore layering, marbling, and stamping techniques to add depth and professional flair to your nail charms.
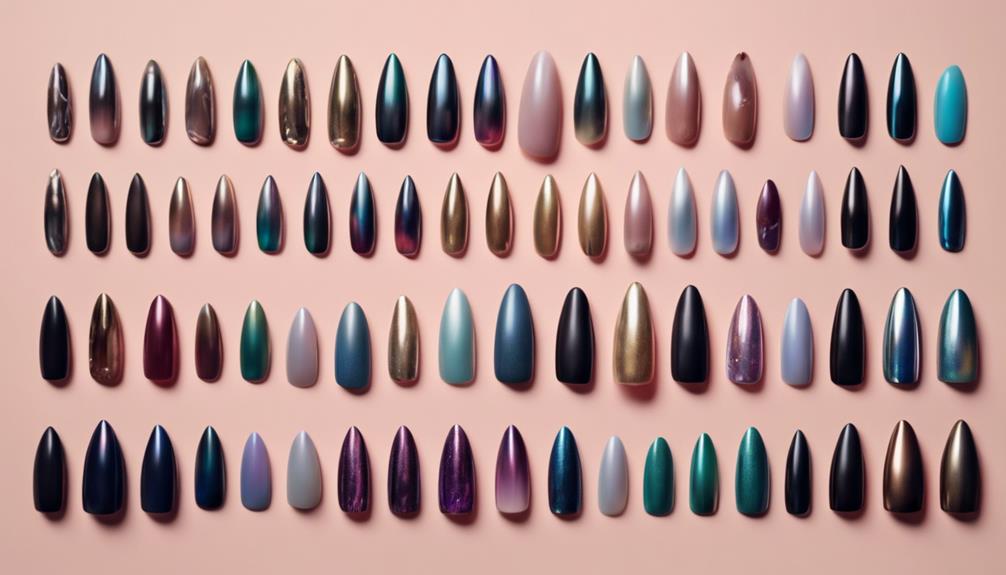
Next, consider the charm material options available to you. The most common choices include polymer clay, resin, metal, and acrylic. Polymer clay is highly versatile—you can mold it into any shape, bake it to harden, and then paint or embellish it further. Resin charms are durable and can be embedded with tiny objects like glitter or dried flowers for added flair. Metal charms offer a sleek, shiny look and come in various shapes, perfect for a more minimalist or edgy style. Acrylic charms are lightweight and easy to work with, making them ideal for beginners. The material you select impacts not only the look but also the durability and ease of customization, so choose based on your skill level and the style you want to achieve.
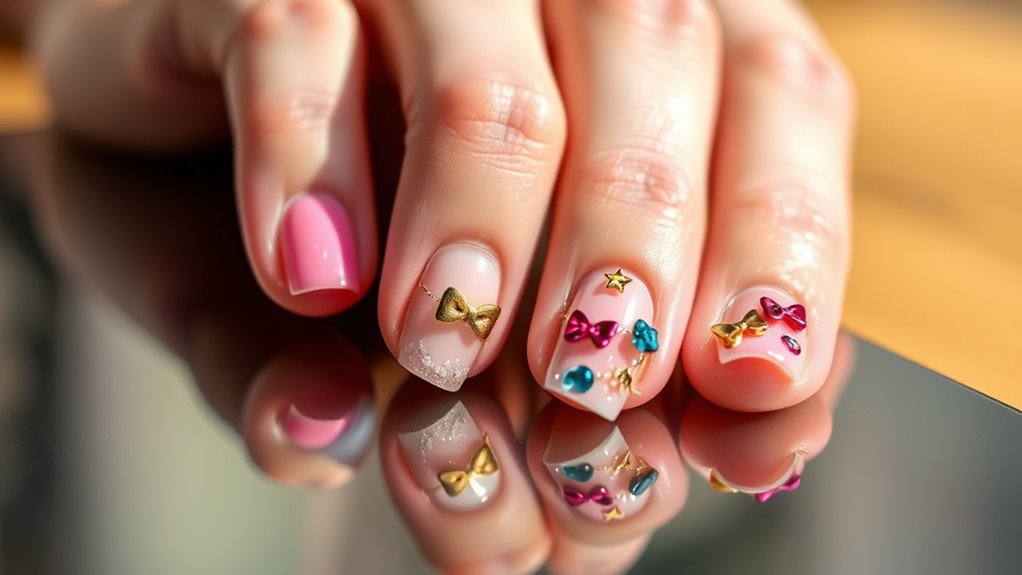
Once you’ve grasped these basics, you can experiment with combining different techniques and materials. For instance, you might sculpt small charms from polymer clay, then paint or embellish them with metallic accents. Resin pieces can be cast into fun shapes or embedded with decorative elements, making each piece truly one-of-a-kind. When attaching your charms, use strong, clear nail glue, and ensure your nails are clean and dry beforehand to prevent any mishaps. Additionally, exploring various nail art techniques can help you refine your skills and create more intricate designs. With patience and practice, you’ll develop your own signature style, turning simple materials into stunning, personalized jewelry for your nails.
Ultimately, creating your own nail charms allows you to express your personality and creativity in a way store-bought designs can’t match. By understanding various nail art techniques and selecting the right charm material options, you can craft accessories that are not only beautiful but also meaningful. This DIY approach transforms your manicure into a fun, satisfying project that results in a truly unique look every time.

Teenitor Acrylic Nail Kit With Chrome Powder, Almond Tips, Art Brushes, Charms, 3D Gel, Tools, Stand – Beginner Set
Great Nail Art Kit Contains All: You will get 300pcs Half Matte Almond False Nail Tips, 2 sets…
As an affiliate, we earn on qualifying purchases.
As an affiliate, we earn on qualifying purchases.
Frequently Asked Questions
How Long Do DIY Nail Charms Last?
DIY nail charms typically last about one to two weeks, depending on your nail art trends and charm placement techniques. If you use quality adhesive and avoid activities that cause excess wear, your charms stay secure longer. Proper prep and careful placement help prevent lifting or falling off. Keep your nails moisturized and avoid harsh chemicals for extended charm durability, ensuring your trendy look stays fresh and eye-catching.
Can I Reuse Nail Charms After Removal?
Yes, you can reuse nail charms after removal. To do so, start with charm sterilization to guarantee they’re clean and safe. Use simple recycling techniques like soaking in rubbing alcohol or boiling them briefly to eliminate any residue. Once sterilized and dried, you can store your charms for future use, saving money and reducing waste. Just make sure to handle them carefully to prevent damage during removal and cleaning.
Are DIY Nail Charms Safe for Sensitive Skin?
Sensitive skin should stay safe with DIY nail charms if you select hypoallergenic materials. These gentle, skin-friendly charms reduce the risk of skin irritation and allergic reactions. Always check labels and choose charms made from safe, non-toxic substances. Before applying, do a patch test to guarantee your skin reacts positively. With careful selection and caution, you can enjoy creative, colorful nail charms without worry about irritation or discomfort.
What Tools Are Necessary for Making Nail Charms?
To make nail charms, you’ll need basic crafting supplies like small pliers, tweezers, and a fine nail art brush. Nail art scissors can help cut tiny embellishments, while a nail glue or topcoat secures your charms. You might also want a UV lamp if you’re working with gel adhesives. These tools make crafting easier, allowing you to create unique, personalized nail art that truly stands out.
How Do I Prevent Nail Charms From Falling Off?
To prevent nail charms from falling off, choose the right adhesive, like gel or strong nail glue, which provides better charm durability. Make sure to apply the adhesive evenly and press the charm gently onto your nail, holding it in place for a few seconds. Avoid exposing your nails to water or harsh chemicals for a few hours after application. Proper adhesion and care keep your charms securely in place longer.

EHOPE 17500Pcs Polymer Fruit Slices Fruit Nail Art Slice 3D Polymer Slices Polymer Clay Slice Colorful Making Supplies for DIY Crafts Nail Art, and Cellphone Decorations(28 Styles)
🍍FRUIT NAIL ART SLICES SET -28 kinds nail art slices in 28grid plastic storage box, About 625 pieces…
As an affiliate, we earn on qualifying purchases.
As an affiliate, we earn on qualifying purchases.
Conclusion
Now that you’ve learned how to create your own nail charms, you can truly make your look one of a kind. Just like a modern-day Marie Antoinette, you’re blending creativity with a dash of flair. Don’t be afraid to experiment and let your personality shine through your nails. With a little patience and some imagination, you’ll be turning heads faster than you can say “Avast, me hearties!” So go ahead, craft your perfect, personalized manicure today!

3D Bow Silicone Nail Molds, Cute Bow Nail Art Sculpture Mold for Resin Epoxy, DIY Nail Charms Templates Reusable Nail Carving Stencils Manicure Decoration Tools Accessories
Romantic 3D Bow & Ribbon Patterns: This elegant nail art mold includes delicate bows, ribbons — perfect for…
As an affiliate, we earn on qualifying purchases.
As an affiliate, we earn on qualifying purchases.
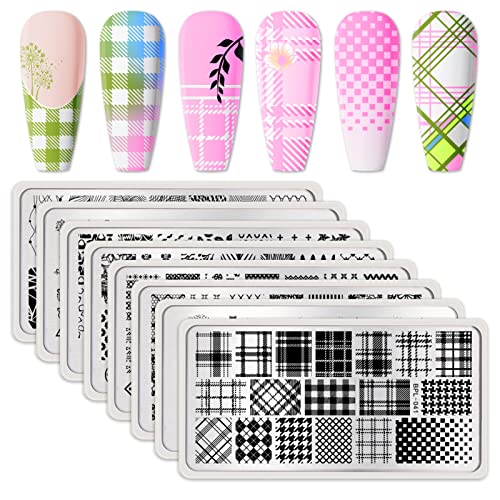
Born Pretty Nail Stamping Plates Set Plaid Flowers Leaves Lace Nail Art Image Plates Spring into Winter Stamp Templates Kit Image Manicuring DIY Printing Tools 8PCS
PACKAGE CONTENTS:8Pcs stamping plates,plaid lace flower leaves snowflake Christmas patterns.
As an affiliate, we earn on qualifying purchases.
As an affiliate, we earn on qualifying purchases.