
Starting small with 3D nail art lets you build confidence without feeling overwhelmed. Focus on simple techniques like dots, basic flowers, and adding embellishments to develop your skills gradually. Use quality tools, choose complementary colors, and practice regularly for better control and precision. Protect your nails with proper care to make your designs last longer. Keep practicing your new skills, and you’ll find it easier to progress to more complex styles—more tips will help you succeed.
Key Takeaways
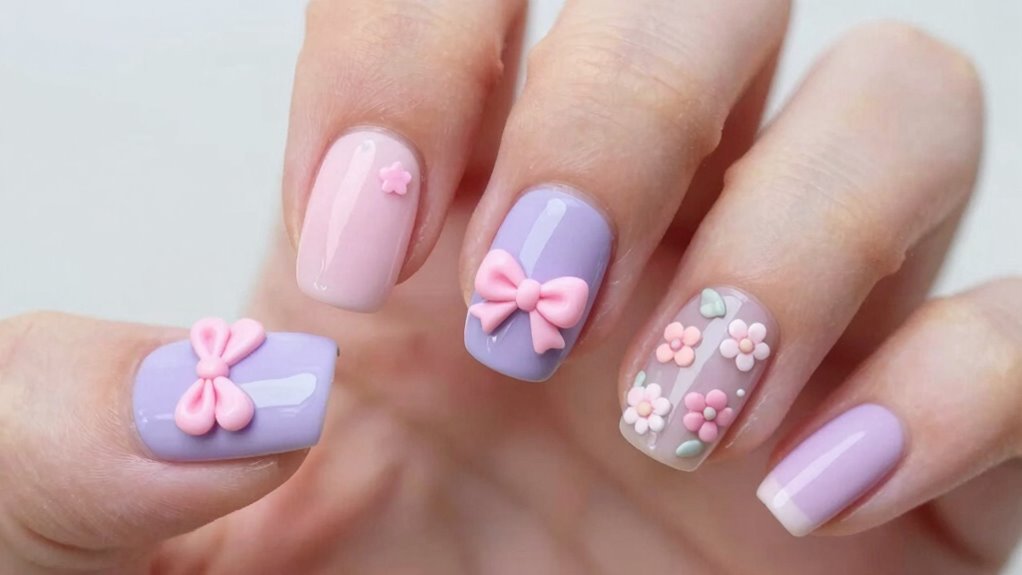
- Begin with simple 3D designs like tiny flowers or bows to build confidence and ensure a professional look.
- Use quality tools such as dotting tools and small brushes for precise, clean 3D details.
- Practice layering and securing embellishments properly to achieve a polished, salon-quality appearance.
- Incorporate harmonious color combinations and minimal elements to keep designs elegant and manageable.
- Focus on proper nail care and gentle handling to maintain the integrity and longevity of your 3D nail art.
Why Should Beginners Start Small With 3D Nail Art? Benefits Explained

Starting small with 3D nail art is essential because it helps you build confidence and avoid feeling overwhelmed. When you begin with simple designs, you can focus on mastering basic techniques without getting discouraged. Understanding nail art history shows that many intricate styles evolved from simple beginnings, emphasizing the importance of gradual progress. Additionally, applying color theory can enhance your designs, making even modest 3D accents pop with harmony and balance. Exploring European cloud innovation can inspire you to incorporate modern and sustainable themes into your nail art projects. Starting small allows you to experiment with different textures and colors, learning what works best for you. This approach not only builds your skills step-by-step but also guarantees you enjoy the process without frustration. Ultimately, mastering the basics sets a strong foundation for more complex and stunning 3D nail art creations. Natural pools and backyard landscaping can inspire creative themes and motivate you to incorporate unique elements into your nail art designs.
What Essential Tools and Materials Do You Need to Begin?
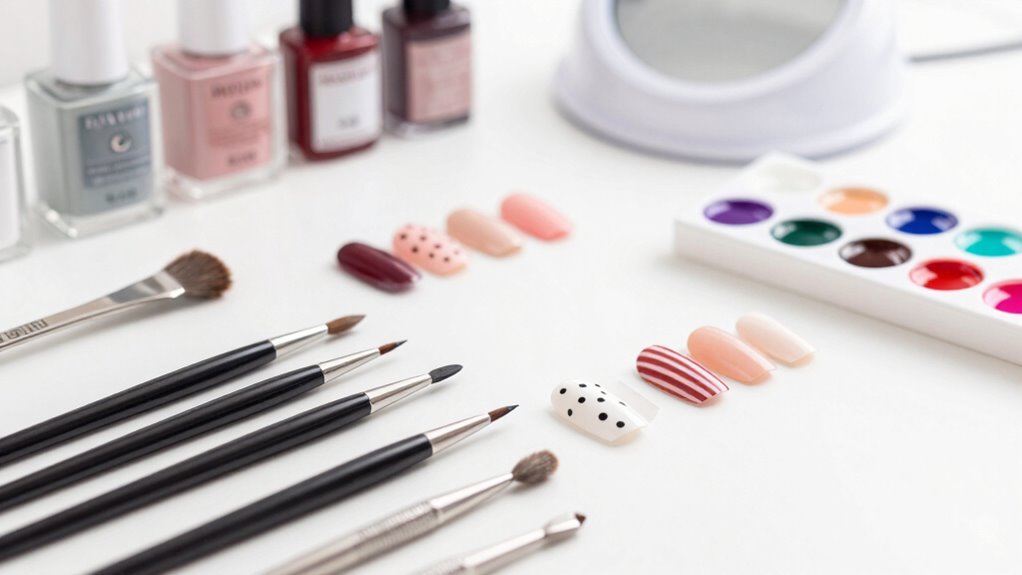
To get started with 3D nail art, you’ll need a basic set of tools and supplies. A simple starter kit typically includes nail brushes, dotting tools, and topcoats, along with essential nail polishes. Having these must-have materials on hand will make your creative process smoother and more enjoyable. Additionally, understanding the importance of affiliate disclosure ensures transparency when purchasing your supplies. Using high-quality professional nail products can also improve the durability and appearance of your designs. When selecting tools, consider investing in reliable equipment that can withstand frequent use and provide precise results. Familiarizing yourself with professional techniques can further enhance your craftsmanship and help you achieve more polished, impressive designs. Moreover, exploring study techniques and exam preparation for mastering complex nail art patterns can boost your confidence and skill level over time.
Essential Starter Kit
A well-rounded fundamental starter kit sets the foundation for successful 3D nail art. You’ll need quality gel polish, which provides a smooth base and durable color. Nail extensions are vital if you want to add height and dimension to your designs, offering a sturdy surface for 3D embellishments. Invest in a good UV or LED lamp to cure gel polish efficiently. Basic tools like nail brushes, dotting tools, and a fine detailer brush are indispensable for creating intricate 3D effects. You’ll also want a buffer, cuticle pusher, and primer to prep your nails properly. While these are the core items, make certain your kit includes a top coat for sealing your design and keeping it long-lasting. Starting with these essentials makes your 3D nail art journey both manageable and fun. Additionally, understanding the technology behind UV and LED lamps can help you select the most efficient curing device for your needs.
Must-Have Nail Art Supplies
Equipping yourself with the right nail art tools and materials is essential for creating stunning 3D designs. Start with quality gel polish, which provides a durable, glossy base perfect for adding intricate details. Gel polish is easy to work with and cures quickly under UV or LED light, making your designs last longer. Nail wraps are also a must-have—they’re great for adding quick, professional-looking accents or backgrounds without the need for freehand painting. Besides these, you’ll want a fine detail brush, a dotting tool, and 3D nail art embellishments like rhinestones or charms. Don’t forget to have a top coat to seal your design and ensure longevity. With these essentials, you’re ready to start exploring creative 3D nail art techniques confidently.
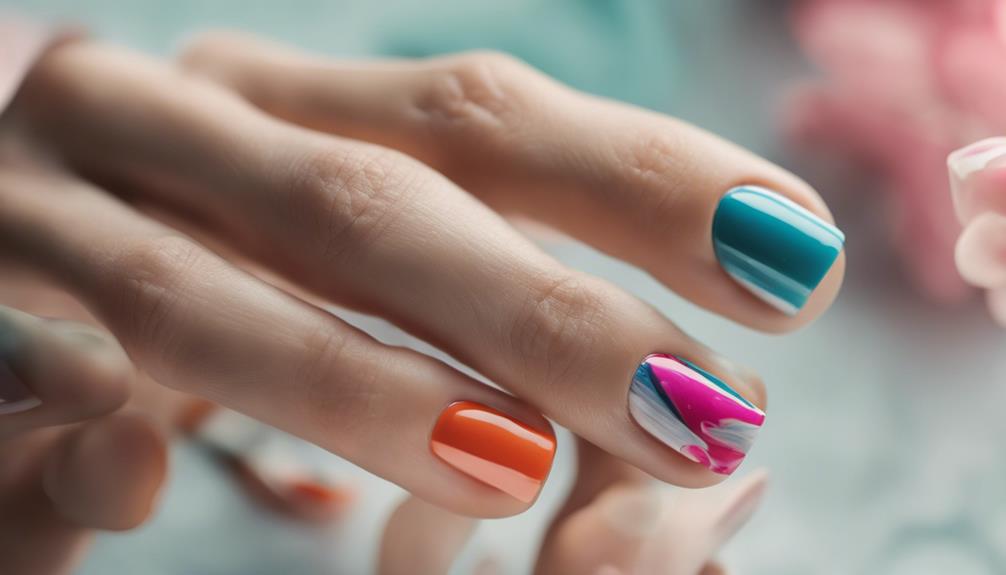
What Are Easy 3D Nail Art Techniques for Beginners?
Starting with simple 3D flower designs is a great way to build your skills, as they’re easy to create and look impressive. Using dotting tools effectively can help you make precise dots and details without much fuss. Applying acrylic paints allows for smooth, vibrant accents that bring your designs to life with minimal effort.
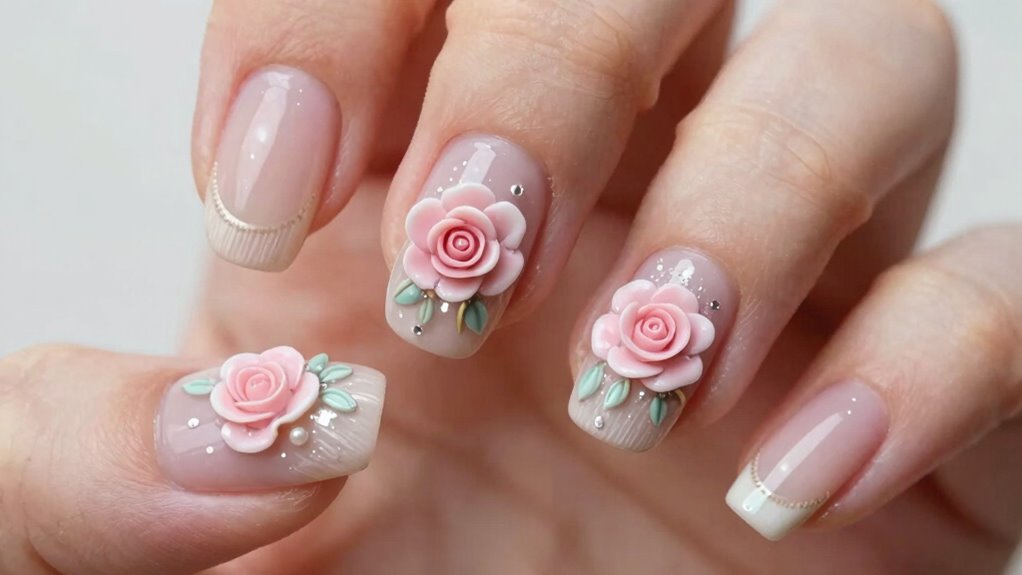
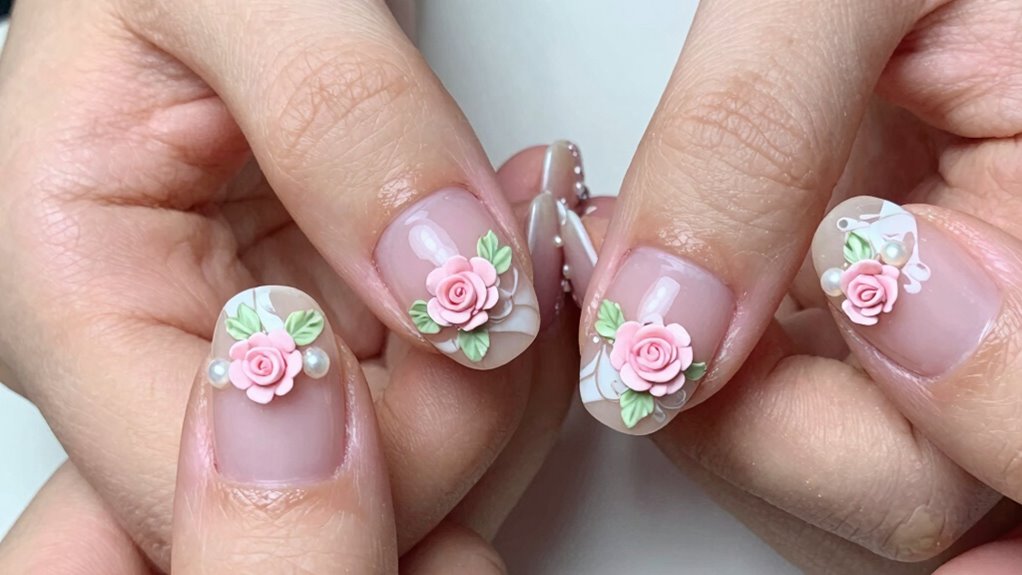
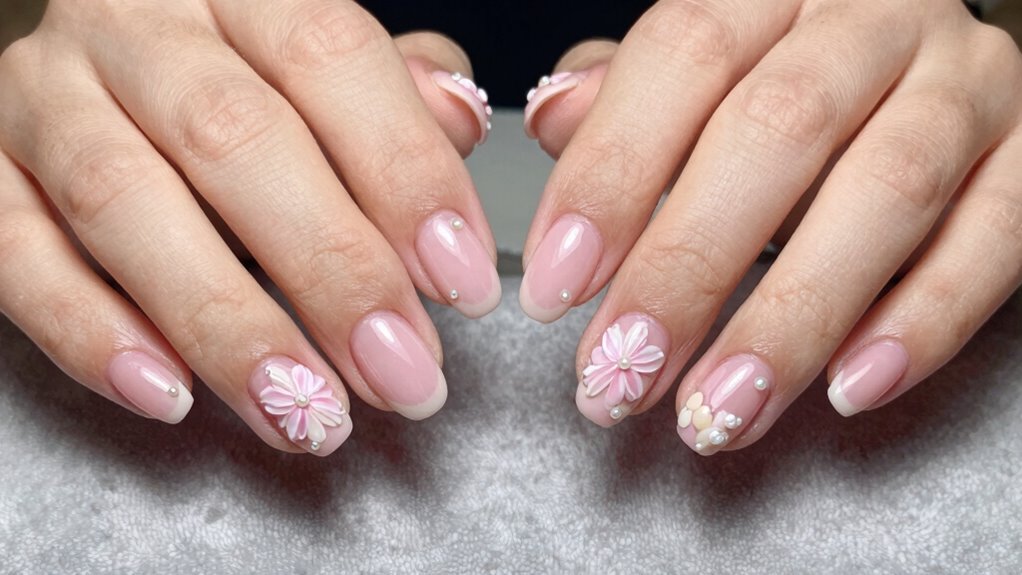
Simple 3D Flower Designs
Creating simple 3D flower designs on your nails is easier than you might think, especially if you’re just starting out. Begin with a small flower petal shape, using a dotting tool or a toothpick to create a slight lift. To add depth, practice color blending by layering different shades of polish or acrylics within each petal. This creates a more realistic, vibrant flower. Keep your designs minimal—perhaps a single flower or a few small buds—so you can focus on mastering the technique. Use gentle, controlled motions to shape each petal, making them stand out from the nail surface. Incorporating visual and auditory cues can aid in learning and perfecting these techniques. These basic steps will help you create charming 3D flowers without feeling overwhelmed, setting a solid foundation for more intricate designs later.
Using Dotting Tools Effectively
Using dotting tools effectively can make your 3D nail art look professional and polished, even if you’re a beginner. To master this technique, focus on controlled pressure and consistent sizes for your dots. Practice color blending by layering shades gently, creating smooth gradations. Use different-sized tips to add variety and dimension to your designs. Here’s a simple idea to get started:
| Dot Size | Color Blending | Technique Mastering |
|---|---|---|
| Small | Gradual fade | Light pressure for tiny dots |
| Medium | Ombre effect | Vary pressure for depth |
| Large | Color mixing | Practice steady hand |
| Multi-sized | Layering | Use quick, light strokes |
| Highlight | Contrast | Finish with a top coat |
This approach helps you develop confidence and precision in your 3D nail art.
Applying Acrylic Paints
Applying acrylic paints is one of the easiest ways to add 3D effects to your nail art. To make your designs stand out, focus on simple color blending techniques. Use a fine brush to gently layer different shades, creating smooth gradations and depth. Practice your brush techniques by applying light, controlled strokes for precise details, and don’t be afraid to blend colors directly on the nail for a seamless look. Start with small designs, like flowers or abstract shapes, and build your confidence. Acrylic paints dry quickly, so work efficiently to maintain crisp lines and vibrant colors. With patience and practice, you’ll develop steady hand control, making your 3D nail art look professional and polished.
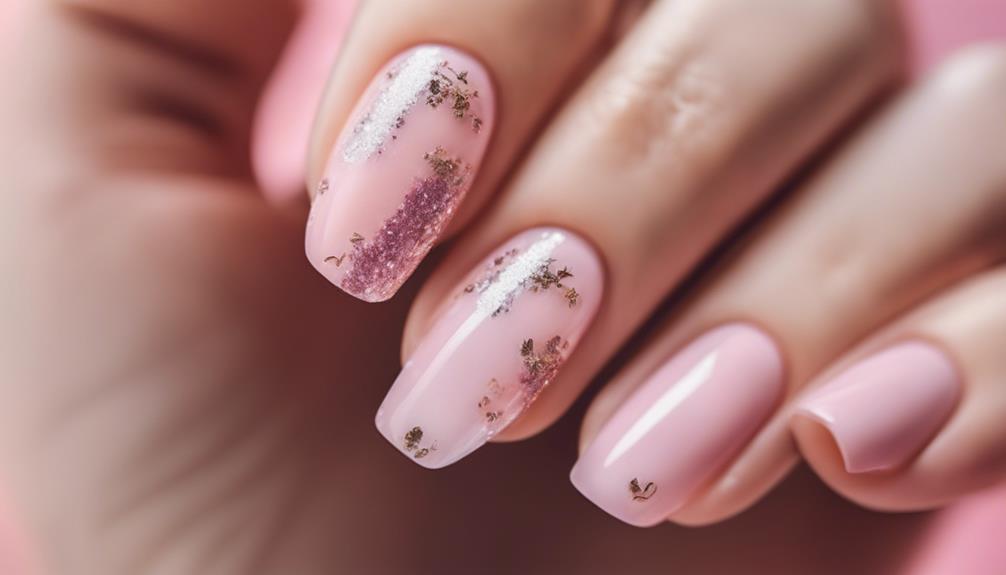
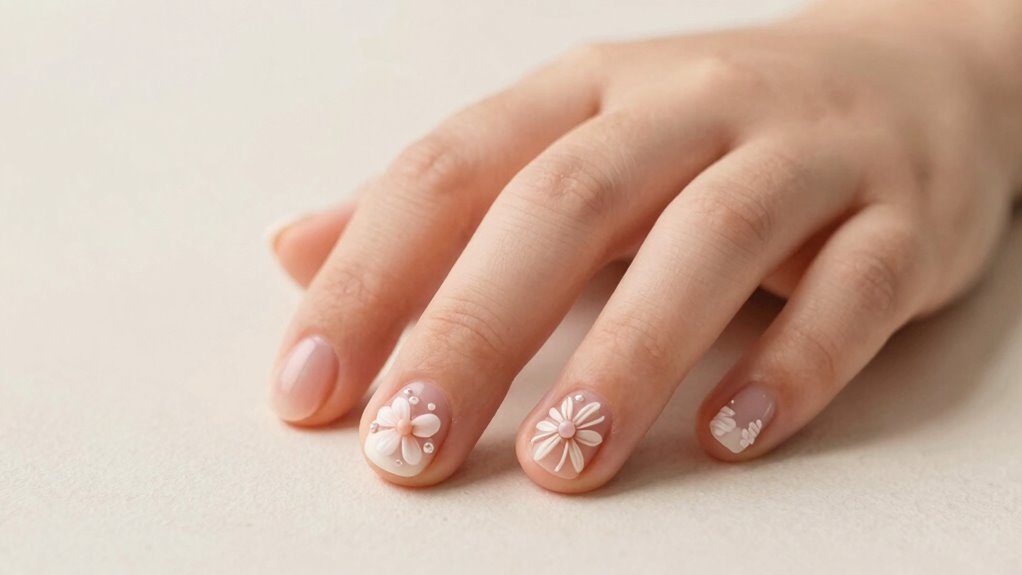
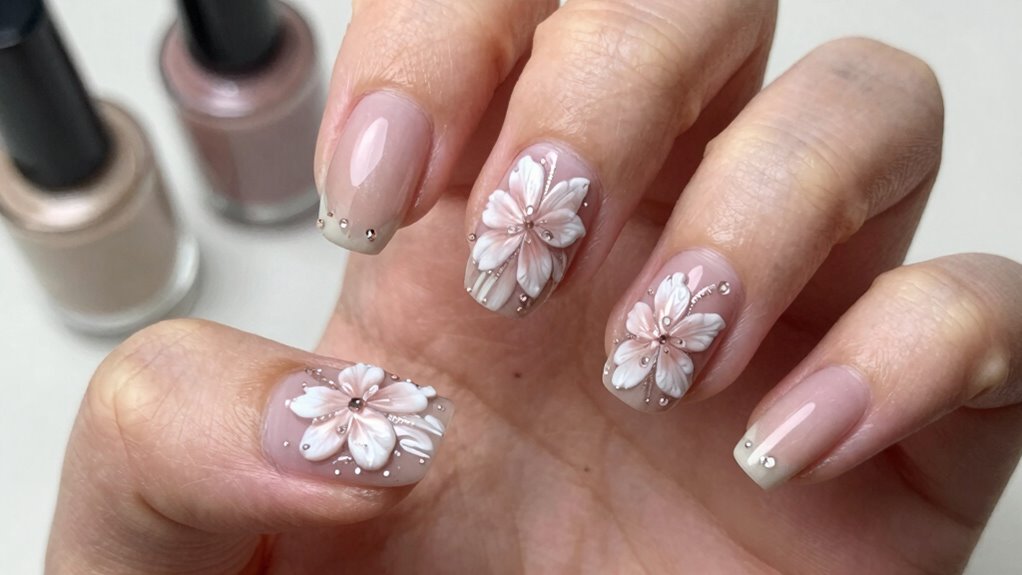
How to Create Basic 3D Flower Designs Step by Step

To make a simple 3D flower on your nails, start by choosing a small dotting tool or a thin brush. Begin by creating the flower’s center with a tiny dot of your main color. Next, form the petals by adding small, rounded strokes around the center, overlapping slightly for a natural flower shape. Focus on creating a balanced flower arrangement, keeping petals evenly spaced. To add depth, blend colors within each petal using gentle color blending techniques, gradually shifting from darker to lighter shades. This adds dimension and a realistic touch to your flower. Let each layer dry slightly before adding the next. With patience, you’ll develop a beautiful 3D flower design that looks professional but is easy enough for beginners.
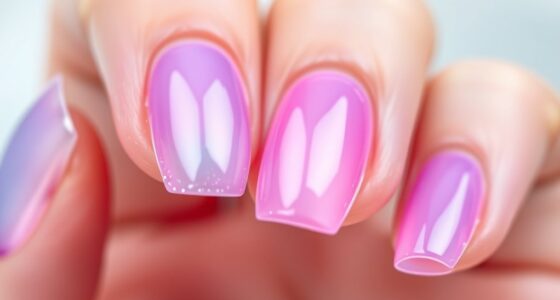
How to Pick the Right Colors and Styles for Your 3D Nails
Choosing the right colors and styles for your 3D nails can make your designs stand out and reflect your personality. Start by exploring color combinations that complement each other and suit your mood or occasion. Soft pastels work well for subtle, elegant looks, while bold, vibrant hues create a fun, eye-catching effect. Look for style inspiration from magazines, social media, or nail art galleries to identify trends you love. Consider your wardrobe and personal style to guarantee your nail design enhances your overall look. Keep it simple at first—pick a few colors and styles that feel comfortable. As you gain confidence, you can experiment with more complex combinations and textures. The key is to choose colors and styles that make you feel confident and happy. Additionally, understanding color theory can help you select shades that harmonize beautifully and elevate your nail art.
What Are the Best Tips for Practicing and Improving Your 3D Nail Skills?

Practicing regularly is essential to sharpening your 3D nail skills and gaining confidence. Focus on refining your color blending techniques to create smooth progressions and realistic designs. Experiment with different brush techniques—such as dotting, stippling, and feathering—to add depth and texture. To improve, set aside dedicated practice sessions and challenge yourself with new styles. Keep a record of your progress to identify areas for improvement. Use the table below to visualize key ideas:
| Practice Focus | Techniques to Try | Tips for Improvement |
|---|---|---|
| Color Blending | Gradual transitions, layering | Use small, soft brushes for control |
| Brush Techniques | Dotting, stippling, feathering | Practice on practice sheets first |
| Consistency | Regular practice, patience | Take breaks to avoid fatigue |
Additionally, understanding the importance of air quality can help you create a more comfortable and healthy environment while practicing your nail art skills at home.
Common Mistakes Beginners Make in 3D Nail Art and How to Avoid Them
Many beginners struggle with 3D nail art because they try to rush the process or skip important steps, leading to uneven designs and fragile embellishments. One common mistake is poor color combinations that clash or don’t complement each other, making the design look amateurish. Another mistake is neglecting nail health; using harsh products or over-application can weaken nails, causing breakage or peeling. To avoid these issues, take your time with each step, plan your color palette carefully, and make certain your nails are clean and well-maintained. Using quality products and giving your nails proper care will help your 3D nail art look professional and last longer. Remember, patience and attention to detail make all the difference. Incorporating nail health practices can also greatly improve the overall outcome of your nail art projects. Paying attention to market trends in nail art can inspire fresh ideas and keep your designs current. Additionally, practicing on practice nails can help build your confidence and refine your technique before working on your own nails. Keeping up with professional techniques ensures your skills stay sharp and your creations look polished. Furthermore, selecting the right tools, such as specialized esthetician magnifying lamps, can provide better precision and help achieve intricate 3D details.
How to Add 3D Elements for a Professional-Looking Finish
Adding 3D elements to your nail art can elevate your design and give it a polished, professional look. Start with proper nail prep by cleaning and buffing your nails to guarantee a smooth surface. If you’re using gel extensions, make sure they are fully cured and shaped before adding 3D details. When applying 3D embellishments like flowers or bows, use a small dot of gel adhesive or a thick gel polish to secure them firmly. Work carefully to avoid excess product that can cause uneven surfaces. Once placed, cure your nails thoroughly under a UV or LED lamp. This assures the 3D elements stay attached and your design looks sleek and professional. Proper nail prep and careful placement make all the difference in achieving a flawless 3D nail art finish. Curing process is essential to ensure the durability and longevity of your 3D nail art, especially when working with intricate 3D embellishments. Additionally, selecting high-quality gel adhesives can significantly improve the adhesion and overall appearance of your 3D decorations. Using the right tools and techniques can also help in creating precise and clean 3D designs that resemble professional work, and understanding proper application methods can further enhance your results.
How to Care for and Maintain Your 3D Nail Art
To keep your 3D nail art looking fresh, you need to follow proper cleaning techniques and avoid harsh scrubbing. Regularly hydrate your nails to prevent dryness and keep the designs intact. Also, steer clear of activities that could damage or lift the 3D elements, ensuring your nails stay beautiful longer. Incorporating gentle nail care tips can further help maintain the integrity of your 3D nail art. Additionally, using appropriate products designed for nail preservation can help extend the life of your intricate designs.
Proper Cleaning Techniques
Proper cleaning is essential to keep your 3D nail art looking fresh and vibrant. Maintaining good nail hygiene prevents dirt and bacteria from building up around your designs, which can cause damage or discoloration. Use a soft brush or lint-free cloth to gently remove dust and debris from your nails daily. Avoid harsh chemicals that can weaken the 3D elements; instead, opt for a mild nail cleanser or acetone-free remover. Pay special attention to cuticle care by keeping the area moisturized and clean, which helps prevent lifting or lifting of the 3D layers. Never pick or peel at your nail art, as this can cause damage. Consistent, gentle cleaning preserves your 3D designs and keeps your nails looking professional longer.
Regular Nail Hydration
Keeping your nails hydrated is key to maintaining the beauty and durability of your 3D nail art. Regular nail hydration helps prevent dryness and chipping, keeping your design looking fresh longer. Use nourishing cuticle oils or creams daily to support cuticle care, which in turn strengthens your nails. When you hydrate your nails, you also improve flexibility, reducing the risk of damage to your intricate 3D details. Be sure to massage the product gently into your cuticles and nail beds, focusing on areas prone to dryness. Avoid over-washing your hands with harsh soaps, which can strip natural oils. Consistent nail hydration isn’t just about aesthetics; it’s essential for preserving the integrity of your nail art and ensuring your nails stay healthy and strong over time.
Avoiding Damaging Activities
Since 3D nail art involves intricate designs, it’s essential to avoid activities that could cause damage. Protecting your nail health and ensuring chemical safety helps your nails stay beautiful longer. Avoid tasks like heavy lifting, opening cans, or using your nails as tools, which can chip or lift the 3D elements. Be cautious with harsh chemicals or solvents, as they can weaken the adhesive and damage your design. Also, steer clear of excessive scrubbing or aggressive cleaning that might cause the 3D elements to fall off.
- Refrain from biting or picking at your nails
- Wear gloves during cleaning or gardening
- Limit exposure to strong chemicals
- Avoid using nails as tools
- Schedule regular touch-ups for longevity
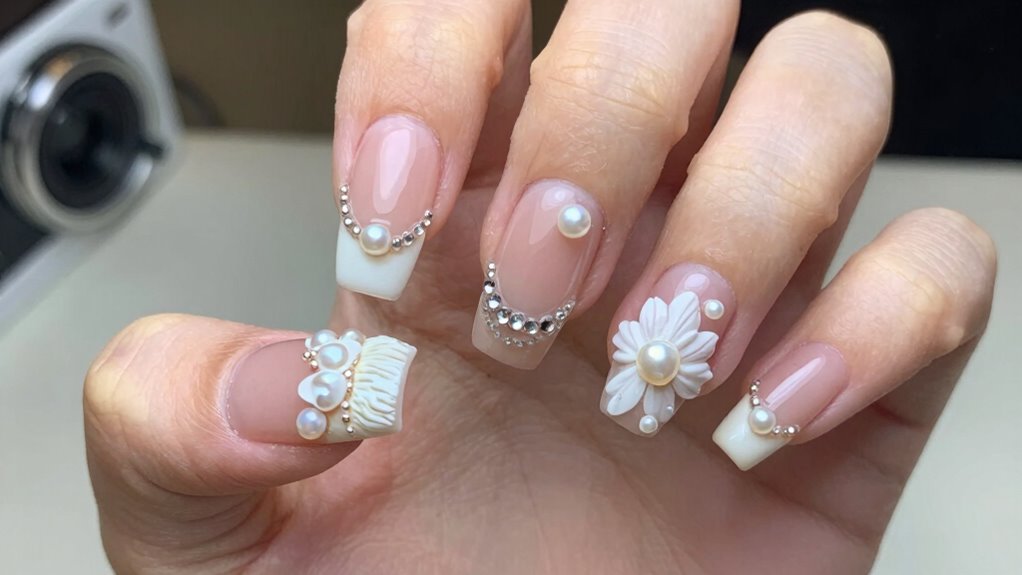
What’s Next? Progressing to More Complex 3D Nail Designs
Once you’ve mastered basic 3D nail techniques, it’s time to challenge yourself with more intricate designs. You can experiment with layered gel polish and nail extensions to add depth and dimension. This step lets you create stunning floral patterns, 3D bows, or textured elements that truly stand out. Remember, progressing doesn’t mean rushing—practice patience and precision.
Here’s a glimpse of what’s possible:
| Simple Designs | Advanced Creations |
|---|---|
| Small 3D flowers | Elaborate 3D roses |
| Single embellishments | Multi-layered textures |
| Basic color blends | Intricate sculpted details |
Push your skills, and soon, your nails will look professionally done, even at home.
Frequently Asked Questions
How Long Does It Typically Take to Master Basic 3D Nail Art?
It usually takes a few weeks to a couple of months to master basic 3D nail art, depending on your practice consistency. You’ll improve faster if you focus on technique patience and dedicate regular time to practicing. Don’t rush—every session helps refine your skills. Stick with it, even if progress feels slow at first. With time and effort, you’ll start creating professional-looking designs that wow everyone.
Can I Create 3D Nail Art at Home Without a Professional Setup?
While it’s often said that you need a professional setup, you can definitely create stunning 3D nail art at home. With some DIY tools like toothpicks, small brushes, and modeling gel, you can experiment and achieve impressive results. Starting simple allows you to learn and refine your skills without investing in a full professional kit. Patience and practice turn your space into a creative studio, making pro-looking designs achievable.
Which Common Mistakes Should I Watch Out for When Starting?
When starting 3D nail art, watch out for common pitfalls like overloading designs with too much detail or using thick layers that don’t dry properly. Beginner errors often include not prepping nails well or rushing the process, leading to smudges or uneven textures. Take your time, use the right tools, and practice patience. Avoid rushing through steps to make sure your 3D designs look professional and last longer.
How Do I Remove 3D Nail Decorations Safely?
To remove 3D nail decorations safely, start with gentle removal techniques like soaking your nails in acetone or nail polish remover for 10-15 minutes. Use a wooden cuticle stick or orange stick to carefully lift and lift off the decorations, avoiding force. Always prioritize safety precautions by moisturizing your nails afterward and avoiding harsh scrubbing. This guarantees you prevent damage and keep your nails healthy.
Are There Specific Nail Types Better Suited for 3D Art?
Think of your nails as a blank canvas; some surfaces hold 3D art better. You’ll find that nails with smoother textures, like gel or acrylic, are ideal for 3D designs. Gel nails offer flexibility, making intricate decorations easier, while acrylic provides a sturdy surface for heavier embellishments. If you want flawless 3D art, choose nails with even, smooth surfaces, and consider your preferred material to guarantee your design stays stunning.
Conclusion
Just like a painter starts with simple strokes before mastering masterpieces, beginning with small 3D nail art lets you build confidence and skill. Don’t rush the journey—each tiny flower or embellishment is a step toward more intricate designs. Remember, even Picasso started with basic sketches. Stay patient, practice regularly, and soon you’ll be creating nail art that’s as stunning as a gallery masterpiece, all while having fun along the way.