To create stunning 3D sculptural nail designs, focus on mastering gel application by applying thin, even layers and curing well after each step. Incorporate various embellishments like flowers or bows, shaping and refining them with sculpting tools while the gel remains semi-cured. Use color blending techniques to add depth and realism, mixing shades seamlessly with brushes or sponges. With patience and practice, you’ll develop unique styles, and if you keep exploring, you’ll uncover even more tips to perfect your art.
Key Takeaways
- Use thin, even gel layers and cure thoroughly to build sturdy, textured 3D elements.
- Incorporate embellishments like flowers or bows onto cured gel for dimensional designs.
- Apply color blending techniques with brushes or sponges to enhance realism and depth.
- Shape and refine 3D sculptures with sculpting tools before curing each layer.
- Practice patience and precision to achieve professional, long-lasting sculptural nail art.

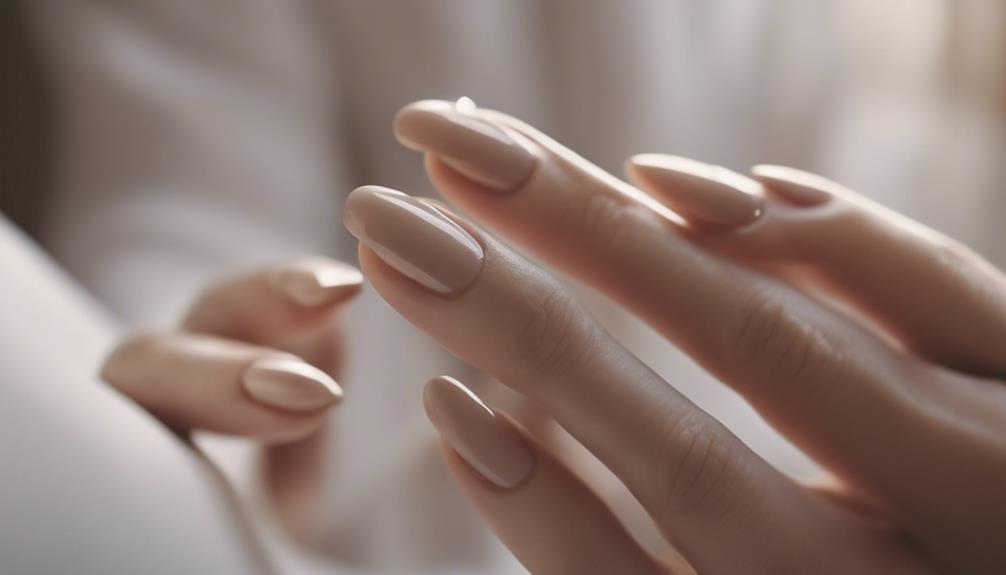
3D nail art has taken the beauty world by storm, offering a stunning way to add texture and dimension to your manicure. With intricate sculptures and eye-catching designs, it transforms a simple nail into a miniature work of art. To achieve these striking effects, mastering techniques like gel application and color blending is essential. Gel application provides the perfect base for creating durable, glossy 3D elements, guaranteeing your designs last longer without chipping. When applying gel, you want to work in thin, even layers, curing each layer under a UV or LED lamp to build up the desired thickness and texture. This method allows you to create raised designs that feel both sturdy and refined. Once your gel base is set, you can add various 3D embellishments, such as flowers, bows, or abstract shapes, directly onto the cured gel.
Understanding technique mastery is crucial in elevating your 3D nail art skills to a professional level. Color blending plays a vital role in elevating your 3D nail art. It helps create smooth transitions between shades, giving your sculptures a more realistic or artistic appearance. To blend colors effectively, start by applying the lighter shade first, then add darker hues while the gel is still wet or semi-cured. Use a fine brush or a small sponge to gently feather the edges, merging the colors seamlessly. This technique adds depth and dimension, making your 3D designs pop. When sculpting elements like roses or peonies, color blending allows you to mimic natural gradients seen in real flowers, enhancing realism. It’s also an excellent way to incorporate multiple colors within a single design without it looking cluttered or uneven.
In addition to gel application and color blending, the key is patience and precision. Take your time shaping each element, and don’t rush through the curing process. Properly cured gel ensures your 3D shapes stay firm and vibrant. Use tools like fine detail brushes or sculpting picks to refine your designs, adding intricate details that make your nail art stand out. Experiment with different color combinations and blending techniques to develop your personal style. Remember, the beauty of 3D nail art lies in its versatility—whether you prefer soft pastels or bold, contrasting hues, blending colors seamlessly enhances every element, making your sculpture look more polished and professional. With practice, you’ll discover how to combine gel application and color blending to create breathtaking, sculptural nail designs that truly capture attention.
Frequently Asked Questions
What Tools Are Essential for 3D Nail Sculpting?
To master acrylic sculpting and create stunning nail embellishments, you need essential tools like a fine detail brush, acrylic brushes, and a nail file. A dapping dish helps with acrylic mixing, while nail forms or tips shape your design. A small spatula or palette knife is perfect for sculpting, and a UV/LED lamp guarantees proper curing. These tools give you precise control for beautiful 3D nail art.
How Long Does 3D Nail Art Typically Last?
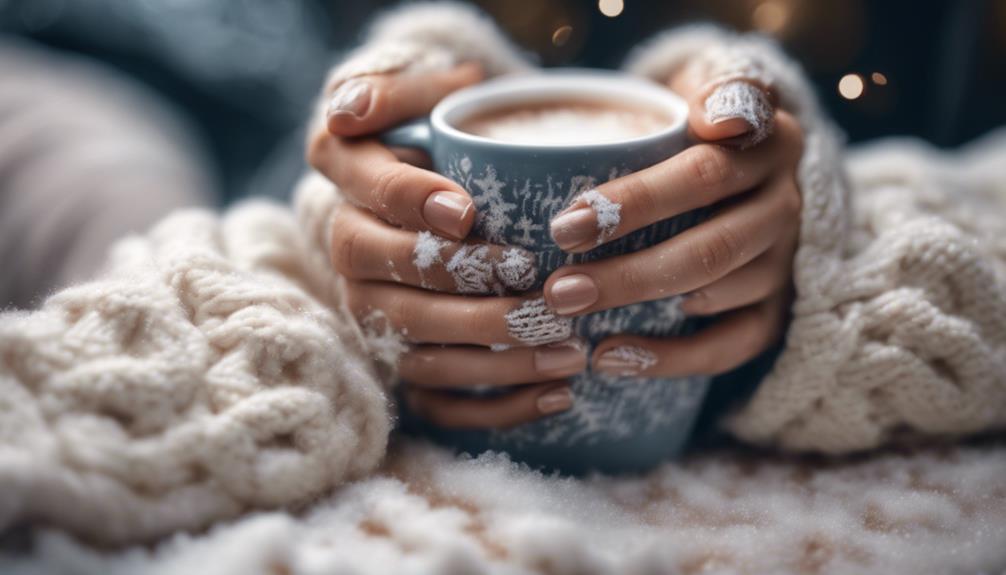
3D nail art typically lasts about two to three weeks, depending on durability factors like your nail health, application quality, and daily wear. To keep your designs intact longer, avoid harsh chemicals and excessive pressure. Proper sealing and top coats also help prevent chipping. If you take good care, your sculptural designs can stay vibrant and intact, making your effort worth it for lasting, eye-catching nails.
Are There Any Risks or Safety Concerns?
You should be aware that there are some risks with 3D nail art, especially regarding chemical safety and allergic reactions. Always confirm your technician uses high-quality, hypoallergenic products, and check ingredients for potential allergens. While rare, allergic reactions can occur, causing irritation or swelling. To stay safe, ask questions about the products used and request patch tests if you have sensitive skin. Proper application minimizes these risks, keeping your nails beautiful and healthy.
Can 3D Nail Art Be Done at Home?
Yes, you can do 3D nail art at home using DIY techniques. Start with a good home kit that includes sculpting gels, brushes, and tools. Follow tutorials carefully to learn the proper steps and avoid mistakes. Practice makes perfect, so take your time. With patience and the right supplies, you can create stunning sculptural designs right in your own space, saving money and adding a personal touch to your nails.
What Maintenance Is Required for 3D Nail Designs?
Think of it as maintaining a vintage car; your 3D nail designs need regular care. You should gently remove nail polish when needed, avoiding harsh removers, to protect your nail health. Keep your nails moisturized, file any chips, and avoid excessive pressure. Regular visits to a nail technician help maintain the sculptural details and prevent damage, ensuring your 3D nail art stays stunning and healthy-looking longer.
Conclusion
Now that you’ve explored 3D nail art techniques, you’re ready to create stunning, sculptural designs. Imagine customizing a client’s nails for a special event, like a wedding, with delicate floral accents that truly stand out. With practice, you’ll master the details that transform simple nails into art. Keep experimenting with different textures and embellishments, and you’ll soon see your skills grow—turning your passion into impressive, eye-catching masterpieces.