To create DIY hair masks suited for your hair type, focus on natural ingredients that address your specific needs. For curly or coarse hair, try honey, avocado, and coconut oil for moisture and softness. If you have fine or straight hair, use yogurt, egg whites, or aloe vera to strengthen without weight. For dry or damaged hair, opt for olive oil, shea butter, or banana for deep hydration. Keep experimenting to find what works best—more tips await to help you perfect your routine.
Key Takeaways
- Customize hair masks with natural ingredients like honey and avocado for curly or coarse hair, and yogurt or egg whites for fine hair.
- Use nourishing oils such as coconut or olive oil for dry or damaged hair to promote deep hydration and repair.
- Apply masks to damp hair, focusing on roots or mid-lengths depending on hair type, for targeted nourishment.
- Cover hair with a cap or towel during treatment to enhance absorption and effectiveness.
- Consistently use hair masks tailored to your hair type to improve overall health, shine, and manageability.
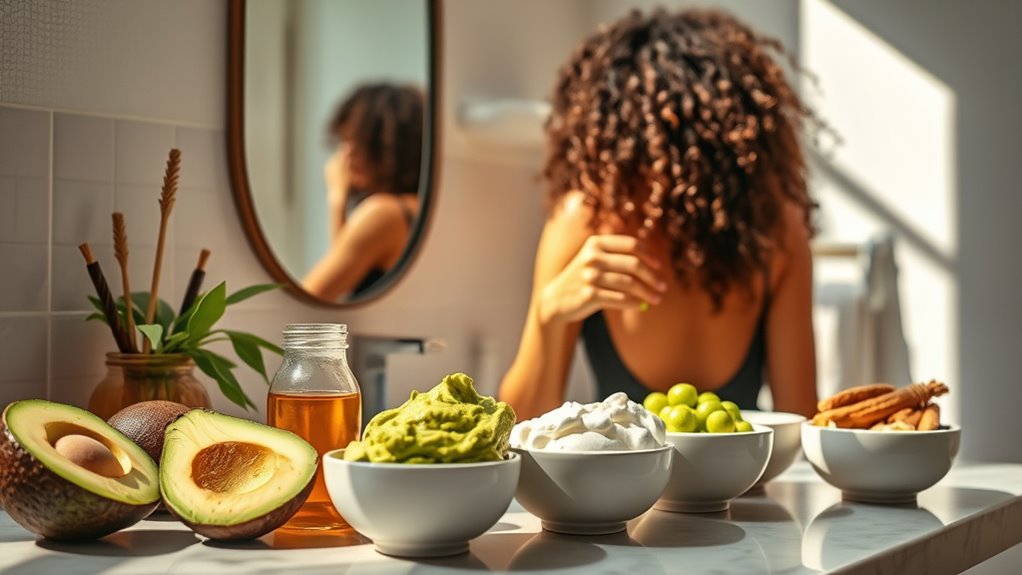
If you’re looking for an affordable and natural way to improve your hair’s health, DIY hair masks are a great option. They allow you to customize treatments with natural ingredients suited specifically to your hair type, making them both effective and budget-friendly. Whether your hair is curly, straight, dry, oily, or damaged, you can craft masks that target your unique needs. The key to success lies in understanding which natural ingredients work best and mastering proper application techniques to maximize their benefits.
For curly or coarse hair, ingredients like honey, avocado, and coconut oil work wonders. Honey acts as a humectant, locking in moisture, while avocado provides essential fatty acids and vitamins for nourishment. When applying these masks, start with damp hair to help the ingredients penetrate better. Use your fingers or a brush to evenly distribute the mask from roots to ends, ensuring every strand gets coated. Cover your hair with a shower cap or towel to trap heat, which enhances absorption. Leave the mask on for 20 to 30 minutes before rinsing thoroughly with lukewarm water. This process helps hydrate and define curls without weighing them down.
If you have fine or straight hair, lighter ingredients such as yogurt, egg whites, and aloe vera are ideal. These ingredients strengthen hair without adding excess weight. To apply, begin with clean, damp hair, and focus on roots and scalp, massaging gently to stimulate circulation. Use a wide-tooth comb to distribute the mask evenly through your strands. Cover your hair with a plastic cap to retain heat, boosting the mask’s effectiveness. Leave it on for about 15 to 20 minutes, then rinse with cool water to seal the cuticles and add shine. Proper application techniques ensure your hair receives the nourishing benefits without becoming greasy or weighed down.
For dry or damaged hair, nourishing ingredients like olive oil, shea butter, and banana work well. These ingredients deeply hydrate and repair brittle strands. When applying, focus on the mid-lengths and ends, which tend to be the driest. Warm the ingredients slightly for better absorption, then work the mixture through your hair, massaging gently. Cover your hair with a cap or towel, and let it sit for 30 minutes to an hour for maximum repair. Rinse thoroughly, and follow with a mild shampoo if needed. Consistent application of these masks with proper techniques can restore softness and elasticity.
Mastering application techniques and selecting the right natural ingredients for your hair type can transform your DIY masks into powerful treatments. Keep your approach simple, be consistent, and your hair will thank you with improved health and natural shine.
Frequently Asked Questions
Can DIY Hair Masks Cause Allergic Reactions?
Yes, DIY hair masks can cause allergic reactions due to natural ingredient risks. You might not realize that certain ingredients, like honey or essential oils, can trigger sensitivities. To prevent allergies, do a patch test 24 hours before applying the mask fully. If you notice redness, itching, or swelling, wash it off immediately. Always research ingredients carefully and opt for hypoallergenic options to minimize the risk.
How Often Should I Use DIY Hair Masks?
You should apply DIY hair masks once a week or every two weeks, depending on your hair’s needs. Pay attention to your hair’s response and adjust the application frequency accordingly. Always consider ingredient compatibility to avoid overstressing your hair or scalp. Too frequent use can lead to buildup or irritation, so listen to your hair’s signals and modify the schedule for ideal results.
Are DIY Masks Safe for Color-Treated Hair?
DIY masks are like delicate flowers, so you need to handle them with care. They can be safe for color-treated hair if you choose ingredients that promote color protection and avoid harsh chemicals. Always check ingredient safety, and opt for gentle, natural options like aloe or coconut oil. Test a small patch first to prevent any adverse reactions, ensuring your vibrant color stays beautiful while nourishing your hair.
Can DIY Masks Help With Hair Thinning?
Yes, DIY masks can help with hair thinning when you use hair growth remedies like castor oil, rosemary, or coconut oil. These ingredients nourish your scalp, stimulate circulation, and strengthen hair strands. Incorporate regular thinning prevention tips, such as gentle scalp massages and avoiding harsh chemicals. Consistency is key; with time, these masks may promote healthier, thicker hair, boosting your confidence and hair vigor naturally.
What’s the Best Storage Method for Leftover Masks?
Think of your leftover hair mask as a precious potion. Store it in airtight storage containers to keep its magic intact, just like safeguarding a secret recipe. Keep it in the refrigerator, following refrigeration tips, to preserve its freshness and potency. This way, your homemade mask remains effective and ready for use whenever your hair needs a nourishing boost, ensuring you get the most out of your DIY concoctions.
Conclusion
Now, imagine running your fingers through silky, vibrant hair that feels like a gentle breeze. With these DIY masks, you can transform dull strands into radiant locks, each application nourishing deeply like a soothing spa treatment. Picture the warm glow of healthy hair catching the sunlight, turning everyday routines into moments of self-love. So go ahead, indulge in these simple recipes, and let your hair tell a story of natural beauty and care.