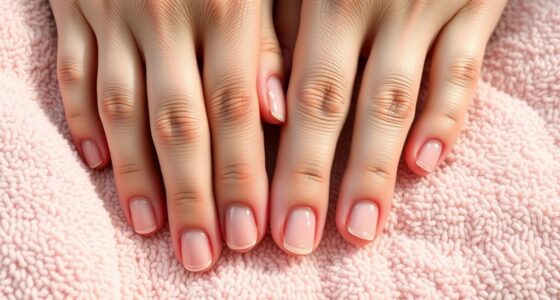
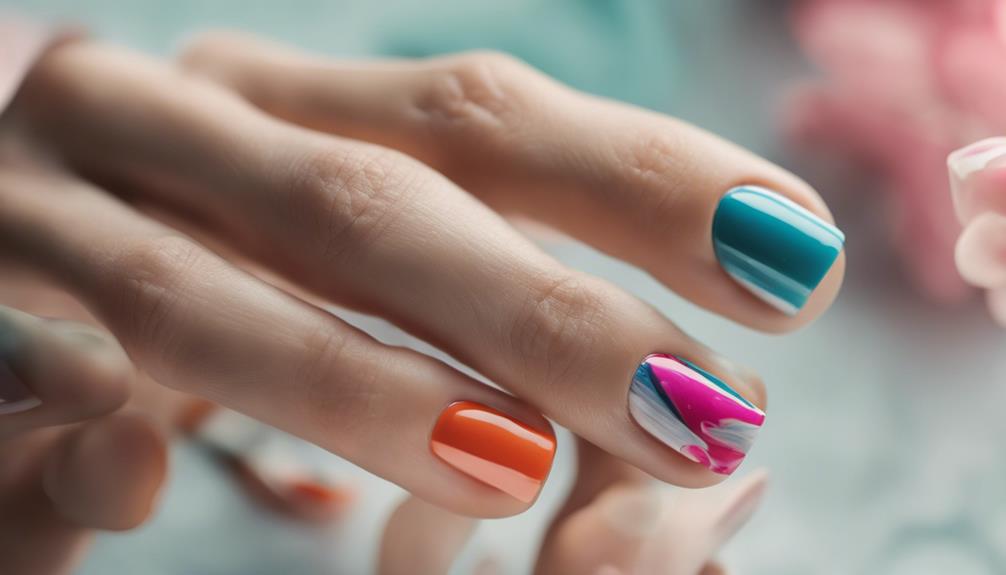
To prevent nail sticker edges from peeling, start by cleaning your nails thoroughly and lightly buffing the surface. Apply a thin base coat and let it dry completely before placing the stickers near your cuticle or nail edge. Press from the center outward to remove air bubbles, then seal the edges with a generous layer of top coat, overlapping slightly. Keep your nails dry for a few hours afterward. For more tips on long-lasting results, keep exploring these steps.

Get beauty and skincare favorites delivered free with Prime
- Fast, free delivery on millions of items
- Prime Video, Amazon Music and more included
- Member-only deals all year
Key Takeaways
- Ensure nails are clean, dry, and lightly buffed before applying stickers for better adhesion.
- Carefully press stickers from center outward, smoothing edges with a cuticle stick or flat tool.
- Seal edges with a generous layer of top coat, slightly overlapping to create a strong seal.
- Avoid water and harsh chemicals immediately after application, and keep nails dry during initial hours.
- Reapply clear top coat regularly to reinforce edges and prevent peeling over time.

Have you ever wanted a quick, stylish manicure without the hassle of traditional polish? Nail stickers are your perfect solution, offering a fast way to achieve intricate nail art techniques without spending hours or dealing with smudges. But one common challenge is preventing those edges from peeling or lifting prematurely. To keep your nail stickers looking fresh and flawless, you need to master proper application and follow some sticker durability tips.
Start by preparing your nails thoroughly. Clean them with alcohol or nail polish remover to eliminate oils and dirt, ensuring the stickers adhere better. Lightly buff the surface of your nails with a fine-grit file or buffer. This process creates a slightly rough surface that helps the adhesive grip more securely. Always make sure your nails are completely dry before applying the stickers, as moisture can cause them to lift sooner. Applying a thin layer of base coat and allowing it to dry completely can also improve adhesion, especially if your nails are naturally oily or shiny. Proper nail prep is essential for ensuring your stickers stay in place longer. Additionally, choosing high-quality nail stickers can make a significant difference in their durability and appearance.
Prepare nails with cleaning, buffing, and dry base coat for flawless, long-lasting sticker application.
When you’re ready to apply the sticker, carefully peel it from the backing, making sure not to touch the adhesive side too much to avoid contamination. Position the sticker near your cuticle or nail edge, then gently press it down, starting from the center and working outward to eliminate air bubbles. Use a cuticle stick or a small, flat tool to smooth out the sticker, paying close attention to the edges. Press firmly around the perimeter of each sticker, which is where lifting usually begins. This step is *vital* in preventing edges from lifting prematurely. You can also enhance adhesion by using a top coat, which helps seal the edges and improve longevity. Applying a sealant or extra layer of clear top coat can further safeguard against lifting and chipping. For added security, consider applying a thin layer of top coat over the entire nail to create a uniform protective barrier.
To maximize sticker durability tips, seal the edges with a clear top coat. Be generous around the edges, slightly overlapping the sticker’s border, and smooth it out with your brush. This creates a seal that locks down the edges, making them less prone to peeling. Avoid harsh scrubbing or excessive water exposure during the first few hours after application, as this can weaken the adhesive. When washing your hands, try to keep the stickers dry or wear gloves for added protection. Also, steer clear of using acetone-based removers directly on the stickers, as solvents can weaken the adhesive and cause lifting. Remember, proper nail care and maintenance can extend the life of your manicure and keep your design looking its best longer.
With these nail art techniques and sticker durability tips, you’ll enjoy long-lasting, beautiful manicures that stay perfect for days. Proper prep, careful application, and sealing the edges are your best strategies to keep those stickers from peeling. Soon, you’ll master the art of applying nail stickers flawlessly, giving you a quick, fashionable look anytime you want it, without the fuss or frustration.
As an affiliate, we earn on qualifying purchases.
Frequently Asked Questions
Can Nail Stickers Be Applied on Gel or Acrylic Nails?
Yes, you can apply nail stickers on gel or acrylic nails. To guarantee good nail sticker durability, make sure your nails are clean and free of oils. Smooth out the sticker to prevent air bubbles, especially on textured surfaces like gel or acrylic. With a variety of nail sticker design options, you can customize your look easily. Proper application helps avoid peeling edges and keeps your stylish design intact longer.
How Long Do Nail Stickers Typically Last?
Ever wonder how long nail stickers last? Typically, their longevity ranges from five to seven days, but this depends on factors like application and wear. The sticker wear duration can be extended with proper prep and sealing. Are you surprised? To maximize their lifespan, avoid water exposure and rough activities. With good care, you can enjoy fresh-looking nails longer, making your manicure stay vibrant and stylish.
Are Nail Stickers Suitable for Sensitive Skin?
Nail stickers can be suitable for sensitive skin if you choose hypoallergenic options, but you should always be cautious. If you have sensitive skin or are prone to allergic reactions, check the ingredients and look for labels indicating they’re safe for sensitive skin. Conduct a patch test before full application to verify you don’t experience irritation or allergic reactions. If irritation occurs, remove the stickers immediately and consult a dermatologist.
Can Nail Stickers Be Removed Easily Without Damage?
Removing nail stickers is like gently peeling a favorite sticker from your notebook—you need patience. To do it without damage, use warm, soapy water around the edges to loosen the adhesive, making peeling easier. For longevity, avoid harsh scrubbing and apply peel-off techniques carefully. This way, you protect your nails and keep the adhesive’s strength intact, ensuring a smooth removal without tearing or peeling edges.
What Tools Are Best for Trimming Nail Stickers?
You should use small, sharp scissors or a precision craft knife to trim nail stickers with detailed design patterns. These tools give you control during application techniques, allowing you to carefully cut around edges for a clean finish. Gently trim excess sticker along your nail’s shape, ensuring no peeling edges. Always work slowly to avoid damaging the design, and press down firmly afterward to secure the sticker smoothly on your nails.
Conclusion
To keep your nail stickers looking flawless, make sure to press down firmly and seal the edges with a clear top coat. Avoid activities that involve water or excessive friction shortly after application. Did you know that nail stickers can last up to two weeks with proper care? By following these simple tips, you’ll enjoy a sleek, chip-free look that stays put longer. Now, go ahead and flaunt those perfect nails with confidence!
Halloween Picks
halloween
As an affiliate, we earn on qualifying purchases.