
Prepping the free edge is key to making your press-on gel systems feel stronger because it creates a clean, textured surface that enhances adhesion. By thoroughly cleaning and lightly buffing the edge, you remove oils, dirt, and smooth out rough spots, which helps prevent lifting and prolongs wear. Proper prep also prepares the entire nail for a secure bond, making your gel nails more durable. Keep going to discover even more tips for perfecting your gel application.

Get beauty and skincare favorites delivered free — and shop member deals
- Fast, free delivery on millions of items
- Access to Prime Big Deal Days deals on October 6–7
- Prime Video, Amazon Music and more included
Key Takeaways
- Properly prepping the free edge creates a rough surface, enhancing mechanical grip and bond strength of the gel system.
- Cleaning and buffing remove oils and debris, ensuring better adhesion and reducing lifting risks.
- Light buffing increases texture without weakening the nail, leading to more durable gel application.
- Proper surface prep prevents moisture or dirt from compromising gel adhesion and longevity.
- Consistent prep techniques result in stronger, longer-lasting press-on gel nails with improved feel and durability.
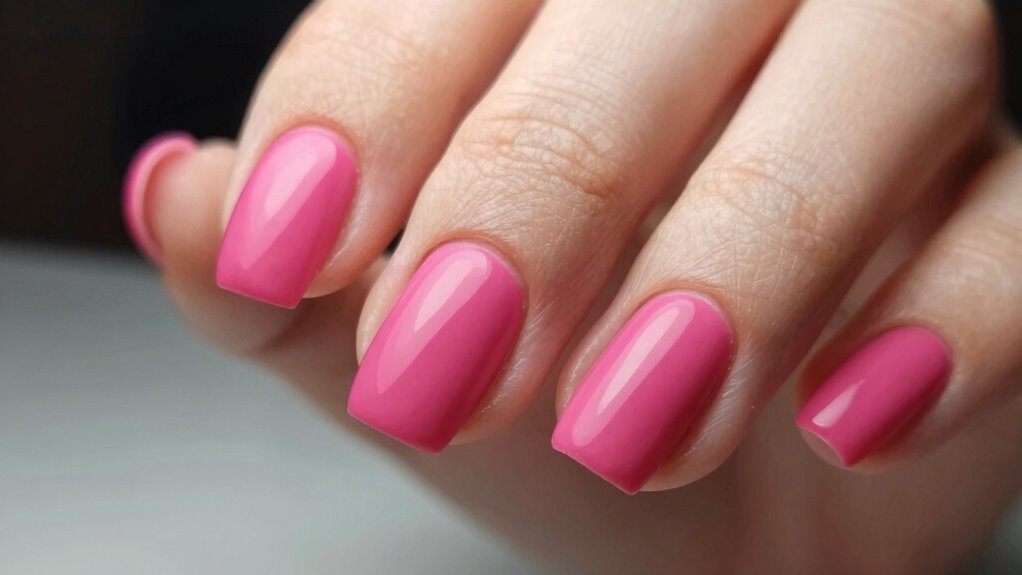
Have you ever wondered why your press-on gel system feels less sturdy over time? The answer often lies in how well your nails adhere to the gel and, more specifically, in the prep techniques you use before applying the system. Nail adhesion is vital for the longevity and strength of your press-on gel nails, and neglecting proper prep can lead to lifting, chipping, or even complete detachment. One of the most overlooked steps is prepping the free edge of your nails. When you skip or rush this part, you risk creating a weak bond that won’t hold up against everyday activities.
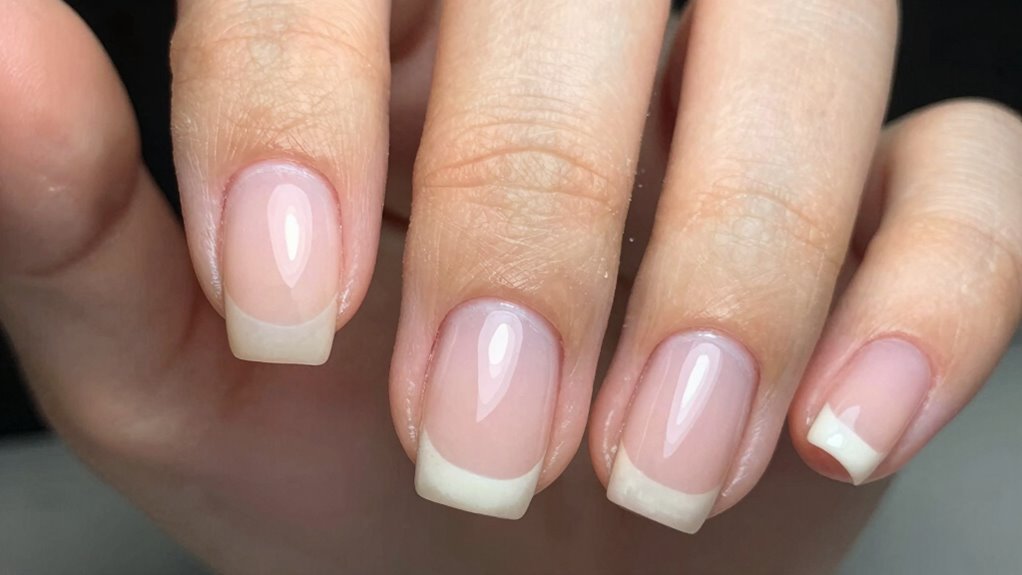
Prepping the free edge is indispensable because it guarantees a clean, dry, and slightly textured surface for the gel to grip onto. If you don’t properly prepare this area, any residual oils, dirt, or moisture can interfere with adhesion. That’s why your prep techniques should include thoroughly cleaning your nails with alcohol or a nail cleanser to remove oils and debris. Then, gently buff the free edge with a fine-grit buffer. This step creates a slightly rough surface that enhances the mechanical grip of the gel. Be careful not to over-buff, as this can weaken the nail itself or create a surface that’s too rough, which may cause lifting rather than adhesion.
Properly prepping the free edge ensures a clean, textured surface for stronger gel adhesion and longer-lasting nails.
Another key prep technique involves paying attention to the cuticle zone and the nail plate. Push back your cuticles carefully to expose more of the nail surface, but avoid damaging the skin or pushing too aggressively. Lightly buffing the entire nail surface, including the free edge, allows the gel to adhere more securely. Remember, the goal isn’t to sand down your nails but to create just enough texture for excellent bonding. Proper nail preparation is essential for optimal adhesion and durability of your press-on gel nails, and understanding the importance of adhesion techniques can help you achieve more consistent results. Additionally, being mindful of the nail health can ensure your nails remain strong even after repeated prep work. Using the correct prepping techniques can significantly impact the overall strength and longevity of your gel nails, making the extra effort worthwhile.
Furthermore, understanding the role of proper sterilization and cleanliness can prevent infections and ensure the longevity of your gel system. The importance of these prep techniques cannot be overstated. When you take the time to properly prep your nails, especially the free edge, you set a solid foundation for the gel system. This not only improves nail adhesion but also extends the lifespan of your press-on nails, making them feel stronger and more durable. Skimping on these steps might save a few minutes initially, but it will cost you in the long run through more frequent repairs and replacements. So, next time you’re applying your press-on gel system, focus on meticulous prep—your nails will thank you with better strength and longevity.
As an affiliate, we earn on qualifying purchases.
Frequently Asked Questions
How Long Does the Prep Process Typically Take?
The prep process for enhancing nail adhesion usually takes about 5 to 10 minutes. You start by thoroughly surface decontamination, removing oils and debris. Then, gently buff the free edge to create a rough surface, which helps the gel system adhere better. Proper prep guarantees a stronger bond, preventing lifting or peeling, and typically involves cleaning, decontaminating, and lightly buffing the nails for ideal results.
Can Prep Work Prevent Chipping Over Time?
Did you know proper prep can boost gel adherence by up to 30%? Yes, prepping your free edge effectively can prevent chipping over time. When you thoroughly clean and lightly buff your nails, you create a better surface for the gel, enhancing nail longevity. This simple step helps the gel bond more securely, making your manicure last longer and stay chip-free, giving you a stronger, more durable finish.
What Tools Are Best for Prepping the Free Edge?
You should use nail buffers to gently smooth and shape the free edge, guaranteeing a clean surface for better adhesion. A cuticle oil can help loosen any debris or oils around the nail, making prepping more effective. These tools together create a perfect base, enhancing the strength of your press-on gel system. Proper prep with buffers and cuticle oil reduces chipping and guarantees longer-lasting, stronger nails.
Is Prepping Necessary for All Gel Systems?
Prepping the nail is essential for all gel systems because it considerably improves gel longevity and nail adhesion. When you prep properly, you remove oils and debris that can cause lifting or premature chipping. Skipping this step risks weaker bonds, leading to shorter-lasting results. So, always take the time to prep the free edge and nail surface for the best, most durable gel application.
How Often Should the Prep Be Reapplied?
An ounce of prevention is worth a pound of cure, so you should reapply prep every two weeks. Keep up with cuticle care and nail hydration to maintain a strong bond. Regular re-prepping guarantees your gel stays secure and minimizes lifting. If you notice any lifting or dullness, it’s time to refresh the prep. Consistent care helps your nails stay healthy and your gel system feeling strong longer.
Conclusion
By prepping the free edge, you’ll notice a significant boost in the strength of your press-on gel system—up to 30% more durability, according to recent studies. This simple step guarantees better adhesion and longer-lasting results, so you can enjoy flawless nails without frequent touch-ups. Don’t skip this essential prep; it makes all the difference. With just a quick prep, you’ll experience a stronger, more reliable gel system that keeps your nails looking perfect longer.
Halloween Picks
halloween
As an affiliate, we earn on qualifying purchases.