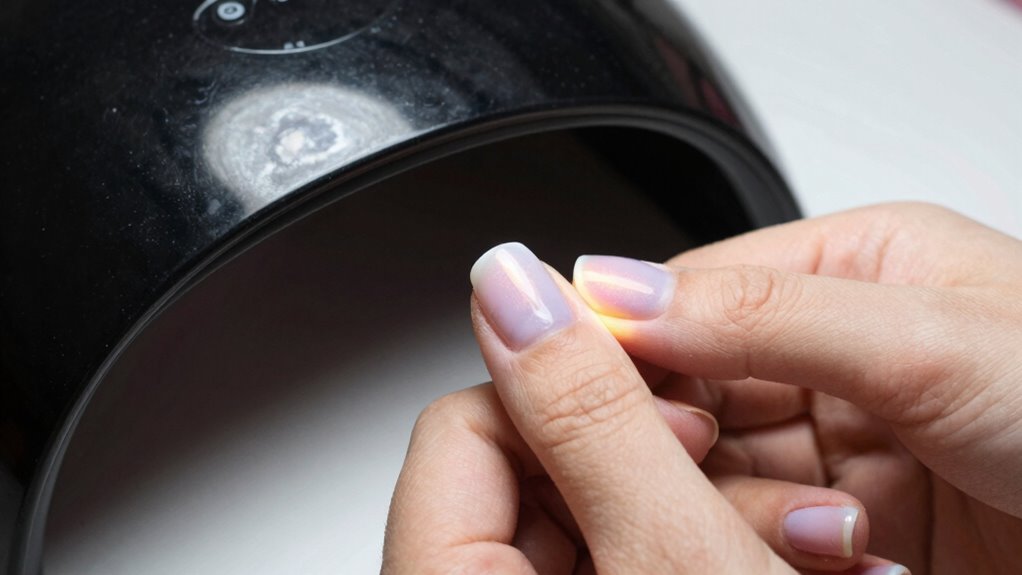

To guarantee your nail lamp cures evenly, you should give your thumbs special attention. Since thumbs are larger and often awkward to position, they can block light and result in soft or tacky gel. Keep your thumbs flat and fully exposed under the lamp, adjusting your hand or the lamp’s position as needed. Extra curing time helps prevent chips and extends your nails’ durability. Continue exploring these tips to get the best results.

Get beauty and skincare favorites delivered free with Prime
- Fast, free delivery on millions of items
- Prime Video, Amazon Music and more included
- Member-only deals all year
Key Takeaways
- Thumbs are larger and often awkwardly positioned, requiring extra attention for even UV exposure.
- Properly holding thumbs flat and aligned with the lamp ensures thorough curing.
- Extending curing time specifically for thumbs prevents soft gel and chips.
- Adjusting hand and lamp position improves light distribution to thumbs.
- Regular maintenance of UV bulbs ensures consistent, effective curing for all fingers, including thumbs.
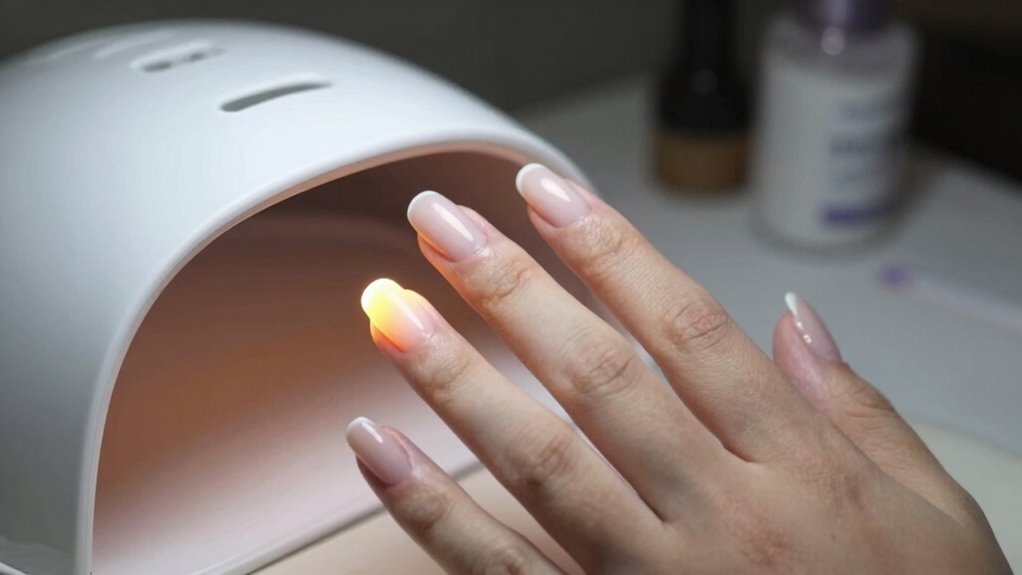
If you want your gel nails to cure perfectly, paying special attention to your thumbs can make a noticeable difference. Your thumbs are often overlooked during the curing process, but they play an essential role in guaranteeing your nails look flawless and last longer. When using a nail lamp, the amount of UV light your thumbs receive directly impacts the curing efficiency. Since the thumbs are typically larger and sometimes positioned at awkward angles, they might not get the same exposure as your other fingers. This can lead to uneven curing, where parts of your gel remain soft or tacky long after the rest of your nails are ready.
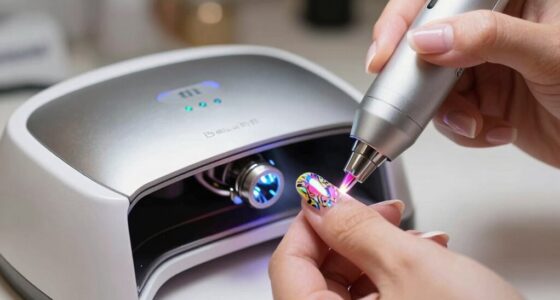
To improve curing efficiency, position your thumbs carefully under the lamp. Hold them flat and make sure they’re fully exposed to the UV light source. Sometimes, adjusting your hand or the lamp’s position can enhance light distribution. If your lamp has multiple bulbs or LED panels, guarantee your thumbs are aligned in the brightest area. For best results, avoid covering your thumbs with your palm or fingers, as this can block the UV light and prevent proper curing. Instead, hold your hand steady, with your thumbs extended and clear of obstructions, so they get an even dose of UV light.
Another tip is to pay attention to the curing time for your thumbs. They might need a few extra seconds compared to your other fingers, especially if they’re larger or if you notice uneven curing. It’s better to give them a little extra time than to rush and end up with soft gel or chips later on. Keep in mind that UV light’s effectiveness depends on distance and exposure, so maintaining a consistent position during curing helps improve overall results. If your lamp has a timer, use it diligently and consider adding a few extra seconds for your thumbs if you notice unevenness. Regularly checking and maintaining your UV bulbs or LEDs is crucial, as UV light’s effectiveness can diminish over time, affecting curing quality. Additionally, understanding the UV light spectrum emitted by your lamp can help optimize the curing process for better durability. Proper lamp positioning also plays a significant role in ensuring even light distribution across all fingers, especially the thumbs. To further enhance your curing, consider using UV light measurement tools to verify that your lamp provides consistent and adequate exposure. Being aware of these lighting factors can help you achieve longer-lasting, more professional-looking gel nails.
UV gel nail lamp for even curing
As an affiliate, we earn on qualifying purchases.
As an affiliate, we earn on qualifying purchases.
Frequently Asked Questions
Why Do Thumbs Require Different Curing Times From Other Nails?
Thumbs often need different curing times because their larger surface area and unique shape can affect the curing process. When you apply nail polish, the UV or LED light may not evenly cure all areas of the thumb. By giving thumbs extra attention, you guarantee the nail polish cures properly, preventing chipping or smudging. Adjusting curing times helps achieve a durable, flawless finish on your thumbs and other nails alike.
How Can I Tell if My Thumbs Are Fully Cured?
You can tell your thumbs are fully cured when the nail polish feels hard and slightly matte, with no tackiness or smudging. Gently touch the surface—if it’s smooth and doesn’t move, it’s ready. For nail art, guarantee the design isn’t smudging or lifting. If unsure, wait a few extra seconds under the lamp. Proper curing prevents smudges and ensures your nail polish and nail art last longer.
Do Different Nail Lamp Brands Affect Thumb Curing Effectiveness?
Think of nail lamp brands like different tools in your kit—you’ll find some work better than others. Yes, brands vary in curing effectiveness, especially for thumbs. Lamp wattage comparison matters; higher wattage models cure faster and more thoroughly. Also, check your nail polish compatibility with the lamp. Using a reputable brand guarantees consistent curing, so your thumbs get the perfect cure every time, no matter the brand.
Is There a Specific Technique for Positioning Thumbs in the Lamp?
Yes, there’s a specific technique for thumb positioning. You should align your thumb comfortably, ensuring it’s straight and flat against the lamp’s UV or LED light source. Keep your hand relaxed with fingers slightly spread for even exposure. Proper hand positioning involves keeping your palm steady and ensuring all nails, especially the thumb, are directly under the lamp’s light. This helps improve curing efficiency and prevents uneven or incomplete polish drying.
Can Improper Thumb Curing Cause Nail Damage or Lifting?
Think of your nails like tiny castles—improper thumb curing is like leaving sections unguarded, risking damage or lifting. If you don’t position your thumbs correctly, it can compromise nail strength and lead to uneven curing, causing weak spots or lifting over time. For consistent results, make sure your thumbs are properly aligned, and focus on curing thoroughly. This attention prevents damage and keeps your nails strong and beautiful.
Conclusion
Remember, your thumbs are the keystones of your hands’ symphony. Giving them extra care with your nail lamp isn’t just about better polish; it’s about honoring the foundation that holds everything together. When you shine that light on your thumbs, you’re illuminating strength and precision within yourself. So, treat those thumbs like the anchors they are—because a well-cured thumb is the secret to a flawless, harmonious finish. Let your hands tell a story of care and confidence.
Halloween Picks
halloween
As an affiliate, we earn on qualifying purchases.