
To remove gel nails safely without damage, focus on gentle techniques like soaking with acetone and using foil wraps or cotton balls to loosen the gel. Avoid aggressive scraping or force, and gently lift the gel edges without harming your natural nails. Proper preparation, like buffing the surface and sanitizing your tools, helps prevent harm. Keep nails moisturized afterward to promote health. Continue exploring these tips to ensure a damage-free removal process.
Key Takeaways
- Gently buff the gel surface to break the seal before soaking to facilitate removal without damaging the natural nail.
- Use acetone-dipped cotton and foil wraps to soak nails, ensuring gentle, even absorption without force.
- Avoid aggressive scraping; instead, lift loosened gel carefully with a cuticle pusher to prevent nail trauma.
- Keep nails soaked for 10-15 minutes, then gently remove gel to minimize thinning or cracks.
- Follow up with nourishing oils and moisturizers to support healthy nail recovery post-removal.
Why Removing Gel Nails Safely Protects Your Natural Nails
Removing gel nails safely is essential because improper removal can weaken or damage your natural nails. When you use the right removal tools and techniques, you help preserve your nail health and prevent issues like thinning, peeling, or cracks. Ripping or peeling off gel polish can cause your nails to become fragile and compromise their structure. By choosing gentle methods, such as soaking with acetone and using proper tools like orangewood sticks or soft buffers, you reduce the risk of trauma. Proper removal not only keeps your natural nails strong but also minimizes discomfort and the chance of infections. Taking care during removal ensures your nails stay healthy and ready for your next manicure without unnecessary damage. Understanding at-home beauty technology can also aid in maintaining healthier nail care routines, especially with innovations in safe removal techniques. Proper technique is a key component of professional-quality results that protect your natural nails.
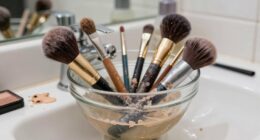
How to Prepare Your Nails and Workspace for Gel Removal
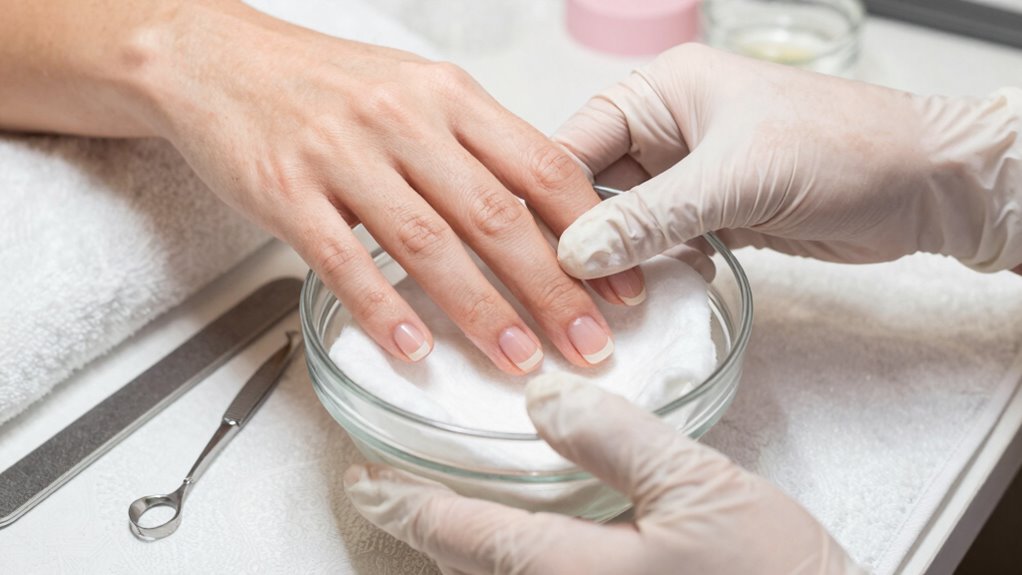
Preparing your nails and workspace before gel removal guarantees a smooth and safe process. Start with proper nail prep by gently buffing the surface of your gel nails to break the seal, making soaking easier. Avoid aggressive scraping to prevent damage to your natural nails. Next, sanitize your workspace thoroughly—clean your tools, work surface, and hands with alcohol or disinfectant to prevent contamination. Clear the area of unnecessary items to create a clutter-free zone, reducing the risk of accidents. Use a small bowl or tray for soaking and lay out all necessary supplies within easy reach. Proper workspace sanitation ensures a hygienic environment, while effective nail prep helps your gel soak off evenly. Adequate preparation is essential for a successful and damage-free experience. Incorporating visual and auditory cues can also enhance your technique and ensure thorough removal. Additionally, understanding nail health can guide you in avoiding damage during removal. Being aware of gel composition can further inform your approach to gentle removal methods. To further improve your removal technique, paying attention to proper soaking time can help prevent unnecessary damage and ensure complete gel removal.
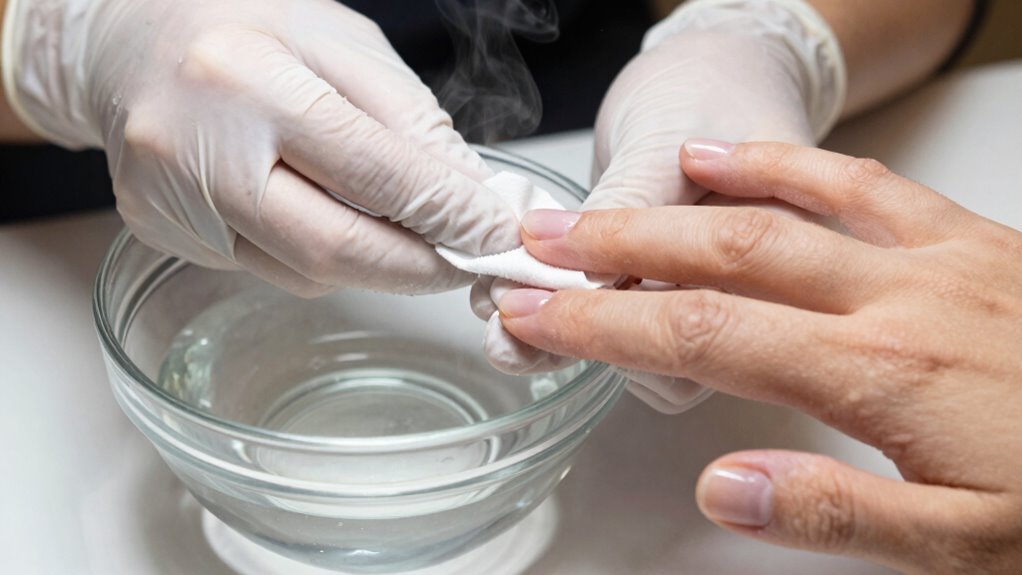
How to Safely Soak Off Gel Nails: A Step-by-Step Guide
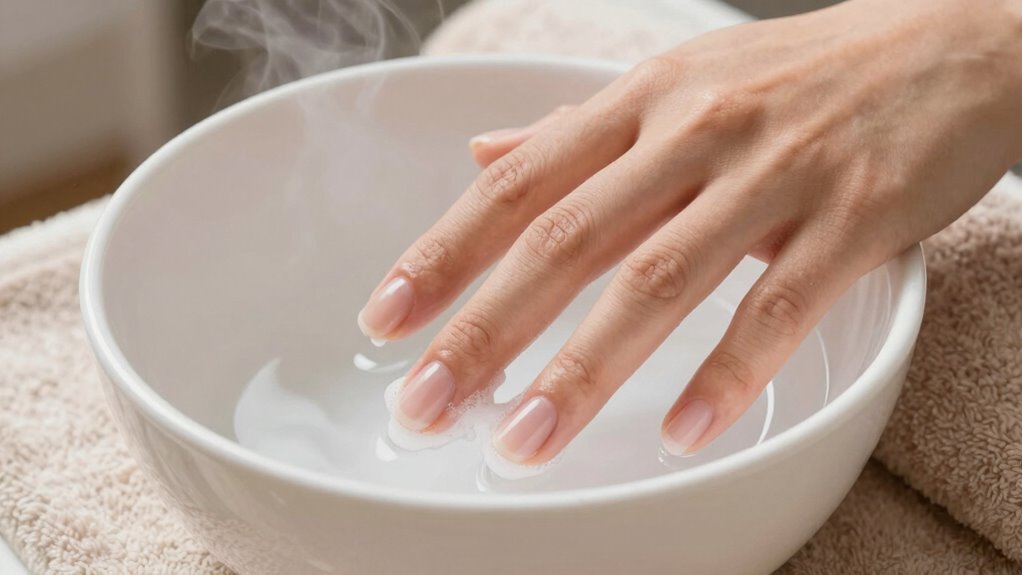
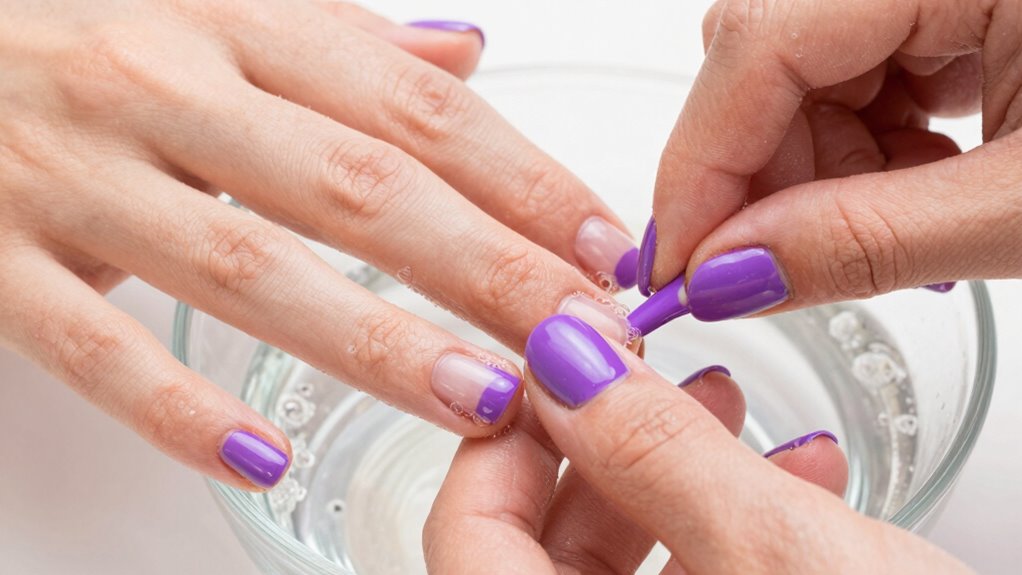
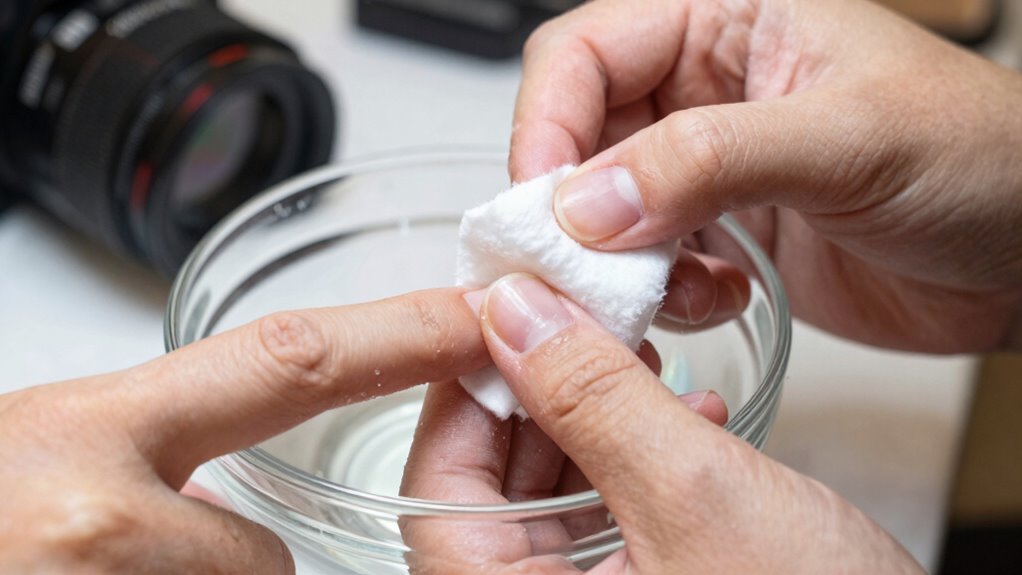
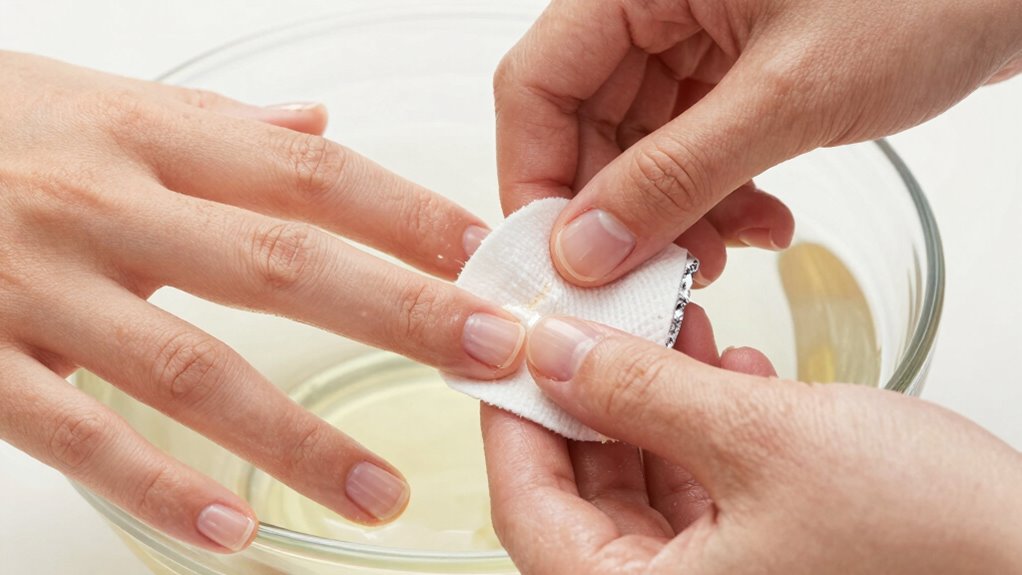
To safely soak off gel nails, start by protecting your skin and nails with foil wraps or cotton balls dipped in acetone. This prevents excess acetone contact, reducing dryness and damage. Next, gently lift the edges of the gel with a cuticle pusher, avoiding any force that could harm your nails. Use nail buffer techniques to weaken the gel layers—lightly buff the surface to improve acetone penetration without damaging the natural nail. Keep the wraps on for about 10-15 minutes, then check if the gel has loosened. If it’s ready, gently remove the gel with a cuticle pusher. Remember to protect your cuticles throughout the process and avoid digging into the gel, which can cause unnecessary damage. Proper soaking techniques can help minimize potential harm to your nails and surrounding skin. Additionally, understanding how contrast ratio impacts the clarity of the images can help you choose the best projector for your home setup. Being aware of Free Floating principles can also inform best practices for gentle removal and overall nail health. Incorporating body piercing aftercare knowledge can also be beneficial if you have piercings that need special attention during your nail care routine. Furthermore, adopting a gentle approach aligns with creative storytelling for branding, emphasizing care and attention to detail to maintain healthy nails.
Troubleshooting Gel Removal Problems: Nail Damage, Residue, and More
Even with careful techniques, gel removal can sometimes lead to nail damage, residue buildup, or other issues. You might notice cuticle damage from improper scraping or acrylic residue lingering after removal. To visualize, imagine:
| Nail Damage Types | Residue Concerns | Prevention Tips |
|---|---|---|
| Cracked nails | Sticky leftover | Use gentle solvents |
| Peeling layers | Thick deposits | Soak adequately |
| Thinning nails | Clinging residue | Avoid harsh scrapers |
| Discoloration | Excess adhesive | Follow proper removal steps |
If you encounter damage, avoid force or scraping, which worsens issues. Instead, gently re-soak or buff, and always prioritize softening the gel without harming your nails or cuticles. Proper technique minimizes these problems and keeps your nails healthy. Additionally, understanding filtration systems can help prevent residual buildup that complicates removal.
Post-Gel Removal Care: How to Keep Nails Healthy and Strong
After removing gel polish, your nails can be vulnerable to damage and weakness if you don’t give them proper care. To keep them healthy and strong, focus on nail hydration and cuticle maintenance. Hydrated nails resist breakage, so apply nourishing cuticle oil daily. Regularly moisturize your nails and cuticles to prevent dryness and peeling. Additionally, avoid aggressive filing or harsh chemicals that can weaken your nails further. Instead, give your nails a break between manicures to recover. Incorporate these habits into your routine:
- Use cuticle oil daily to promote healthy growth
- Keep nails and cuticles hydrated with moisturizer
- Avoid using nails as tools or exposing them to harsh chemicals
- Recognize the importance of professional advice and quality products in maintaining nail health
- Understanding energy-efficient practices can also help you choose better nail care routines with minimal environmental impact
These simple steps help restore strength and keep your nails looking their best.
Frequently Asked Questions
How Often Should I Remove Gel Nails to Prevent Damage?
You should remove gel nails every two to three weeks to maintain nail health and prevent damage. Frequent removal or leaving gel on too long can weaken your nails and cause breakage. Stick to a regular removal schedule, and consider using the safe soak-off method to minimize damage. This approach helps preserve your natural nails’ strength, ensuring they stay healthy and look great between gel applications.
Can I Remove Gel Nails at Home Without Tools?
Yes, you can remove gel nails at home without tools using DIY removal methods. Instead of scraping or picking, opt for gentle, tool-free techniques like soaking your nails in acetone or using foil wraps. These methods dissolve the gel safely, preventing damage. Remember, patience is key—soaking for the right amount of time guarantees effective removal without harming your natural nails. Always prioritize safety and gentle care.
Is It Safe to Reuse Gel Removal Materials?
Yes, it’s safe to reuse gel removal materials if you follow proper sanitization practices. You should use reusable tools like metal files or buffers, but always clean and disinfect them thoroughly between uses. This prevents bacteria transfer and maintains safety. Avoid reusing anything that can’t be properly sanitized, like porous sponges or cotton balls. Prioritize hygiene to protect your health and ensure effective gel removal every time.
How Long Does a Typical Gel Removal Process Take?
Like a well-choreographed dance, a typical gel removal process takes about 15 to 20 minutes. You start by gently soaking your nails in acetone, allowing the gel polish to loosen, then carefully lifting it off. The removal time varies based on the gel’s thickness and your technique, but patience guarantees you avoid damage. Rushing can turn a smooth dance into a stumble, so take your time.
Are There Any Natural Remedies to Accelerate Gel Removal?
You might try DIY remedies or natural alternatives like soaking your nails in warm, acetone-free olive or coconut oil to loosen gel polish. Gently buff the surface, then wrap your nails with a warm, damp cloth to help break down the gel faster. While these methods can aid removal, they work slowly and aren’t as effective as professional techniques. Always be gentle to avoid damaging your nails.
Conclusion
By following the safe soak-off method, you’ll protect your nails from damage and keep them healthier than ever. Think of it as giving your natural nails a much-needed spa day—they’ll thank you with strength and shine. Don’t rush or force the gel off; patience is your secret weapon. With gentle care, you can enjoy beautiful, damage-free nails that look stunning and stay strong for the long haul. Your nails will thank you for it!