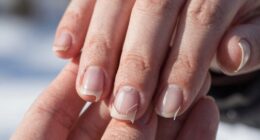
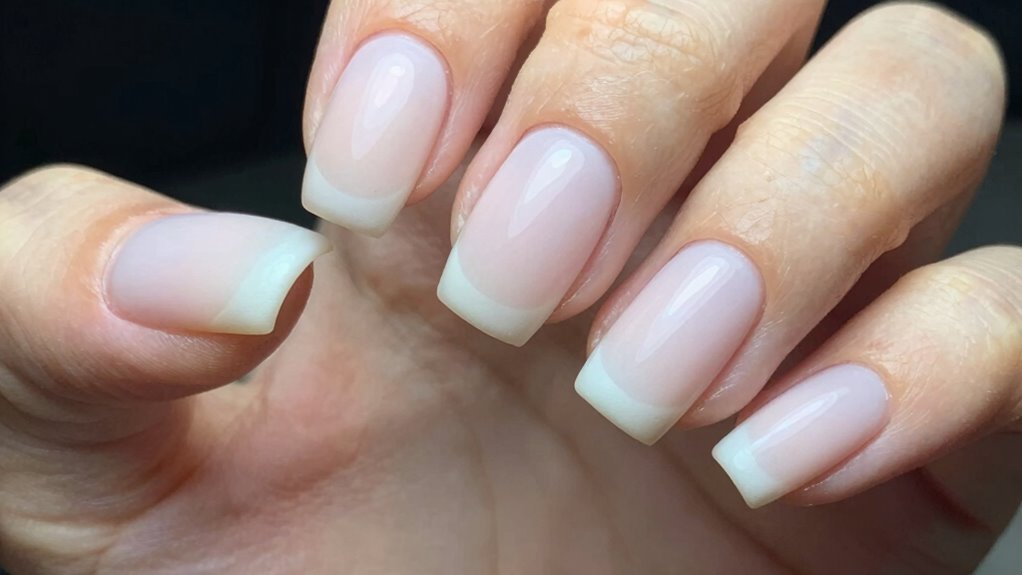
Milky nails give your hands a soft, polished look with their subtle, opaque white or creamy hue. They highlight your natural beauty while adding an understated elegance perfect for any occasion. This versatile style suits various skin tones and shapes, offering a fresh, clean vibe. The key is choosing the right shade, applying smooth coats, and maintaining healthy nails. Want to discover more about achieving and perfecting this chic look? Keep exploring to learn the secrets behind stunning milky nails.
Key Takeaways
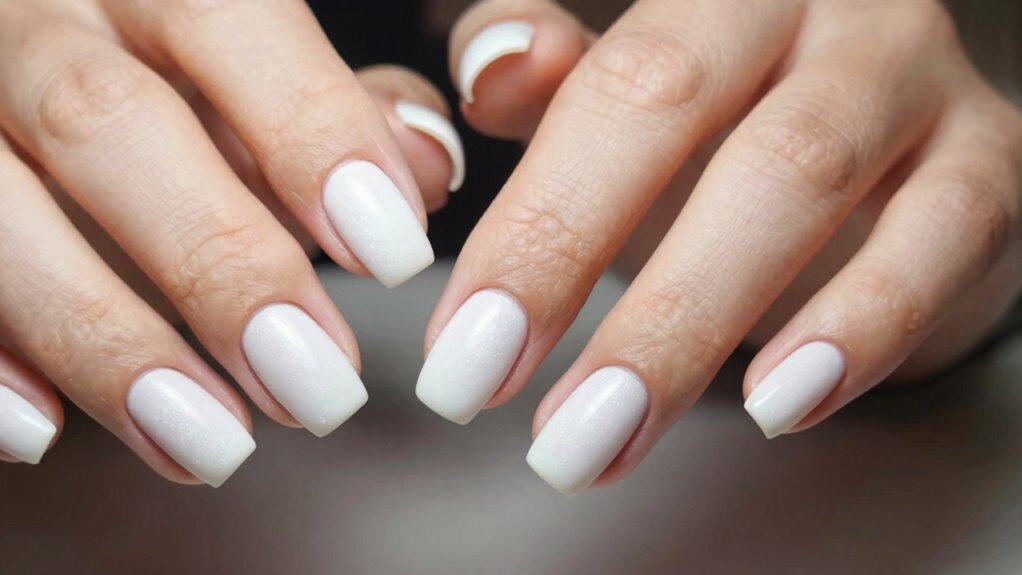
- Milky nails feature a soft, opaque white hue that enhances natural beauty with a polished, understated look.
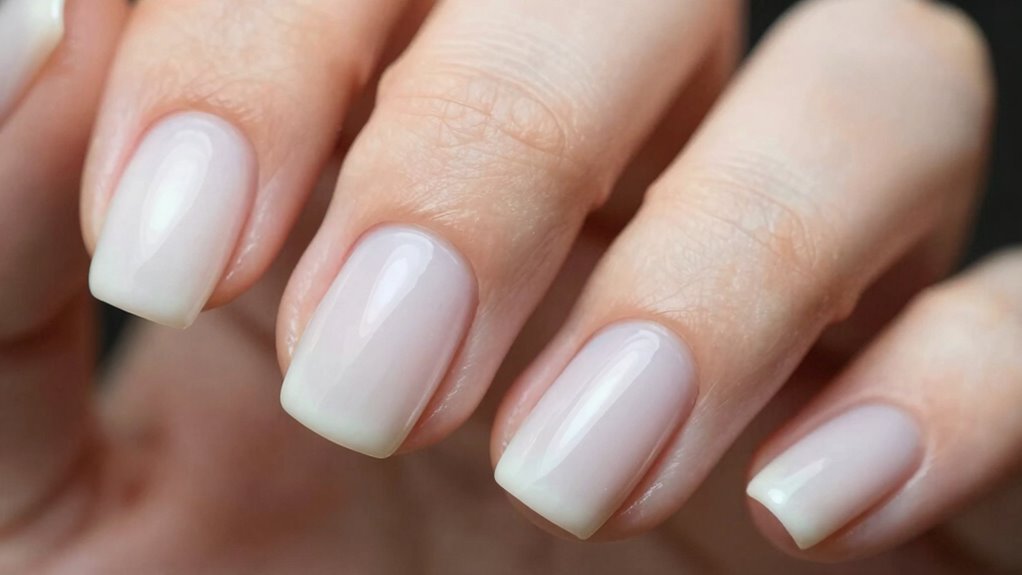
- Proper application techniques and high-quality products ensure a smooth, high-shine finish that makes hands appear more refined.
- Selecting shades that complement skin tones and maintaining nail health enhances the soft, polished aesthetic.
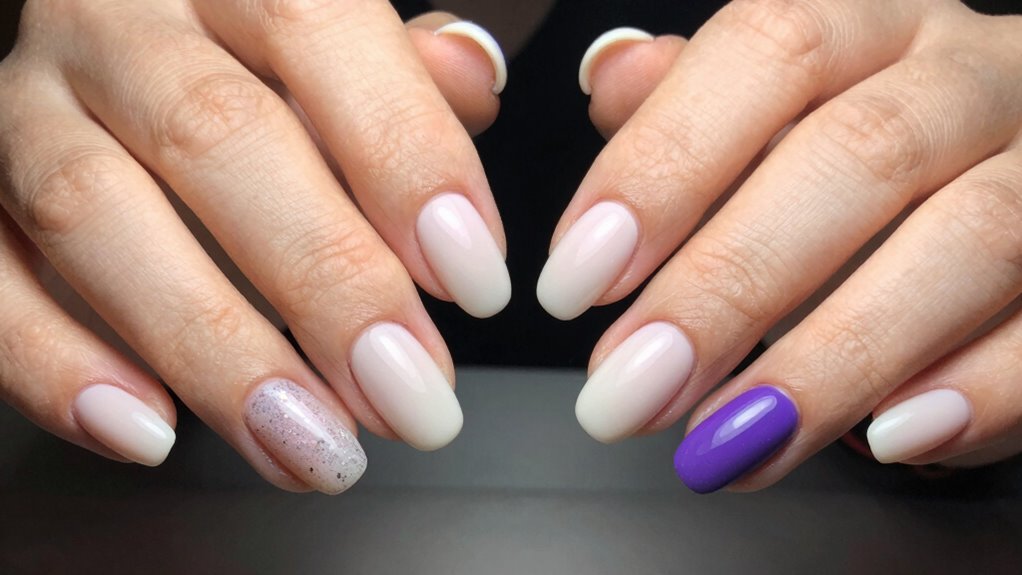
- Almond or stiletto shapes accentuate the gentle, elegant appearance of milky nails.
- Regular nail care and strategic style transitions preserve the soft, sophisticated finish for lasting elegance.
What Are Milky Nails and Why Are They Trending in 2024?
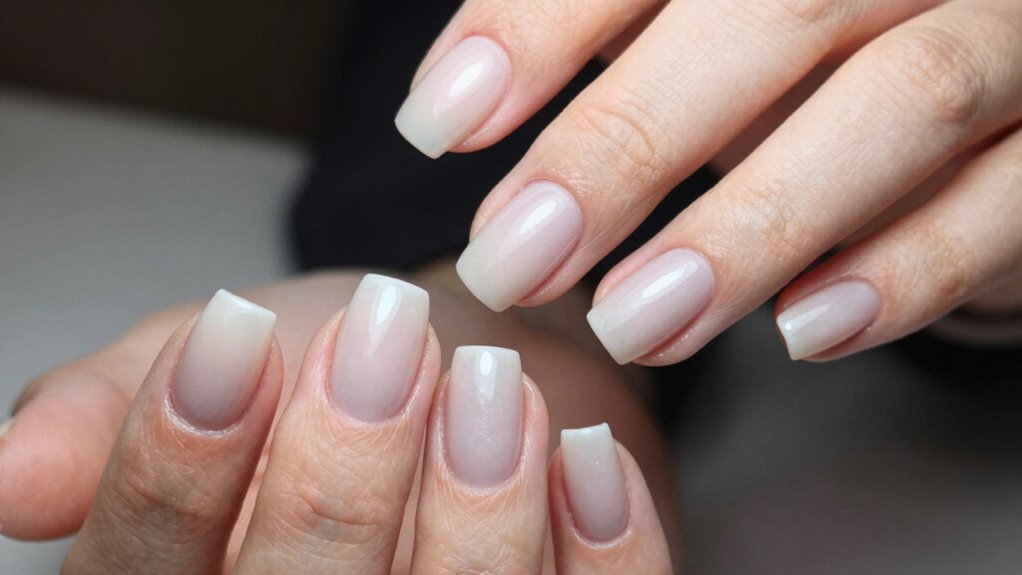
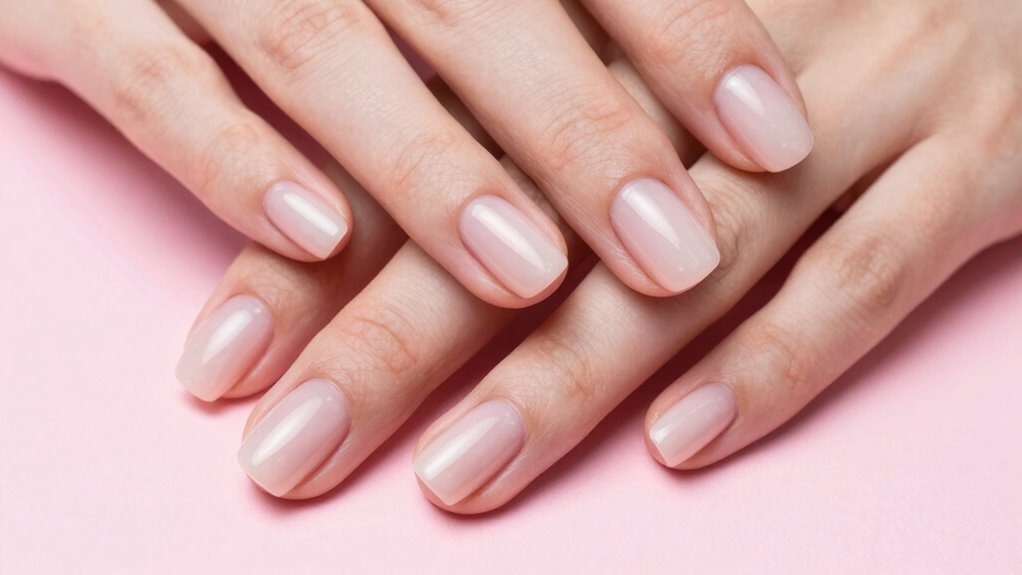
Milky nails, also known as opaque or cloudy nails, feature a soft, milky-white hue that gives them a fresh, clean appearance. They’re gaining popularity in 2024 because they’re versatile and enhance nail health by highlighting natural beauty without the need for bold colors or designs. The subtle hue creates a calming, sophisticated look that appeals to many. From a color psychology perspective, milky nails evoke feelings of purity, tranquility, and cleanliness, making them perfect for everyday wear. They also serve as a neutral base, allowing you to experiment with minimalistic accents or keep it simple. This trend emphasizes a polished, natural aesthetic that resonates with those seeking a healthy, understated style. Incorporating nail health practices can help maintain their delicate appearance and ensure long-term beauty. Additionally, choosing high-quality, nourishing products can prevent damage and promote healthy nails, ensuring the trend remains both stylish and sustainable. Proper nail care routines can further enhance durability and overall appearance, as well as support nail strength, making milky nails a practical choice for many.
Choosing the Best Products for Milky Nails
To get the perfect milky nails, you need to pick the right nail polish formulation that offers smooth application and lasting color. Top coat choices can boost shine and durability, so choose ones that complement your style. Also, consider your skin tone to select products that enhance your natural beauty and make your nails stand out. Ensuring your nails are properly sized and load‑planned can help achieve a more polished and professional look. Additionally, understanding Free Floating nail trends can inspire fresh design ideas that suit your personal style. Incorporating proper nail care techniques can further prolong the beauty and health of your nails, ensuring a flawless finish every time. Being aware of passive voice in product descriptions can also help you make clearer, more direct choices for your nail routine. Paying attention to application techniques can make a significant difference in achieving a smooth, even milky finish.
Ideal Nail Polish Formulation
Choosing the right nail polish formulation is essential for achieving the soft, opaque look that defines milky nails. You want a formula that provides smooth application, good coverage, and a natural finish. Look for polishes with a balanced mix of pigments and a creamy consistency that allows easy nail art application or layering for seasonal colors. Avoid formulas that are too thin or runny, as they can create streaks and uneven opacity. Instead, opt for those with a slightly thicker texture that self-levels and delivers a polished look. The right formulation guarantees your nails look effortlessly elegant, whether you’re experimenting with subtle nail art or showcasing seasonal hues. Additionally, selecting high-quality pigments ensures color consistency and longevity for the perfect finish. Incorporating textural variety can also enhance the visual depth of milky nails, adding to their sophisticated appeal. Furthermore, choosing formulas with consistent pigmentation helps achieve uniform coverage in fewer coats, enhancing the overall polished appearance. To further improve the application process, consider the formulation consistency that allows for easier layering and blending. Additionally, considering the manufacturing quality can influence the durability and overall look of the final manicure.
Top Coat Recommendations
Are you selecting the right top coat to enhance your milky nails? The perfect top coat not only protects your nail care routine but also keeps your soft finish looking polished longer. When choosing products, consider salon trends that favor quick-drying, high-shine, and durable formulas. Look for top coats labeled as “glossy” or “gel-like” for added depth and shine. Additionally, choosing artcare and living concepts that emphasize proper application techniques can help maintain your manicure’s appearance over time.
Skin Tone Compatibility
Finding the right shades and finishes for your milky nails depends largely on your skin tone. For light skin tones, opt for softer, more translucent whites that create a natural, subtle look. Medium skin tones can handle slightly richer or warmer milky shades to enhance contrast without overpowering your complexion. If you have darker skin, deeper or more opaque milky hues work best, providing striking contrast and depth. Skin tone pairing is essential to achieve a balanced, harmonious appearance. Consider contrast considerations as well—lighter shades on darker skin can brighten your hands, while darker shades on lighter skin can add sophistication. Ultimately, selecting shades that complement rather than clash with your skin tone ensures your milky nails look polished and flattering. Understanding color harmony can further help you choose shades that truly enhance your natural beauty. Paying attention to wave and wind patterns in nail polish application can also influence the overall finish, creating a more refined look. Additionally, experimenting with different finishes and textures can help you find the perfect look that matches your style and enhances your skin tone. Incorporating visual balance principles can guide you in selecting shades that achieve a cohesive and elegant appearance. To achieve the most flattering result, consider how lighting conditions may affect the appearance of your chosen shades in various settings.
How to Achieve Flawless Milky Nails at Home
Start by gathering all your supplies to guarantee a smooth application process. Next, perfect your base coat to create an even foundation for your milky polish. Finally, carefully apply the white polish in thin layers for a flawless, natural look.
Gather Your Supplies
To achieve flawless milky nails at home, gather all the necessary supplies beforehand. Proper nail prep is essential, so verify your nails are clean, dry, and free of oils. Selecting the right color match is key for that soft, milky finish, so pick a white or off-white polish that complements your skin tone. Here’s what you’ll need:
- Nail file and buffer
- Cuticle pusher and remover
- Base coat to protect your nails
- Milky or opaque white nail polish
- Top coat for a polished finish
Having everything ready saves time and helps you focus on achieving a smooth, even application. Remember, careful nail prep and color matching set the foundation for perfect milky nails. Proper nail care and hygiene are also vital to maintain your nails’ health and appearance. Additionally, using high-quality nail products can make a significant difference in achieving a flawless finish.
Perfect Your Base Coat
Applying a high-quality base coat is essential for a smooth, even finish when creating milky nails at home. It helps protect your nails and promotes better adhesion of the polish. Before applying the base coat, focus on nail hydration by moisturizing your cuticles regularly; healthy cuticles prevent peeling and lifting. Gently push back your cuticles and remove any excess skin to create a clean surface. This step ensures the base coat adheres evenly and reduces imperfections. Use a thin layer of base coat, covering your entire nail surface, and allow it to dry completely. Proper cuticle care and nail hydration set the foundation for flawless milky nails, ensuring a polished look that lasts longer and looks more professional.
Apply Milky White Polish
Wondering how to achieve that perfect milky white finish? Start by choosing the right color combinations—opt for a soft, opaque white for a natural look. Use a clean, flat brush to apply the polish in thin, even coats, avoiding streaks. Let each layer dry completely before adding another to build that flawless, soft finish. For best results, keep your nails well-maintained with proper nail care tips, like moisturizing cuticles and shaping nails beforehand. Remember, less is more—aim for a subtle, smooth application. Here are some tips to perfect your application:
- Use a base coat to prevent staining
- Apply polish in thin layers
- Cap the free edge for longevity
- Clean mistakes immediately with a brush dipped in remover
- Finish with a top coat for shine and durability
Shades of Milky Nails: Which Tone Suits Your Skin?

Choosing the right shade of milky nail polish can enhance your natural beauty and complement your skin tone. For fair skin, opt for lighter, more translucent milky shades that create a soft, elegant look without overpowering your nails. If your skin has warm undertones, try shades with a hint of beige or creamy tones to achieve a harmonious color match. Medium skin tones can pull off slightly richer milky hues, adding depth without sacrificing the soft finish. For darker skin, deeper milky shades with a touch of caramel or mocha can beautifully highlight your nails. Remember, nail health plays a role in how these shades appear; healthy nails provide a clean canvas for the polish to shine. Selecting a tone that aligns with your skin tone ensures your manicure looks polished and natural.
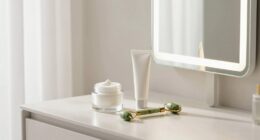
How to Keep Your Milky Nails Looking Fresh and Perfect

Maintaining the fresh, flawless look of your milky nails requires a few simple routines. First, keep your nails hydrated with cuticle oil daily to promote nail health and prevent dryness. Always use a gentle, moisturizing hand cream to reduce chipping and maintain their soft finish. When applying nail polish, guarantee color matching with your skin tone for a seamless look. Avoid harsh chemicals by wearing gloves during cleaning. Regularly file nails to prevent snags and maintain their shape. Finally, give your nails a break from polish every now and then to breathe and recover, keeping them strong and healthy. Incorporating these habits will help your milky nails stay polished, fresh, and beautiful for longer.
Top Nail Art Ideas to Elevate Your Milky Nails
Looking to make your milky nails stand out? Trend analysis shows subtle, elegant nail art enhances their soft finish. For a sophisticated touch, consider minimalist designs like delicate stripes or tiny dots that emphasize nail health. Alternatively, soft marble effects add depth without overwhelming. To keep your nails healthy, avoid excessive filing or harsh chemicals, ensuring your art complements their natural beauty. Here’s a quick guide:
| Art Idea | Description |
|---|---|
| Gold Foil Accents | Adds a luxe touch with minimal effort |
| Negative Space Designs | Creates modern, airy patterns |
| Subtle Glitter Tips | Elevates the soft finish without overpowering |
| Hand-Painted Florals | Soft, artistic details for a feminine vibe |
These ideas keep your milky nails fresh, trendy, and healthy.
Common Mistakes to Avoid When Creating Milky Nails
Avoid uneven application techniques, as they can make your milky nails look patchy and unprofessional. Choosing the wrong color shades can also ruin the sleek, clean look you’re aiming for. Pay attention to these common mistakes to achieve a flawless finish every time.
Uneven Application Techniques
Applying milky nails evenly can be tricky, but many beginners make common mistakes that lead to uneven results. One key issue is poor application consistency, which causes streaks or patchiness. To improve, focus on smooth, even strokes and avoid overloading your brush. Pay close attention to color blending, ensuring each layer seamlessly merges with the next. Here are some common mistakes to watch out for:
- Applying thick layers that don’t dry evenly
- Using uneven brush strokes or inconsistent pressure
- Skipping thin, multiple coats instead of one thick coat
- Not allowing sufficient drying time between layers
- Neglecting to tidy up edges for a smooth finish
Incorrect Color Choices
Choosing the wrong shade of white or opting for overly opaque formulas can easily ruin the delicate, translucent appearance of milky nails. To maintain that soft, polished look, select a shade that complements your skin tone and enhances the natural nail bed. Avoid colors that are too stark or bright, which can create an unnatural contrast. Proper color coordination is essential; subtle, creamy whites work best for a refined finish. When applying nail art techniques, steer clear of overly bold or busy designs that detract from the gentle, understated vibe. Instead, opt for simple accents or minimalistic patterns that highlight the soft finish. Remember, the goal is to enhance the natural beauty of your nails without overpowering their delicate, milky appearance.
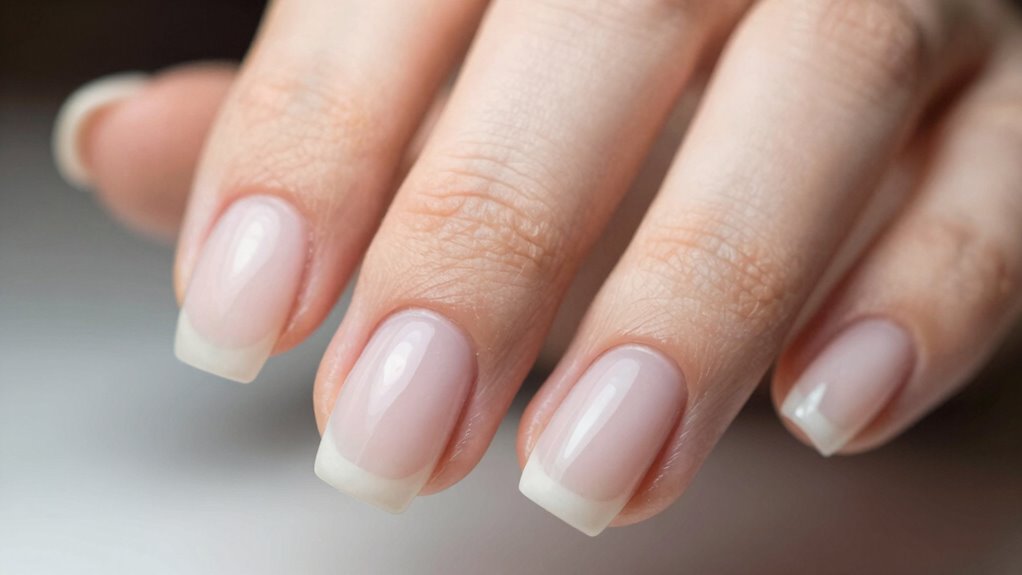
Are Milky Nails Suitable for Professional Settings?
Milky nails can be a versatile and subtle choice for professional settings, but whether they’re appropriate depends on your workplace’s dress code and culture. They often enhance your professional appearance by offering a clean, polished look without being too bold. To guarantee workplace appropriateness, consider these factors:
- Company policies on nail colors
- Industry standards for professionalism
- The formality of your work environment
- Client interactions and expectations
- Personal grooming habits
If your workplace values understated elegance, milky nails are a safe and stylish option. They add a touch of sophistication without drawing unnecessary attention. However, in more conservative or strict settings, it’s best to keep the look simple and well-maintained to maintain a professional appearance.
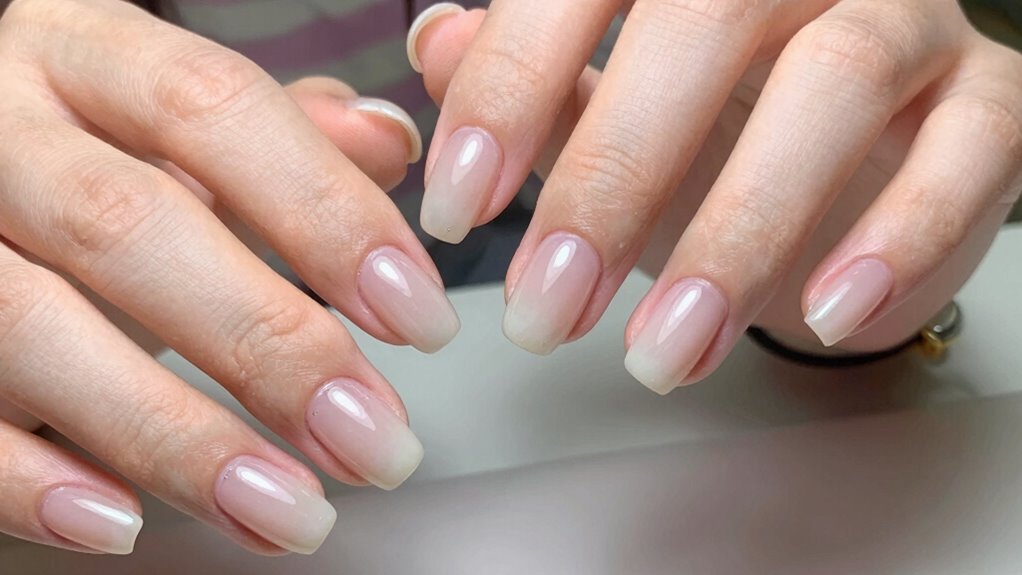
Milky Nails vs. Other Nude Nail Styles: What’s the Difference?
While milky nails share similarities with other nude nail styles, they stand out due to their unique opacity and soft, cloudy appearance. Unlike sheer, translucent neons or beige shades, milky nails feature a subtle, opaque hue that mimics the look of milk. The key differences lie in color blending and nail shaping choices. For example, softer, rounded shapes complement milky shades for a gentle finish, while square shapes suit more minimal looks. Here’s a quick comparison:
| Style | Color Blending | Nail Shaping |
|---|---|---|
| Milky Nails | Soft, opaque blend | Rounded or oval |
| Classic Nude | Transparent, minimal | Square or oval |
| Glossy Nude | High-shine, clear base | Almond or stiletto |
Choosing the right style enhances the soft, polished look of milky nails.
From Subtle to Bold: How to Transition Your Milky Nails to Bolder Looks
If you’ve grown comfortable with the soft, understated charm of milky nails, you might be ready to make a bolder statement. Moving to bolder looks is easy with strategic color blending and texture finishes. To elevate your style, consider:
- Adding a gradient or ombré effect for seamless color blending
- Incorporating metallic or chrome accents for a bold shine
- Using textured finishes like matte or 3D designs to create depth
- Experimenting with darker shades that still complement your milky base
- Applying subtle nail art or geometric patterns for contrast
Start by gradually introducing these elements, keeping the progression smooth. This approach allows your nails to stand out without losing the soft, polished finish you love.
Frequently Asked Questions
How Long Do Milky Nails Typically Last Before Touch-Ups Are Needed?
Milky nails usually last about 1 to 2 weeks before you need a touch-up. As your nail growth continues, you’ll notice the soft finish beginning to lift at the cuticle, signaling it’s time for a refresh. To keep your nails looking polished, plan for regular touch-ups every week or so, especially if you want to maintain that fresh, soft finish. Consistent care helps your milky nails stay beautiful longer.
Can Milky Nails Be Customized for Special Occasions or Events?
You can absolutely customize milky nails for special occasions by choosing from various custom color options and adding decorative accents like glitter, rhinestones, or delicate designs. You’ll love how easily you can personalize the soft finish to match your outfit or theme. Whether you prefer subtle elegance or bold statement pieces, customizing your milky nails makes your look truly unique and perfect for any event.
Are There Any Specific Skin Tones That Complement Milky Nail Shades?
You’ll find milky nail shades suit a variety of skin tones, especially light to medium complexions, offering a subtle elegance. For darker skin tones, opt for richer or more opaque milky shades to enhance your look. Consider fashion pairing by matching these nails with neutral or pastel outfits for a sophisticated vibe. Ultimately, experimenting with different shades helps you discover which milky finish complements your skin tone best.
How Do Milky Nails Compare to Gel or Acrylic Nails in Durability?
Milky nails typically last about 3-7 days longer than gel or acrylic nails, mainly due to their natural nail polish formulation. They often have better chip resistance and nail strength, making them less prone to cracking or peeling. While gels and acrylics excel in durability, milky nails offer a softer, more natural look with decent longevity, perfect if you want a polished appearance without sacrificing nail health.
What Are the Best Removal Methods for Milky Nail Polish?
You can remove milky nail polish easily with peel-off techniques or acetone removal. For peel-off, gently lift the polish from the edges and peel it away, avoiding damage. If you prefer acetone, soak a cotton ball in acetone, press it on your nails, and wrap with foil for 10-15 minutes. This softens the polish, making it simple to wipe off with a cotton pad. Both methods are effective and gentle.
Conclusion
Embracing milky nails offers a soft, polished touch that subtly elevates your hand’s presence. Like a gentle whisper of elegance, these shades provide a versatile canvas for any occasion. With a little care and the right choices, you’ll keep your nails looking effortlessly refined, as if they’ve been kissed by morning dew. So, let your nails softly glow, whispering sophistication with every delicate glance.