
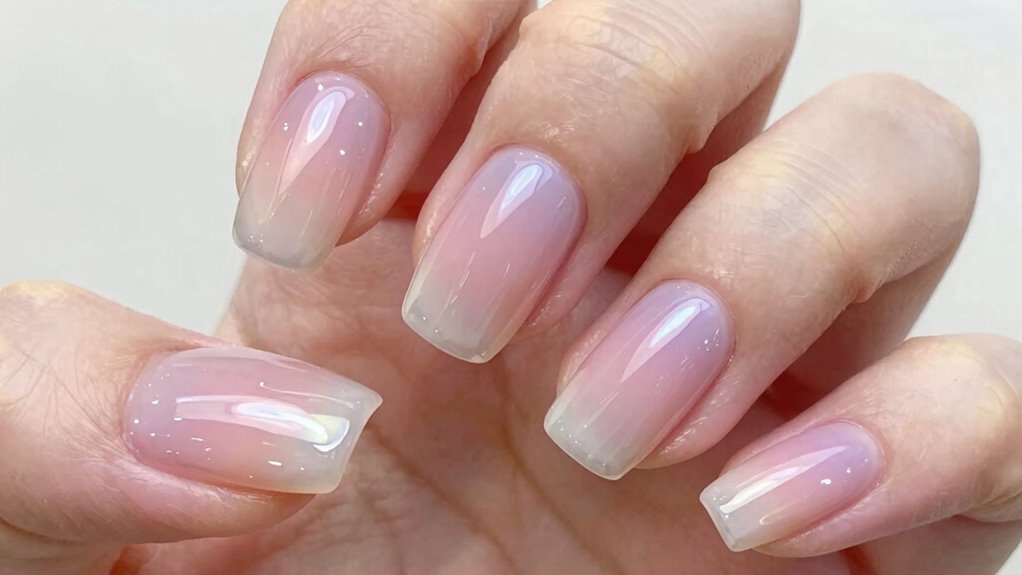
Jelly nails are back, offering a sleek, translucent look that adds a touch of elegance to any style. To achieve this at home, start with clean, prep your nails properly, then use a sheer gel polish in thin layers, curing each under a UV or LED lamp. Finish with a glossy top coat for shine and durability. If you keep experimenting, you’ll discover tips to make your jelly nails last longer and look flawless.
Key Takeaways
- Use high-quality, sheer gel polish and apply thin, even layers for a translucent, glass-like finish.
- Properly prep nails by cleaning, buffing, and pushing cuticles to ensure smooth application and long-lasting results.
- Cure each gel layer thoroughly under UV or LED lamps as directed to prevent lifting and chipping.
- Finish with a shiny gel topcoat to enhance gloss and durability, mimicking the iconic jelly nail look.
- Get creative by adding subtle designs, glitter, or color contrasts while maintaining transparency for a modern style.

Beetles Jelly Gel Nail Polish Set, 53PCS 36 Colors Jelly Pink Milky White Red Black Blue Green Silver Cat Eye Base Glitter Glossy Matte Top Coat Crystal Ice Collection French Nails Gift for Women
【Beetles 36 Colors Gel Nail Kit】This beetles jelly gel nail polish set includes 36 colors jelly and cat…
As an affiliate, we earn on qualifying purchases.
As an affiliate, we earn on qualifying purchases.
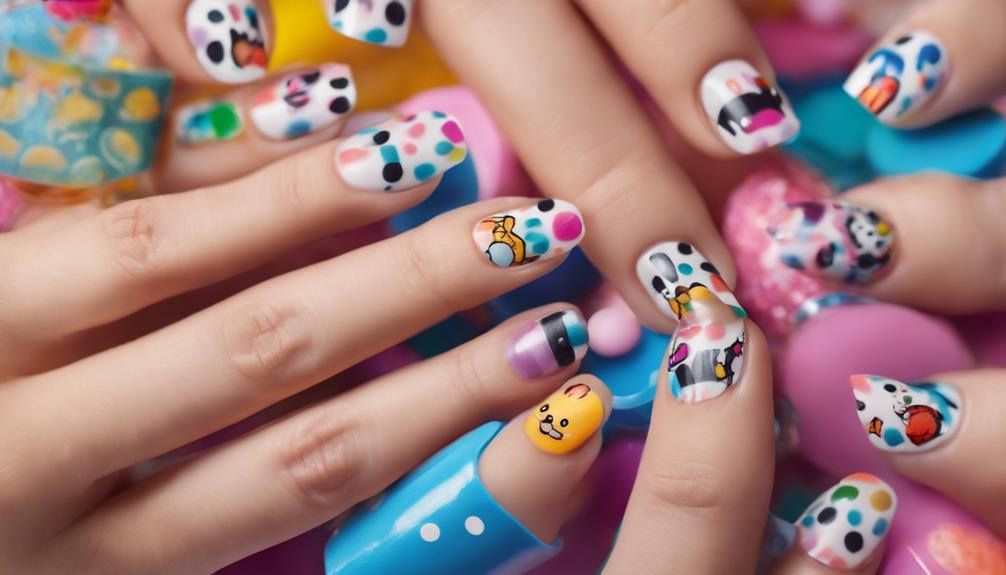
What Are Jelly Nails, and Why Are They Trending Again?
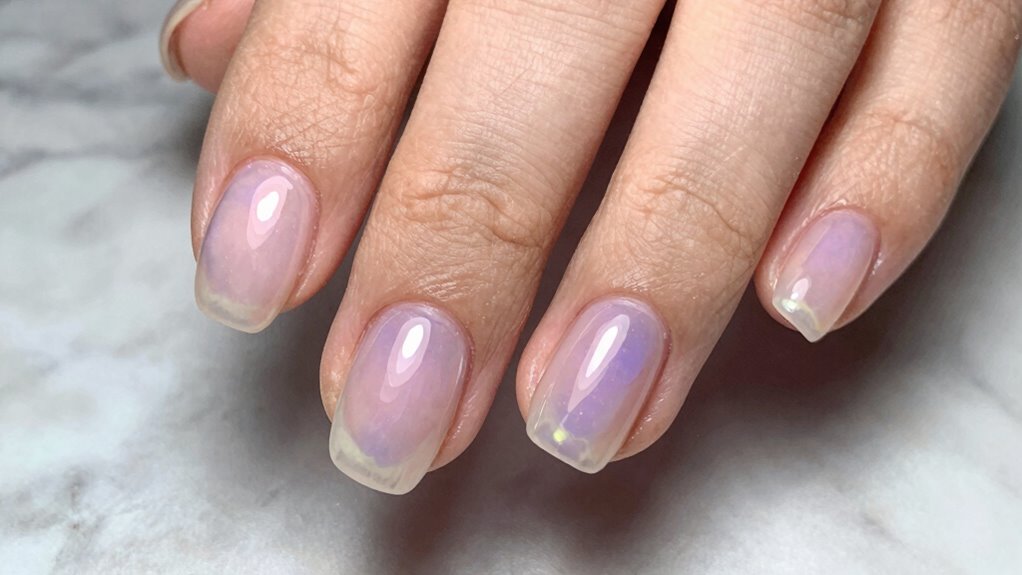
Have you ever wondered what makes jelly nails so irresistible? These semi-transparent, glossy nails offer a unique blend of simplicity and sophistication, making them a popular choice for nail art inspiration. The history of jelly nails traces back to the early 2000s when they first gained popularity for their translucent, glass-like appearance. Recently, their resurgence is driven by a desire for minimalist, natural looks that still make a statement. The trend combines the charm of clear, shiny finishes with creative design possibilities. Their lightweight feel and subtle elegance appeal to many, fueling their comeback. As a versatile style, jelly nails let you showcase your personality while maintaining a clean, polished aesthetic. European cloud innovation and sustainable practices in the beauty industry are also influencing trends toward eco-friendly and energy-efficient nail products. Additionally, advancements in nail polish formulas, such as the development of long-lasting and quick-drying options, have made achieving this transparent look easier and more durable, encouraging more people to try the trend. This shift toward energy-efficient nail products is also part of a broader movement toward sustainable beauty, making jelly nails not only stylish but also eco-conscious. The use of eco-friendly ingredients in nail polishes further supports environmentally conscious choices among consumers. No wonder they’re trending again among nail enthusiasts worldwide.

JODSONE U V LED Nail Lamp, Nail Dryer for Gel Polish, Led Light with Automatic Sensor & 4 Timers
The Professional Nail Lamp and Drying Almost All Nail Gel: including led gels, hard gels, sculpture gel, gem…
As an affiliate, we earn on qualifying purchases.
As an affiliate, we earn on qualifying purchases.
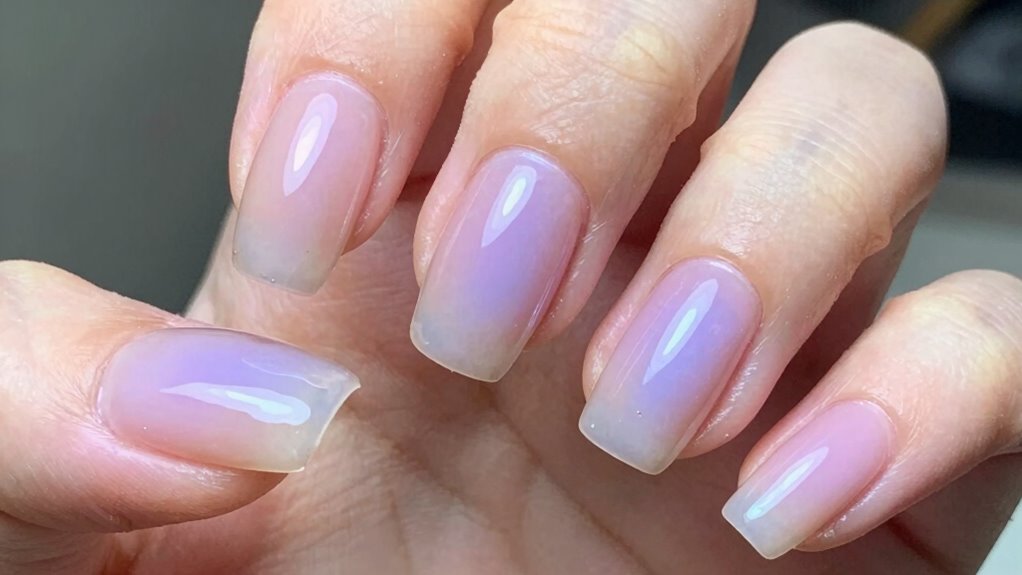
How to Achieve Perfect Transparent Jelly Nails at Home
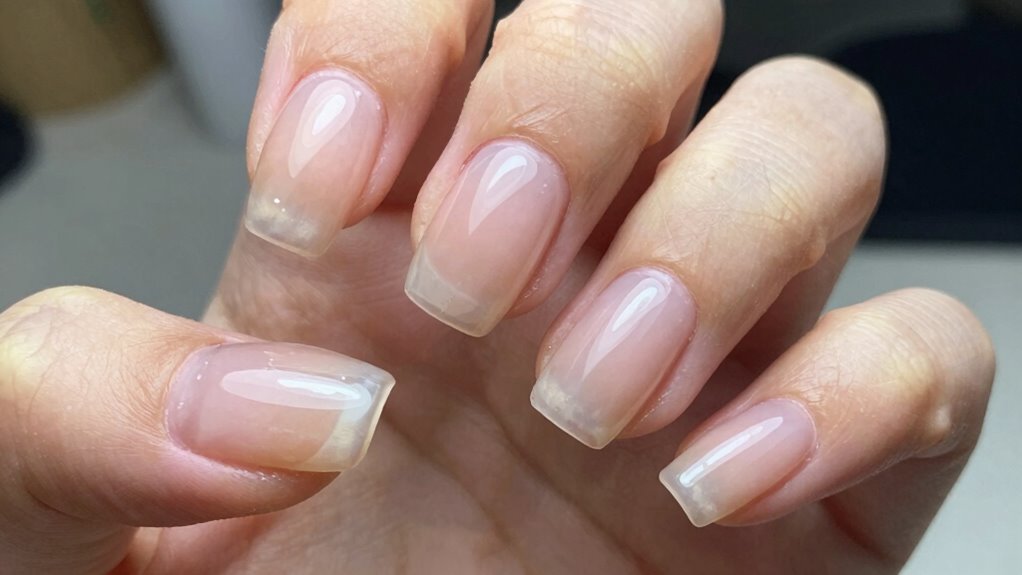
Achieving flawless transparent jelly nails at home is easier than you might think with the right tools and techniques. Start with proper nail prep: clean your nails thoroughly, push back cuticles, and lightly buff the surface to remove shine. This ensures better gel polish adhesion. Choose a high-quality gel polish designed for jelly nails, preferably one with a sheer, translucent finish. Apply a thin layer of gel polish, avoiding thick coats that can ruin the transparent effect. Cure each layer under a UV or LED lamp as instructed. Repeat with additional thin coats until you reach the desired level of translucency. Finish with a top coat for shine and durability. Proper nail prep and careful layering are key to achieving perfect, salon-quality transparent jelly nails at home. Additionally, understanding smart home automation can help you explore how integrated lighting and routines can enhance your beauty space. Incorporating proper application techniques and patience during each step will ensure a stunning, clear, and glossy finish. To enhance your results, consider nail art accessories like tiny decals or glitter for added flair. Using quality gel polish can also make a significant difference in the final appearance and longevity of your manicure.

beetles Gel Polish No Wipe Gel Top Coat – Clear Color Top Coat Gel Nail Polish Shine Finish and Long Lasting, Soak Off Nail Lamp, 15ml Spring Nails Gifts for Women
Beetles Clear Color Gel: No Wipe Top Coat Gel Nail Polish, Long lasting with perfect shine. A flexible…
As an affiliate, we earn on qualifying purchases.
As an affiliate, we earn on qualifying purchases.
Which Products Do You Need for Long-Lasting Jelly Nails?
To guarantee your jelly nails last as long as possible, selecting the right products is essential. First, invest in a high-quality gel topcoat to seal your design and add shine. Second, use a reliable UV lamp to cure each layer thoroughly, ensuring durability. Third, choose a good base gel that adheres well to your natural nails and prevents lifting. Fourth, opt for a pigmented or tinted gel designed for jelly nails to achieve that transparent effect. These products work together to create a long-lasting, glossy finish. Remember, proper curing with your UV lamp and a durable gel topcoat are key to maintaining stunning jelly nails that stay intact and vibrant for days. Additionally, selecting consistently high-quality gels can significantly improve the longevity of your manicure.

beetles Gel Polish Whispers of Love Jelly Gel Nail Polish Set – 6 Colors Milky White Nude Pink Neutral Sheer Translucent Soak Off UV Gel Nail Kit, Nail Concealer for Salon DIY Manicure Gift for Women
【Fashion Jelly Gel Polish Set】6 Colors 7.5ml/0.25fl.oz Beetles jelly gel nail polish Whipsers of Love set. You'll be…
As an affiliate, we earn on qualifying purchases.
As an affiliate, we earn on qualifying purchases.
Troubleshooting Common Jelly Nail Problems (Lifting, Smudges, Chips)
Even with careful application, jelly nails can sometimes lift, smudge, or chip prematurely. To avoid these issues, follow proper application tips, like cleaning your nails thoroughly before applying and avoiding excessive filing. Make sure you apply a thin, even coat of base and top coat, which helps with adhesion and durability. Using high-quality product recommendations, such as a gel primer or bond aid, can improve longevity and prevent lifting. When applying color, cure each layer properly under a UV or LED lamp, ensuring complete drying before adding the next coat. If smudges or chips occur, gently buff the surface and reapply a thin layer of top coat. Regular maintenance and avoiding harsh chemicals will also help keep your jelly nails looking flawless longer. Additionally, choosing the right nail lamp and ensuring it provides adequate curing time can significantly enhance the durability of your jelly nails. Proper nail prep procedures can further reduce the risk of lifting and chipping, ensuring your manicure lasts longer. Incorporating sustainable nail products can also help maintain your nails’ health while enjoying your stylish look. Moreover, selecting a best esthetician magnifying lamp can assist in achieving precise application and detailed work, improving overall nail results. Additionally, understanding the importance of proper nail hygiene can help prevent infections that might compromise your manicure.
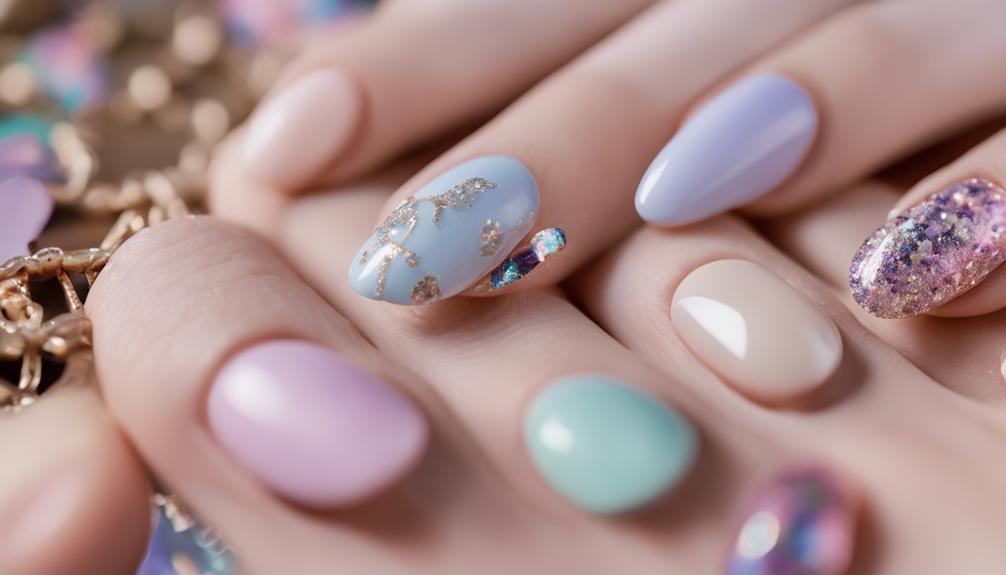
Creative Styles and Tips to Make Your Jelly Nails Stand Out
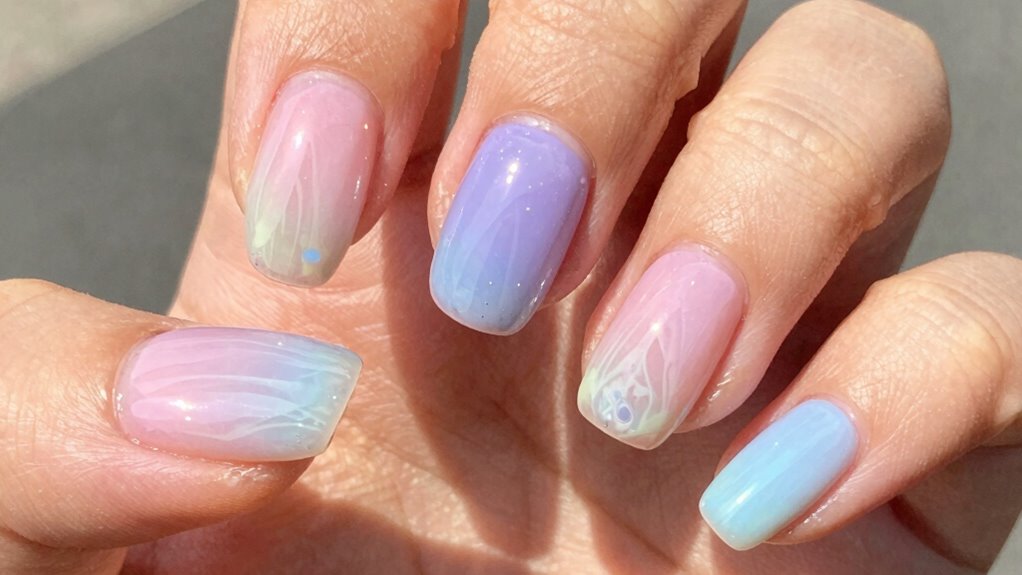
Once you’ve mastered the basics of applying jelly nails, you can start exploring creative ways to make them truly stand out. Play with creative patterns and bold color combinations to add flair. Here are some ideas:
- Use contrasting colors to create eye-catching geometric patterns.
- Incorporate subtle glitter or metallic accents for a touch of shimmer.
- Try ombré effects blending two or more color combinations seamlessly.
- Add small 3D embellishments like tiny charms or decals for extra dimension.
Mix and match these techniques to personalize your look. Experimenting with different patterns and color combinations helps your jelly nails reflect your unique style. Remember, the key is to keep designs simple yet striking, so they highlight the transparent, glossy finish.
Frequently Asked Questions
How Long Do Jelly Nails Typically Last Before Chipping?
Jelly nails typically last around 1 to 2 weeks before chipping, but durability varies based on your maintenance routines. Compared to gel or acrylic nails, they’re less durable, so gentle handling helps. To extend their lifespan, avoid harsh chemicals and wear gloves during chores. Regular touch-ups and applying a top coat can also improve their longevity, keeping your transparent look fresh and chip-free longer.
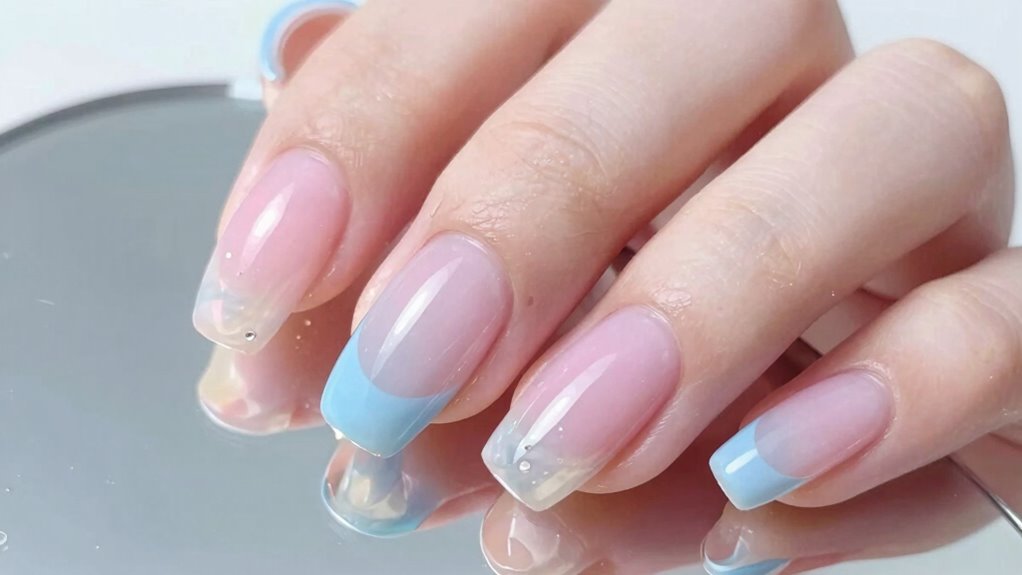
Can I Customize the Transparency Level of My Jelly Nails?
They say “you are what you make of it,” and that’s true for jelly nails too. Yes, you can customize the transparency level of your jelly nails through various customization options, allowing you to control the transparency to match your style. Share your preferences with your nail technician, and they can adjust the pigment or clear layers, giving you the perfect, personalized transparent look.
Are Jelly Nails Suitable for Sensitive Skin and Allergies?
Yes, jelly nails can be suitable for sensitive skin and allergy concerns if you select the right products. Look for hypoallergenic, formaldehyde-free, and odorless gels to minimize reactions. Always check ingredient labels and do a patch test before applying. If you have skin sensitivity or known allergies, consult with a dermatologist or nail technician experienced in allergy-friendly nail products to guarantee your safety and enjoy the transparent look confidently.
How Do I Remove Jelly Nails Without Damaging My Natural Nails?
To remove jelly nails safely, soak a cotton ball in nail polish remover and place it on your nails. Wrap them with aluminum foil and wait about 10-15 minutes. Gently scrub with a soft nail brush or cotton swab to loosen the gel. Avoid forceful scraping to prevent damage. This method minimizes harm to your natural nails while effectively removing the jelly polish.
What Are the Best Cleaning and Maintenance Tips for Jelly Nails?
Remember, maintaining your jelly nails is just like a vintage vinyl—requires care. To keep nail health and salon hygiene in check, clean your nails regularly with gentle, non-acetone remover, avoiding harsh scrubbing. Moisturize cuticles daily, and wear gloves when doing chores. Schedule regular salon visits for professional maintenance, ensuring tools are sanitized. These simple steps will keep your transparent look fresh, shiny, and damage-free, just like a timeless masterpiece.
Conclusion
So, there you have it—your ultimate guide to mastering jelly nails and turning heads. Because who wouldn’t want transparent, smudge-free perfection that screams “I’m effortlessly cool”? Just remember, beauty is pain, patience, or a good top coat. So go ahead, embrace the trend, and maybe, just maybe, resist the urge to pick at those gorgeous, fragile nails. After all, perfection is just a smudge away—literally.