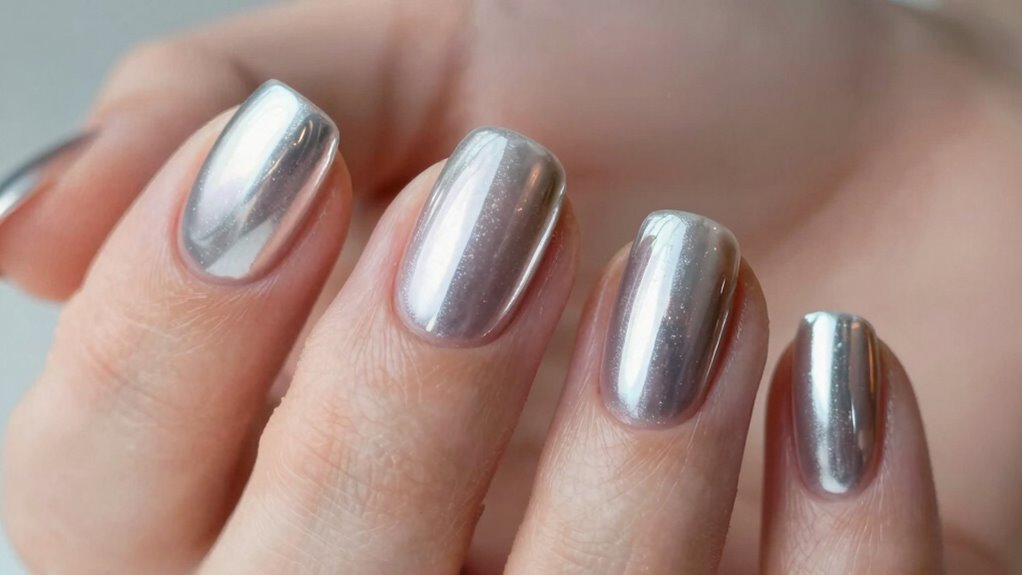
To get streak-free chrome nails, don’t skip proper surface prep. Start by thoroughly cleaning your nails, pushing back cuticles, and buffing the surface with a fine-grit file to smooth out imperfections. Use a dehydrator and primer to make sure good adhesion. Applying thin, even layers of base coat and chrome powder is essential—avoid rushing, as thick coats cause streaks. If you want flawless chrome, pay attention to these details; more tips are just ahead.
Key Takeaways
- Properly prepare nails by thoroughly cleaning, dehydrating, and lightly buffing to create a smooth, oil-free surface.
- Apply thin, even layers of base coat and chrome powder, ensuring each layer is fully dry before proceeding.
- Gently buff the nail surface to remove ridges and create a matte finish, enhancing chrome adhesion and preventing streaks.
- Use soft brushes or tools to remove dust and excess powder, avoiding over-application that causes streaks.
- Seal the chrome with a high-quality, thin top coat, and avoid thick layers to prevent streaking and maintain shine.

COSLUS C40 Electric Nail Drill File Professional: for Acrylic Gel Dip Powder Nails Portable Nail Machine Kit Manicure Pedicure Tools Polishing Set with Nail Drill Bits Sanding Bands
- Versatile Nail Polishing and Removal: Adjustable speeds with 6 drill bits
- User-Friendly Design: Lightweight, pen-shaped, easy to control
- Durable and Quiet Operation: Low noise, low heat, long-lasting motor
As an affiliate, we earn on qualifying purchases.
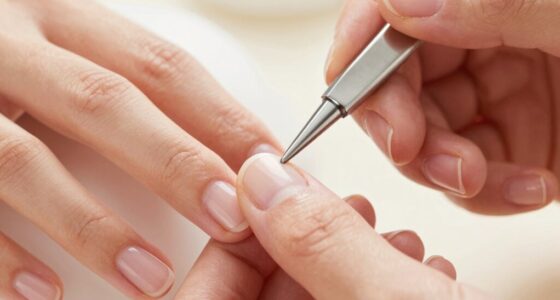
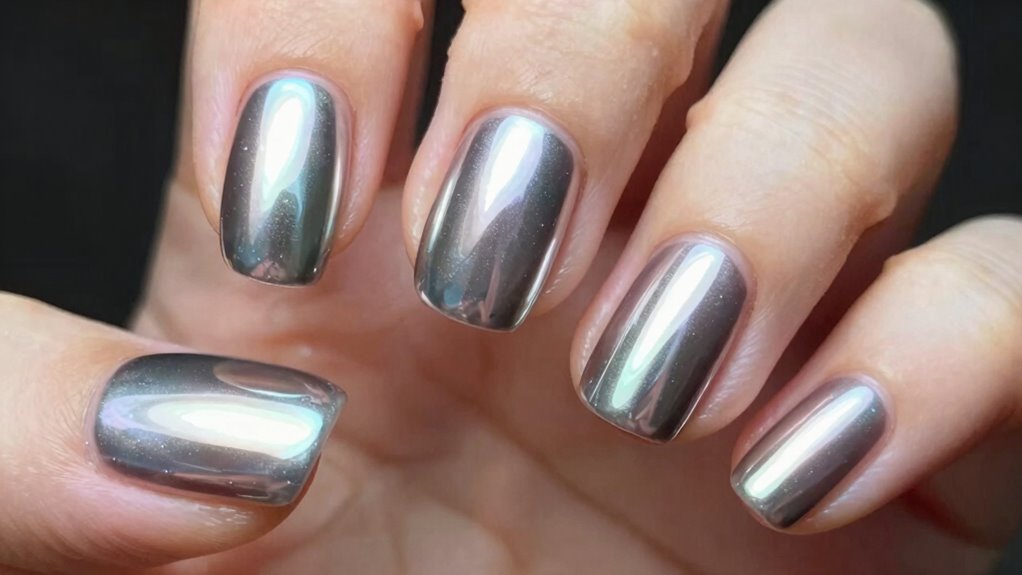
How to Clean and Buff Nails for a Smooth Chrome Finish

Before applying chrome nails, it’s essential to start with clean, smooth nails. Good nail hygiene sets the foundation for a flawless finish. Begin by removing any old polish and washing your hands thoroughly. Gently push back your cuticles to prevent them from interfering with the chrome application, but avoid cutting them, as healthy cuticle care promotes overall nail health. Next, buff your nails lightly with a fine-grit buffer to create a smooth surface. This step helps remove ridges and imperfections, ensuring the chrome adheres evenly. Make sure to clean away any dust or oils afterward, as residue can cause streaks or uneven spots. Proper nail hygiene and cuticle care prepare your nails for a sleek, mirror-like chrome look. Additionally, using a nail primer can further enhance adhesion and prevent streaks during application. Incorporating proper nail prep techniques ensures a longer-lasting, flawless chrome finish. To achieve the best results, consider using a dehydrator to remove any residual oils that could interfere with the chrome layer. Utilizing nail prep methods effectively can significantly improve the overall appearance and durability of your chrome nails, especially when you understand the importance of surface preparation for nail art.
Why Proper Nail Prep Is Essential for Flawless Chrome
Proper nail prep is essential because it guarantees the chrome adheres evenly and lasts longer. When your nails are well-prepped, the finish looks smooth and professional. Start by hydrating your nails with cuticle oil to improve flexibility and prevent cracking. Proper cuticle care removes excess skin that could interfere with the chrome application. Here’s a quick guide:
| Step | Action | Purpose |
|---|---|---|
| Nail hydration | Apply cuticle oil and let soak | Prevents dryness and cracking |
| Buff nails | Smooth surface | Ensures even application |
| Clean nails | Remove oils and dust | Promotes adhesion |
| Cuticle care | Push back cuticles | Creates a clean application edge |
Additionally, nail surface preparation plays a crucial role in achieving a flawless chrome finish. Skipping these steps can lead to streaks, unevenness, and reduced durability of your chrome nails. Ensuring proper nail prep is fundamental for achieving a flawless finish. Using the right nail primer can also enhance the longevity of your chrome nails and prevent chipping. Incorporating proper dehydration techniques can further improve adhesion and overall result.
Applying a Base Coat to Prevent Streaks
Applying a base coat is a key step to achieving a streak-free chrome finish. It creates a smooth foundation, helping your nail prep work pay off. Start by thoroughly cleaning your nails and removing any oils or residue, ensuring the surface is perfect for the base coat. When applying the base coat, use thin, even layers to prevent streaks and bubbles. Allow each layer to dry completely before adding the next. A good base coat fills in minor imperfections and promotes better adhesion of the chrome powder. Skipping this step can lead to uneven application and streaks, ruining the sleek, mirror-like effect you want. Remember, proper nail prep combined with a quality base coat sets the stage for flawless, streak-free chrome nails. A strong foundation is essential for achieving the best possible finish. Ensuring your nails are properly prepped enhances the adhesion of the base coat and overall durability of the manicure. Proper preparation also minimizes the risk of chipping and extends the lifespan of your manicure.
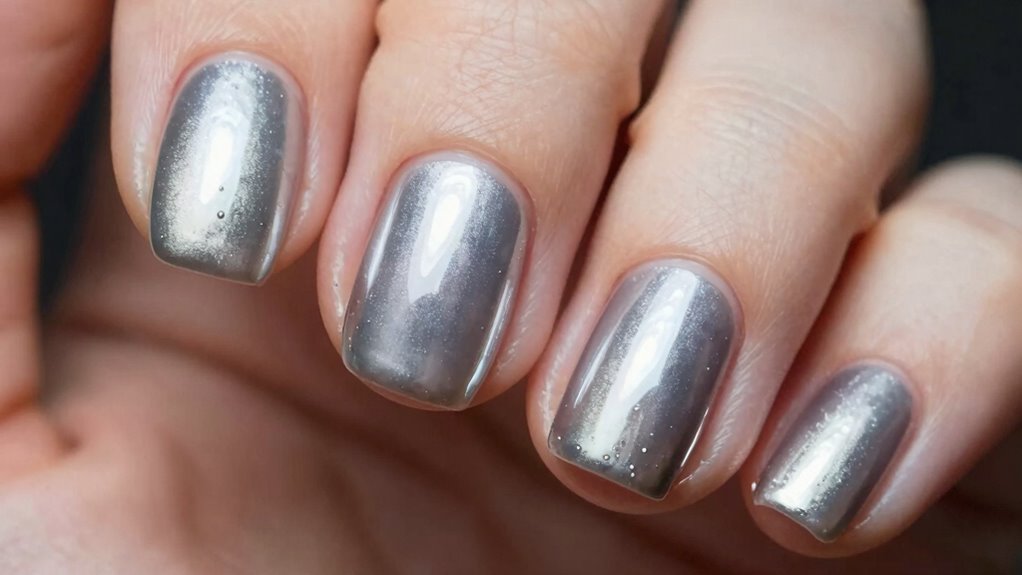
How to Apply Chrome Powder Smoothly Without Bubbles
To apply chrome powder smoothly without bubbles, make sure your nails are completely dry and free of oils before you start. Start by applying a thin, even layer of gel top coat and curing it properly. Once cured, gently buff the surface with a light buffing block to create a slightly matte, smooth surface—this helps the chrome adhere better. Use a soft brush to remove any dust before applying the chrome powder. When applying the powder, press it gently onto the nail with a sponge applicator or fingertip, working in small sections. To achieve a mirror finish, avoid over-application and keep the powder even. Incorporate proper preparation techniques to ensure optimal adhesion and a flawless finish. Ensuring the nail surface is properly prepared is essential for avoiding bubbles and achieving a smooth, reflective chrome look. Additionally, implementing proper curing methods can prevent air bubbles and enhance the durability of the chrome layer. Using the correct application tools can also make a significant difference in achieving a seamless, bubble-free finish. Employing high-quality chrome powder can improve the overall shine and longevity of the manicure. Finish with a no-wipe top coat and cure to seal the chrome for a smooth, bubble-free, reflective surface.
Common Mistakes That Cause Streaky Chrome Nails and How to Fix Them
Streaky chrome nails often result from uneven application or inadequate preparation. One common mistake is neglecting nail hydration; dry, rough nails create an uneven surface that leads to streaks. Before applying chrome powder, make certain your nails are well-moisturized and free of cuticle buildup. Additionally, skipping proper buffing can leave ridges or dips that distort the finish. Always gently buff your nails to smooth out imperfections and hydrate your cuticles to promote a uniform surface. Proper nail surface texture ensures that the chrome adheres seamlessly, resulting in a more polished look. Using high-quality nail prep products can further improve the adhesion and finish of your chrome manicure. Paying attention to nail surface texture and the use of professional-grade primers ensures that the chrome adheres seamlessly, resulting in a more polished look.
Troubleshooting Chrome Nails: Fixing Bubbles and Bubbles
Bubbles can ruin the smooth finish of your chrome nails, but identifying their causes helps you fix them quickly. Make sure you’re applying your polish correctly and avoiding common mistakes that trap air or moisture. With the right techniques, you can correct bubbles and achieve a flawless, streak-free chrome look.
Identifying Bubble Causes
Bubbles on chrome nails often indicate an issue with the application process or materials used. Air bubble formation is a common cause, usually resulting from trapped air during the layering or curing process. To identify the cause, check your polish consistency—if it’s too thick or too thin, it can lead to uneven application and bubbles. Thick polish tends to trap air, while overly runny polish may not adhere smoothly, causing air pockets. Also, consider if you’re applying the layers too quickly or not allowing enough drying time between coats. Properly inspecting your polish’s viscosity before application helps prevent these issues. Additionally, understanding Free Floating techniques can help you achieve a seamless look without bubbles or streaks. Ensuring your workspace has proper airflow and humidity control can also reduce the likelihood of bubble formation during application.
Proper Application Techniques
To achieve a smooth, bubble-free chrome finish, it’s vital to follow proper application techniques carefully. Start with well-hydrated nails, as dry nails can cause uneven application and bubbles. Before applying polish, guarantee your nails are clean and free of oil or residue. Proper polish storage is essential; keep your chrome polish in a cool, dark place to prevent thickening or separation, which can lead to bubbles during application. When applying, use thin, even coats to avoid trapping air. Avoid shaking the bottle vigorously—roll it gently instead. Work swiftly but carefully, making sure each layer smooths out completely before adding the next. These steps help prevent bubbles and create a flawless, streak-free chrome finish.
Correcting Bubbles Effectively
When bubbles appear in your chrome nails, acting quickly can save your manicure from starting over. First, gently press down on the bubbles with a clean brush or toothpick to release trapped air. If the bubbles are stubborn, use a small amount of acetone or nail polish remover around the affected area to smooth out the surface carefully. Avoid reapplying thick layers, which can trap more bubbles. For nail art enthusiasts, fixing bubbles ensures your design trends stay sleek and professional-looking. After smoothing, reapply a thin layer of chrome polish or topcoat to restore the shiny, reflective finish. Remember, patience and precision are key. Correcting bubbles promptly prevents uneven textures and keeps your nails looking flawless and on-trend.
Sealing and Protecting Your Chrome Nails for Lasting Shine
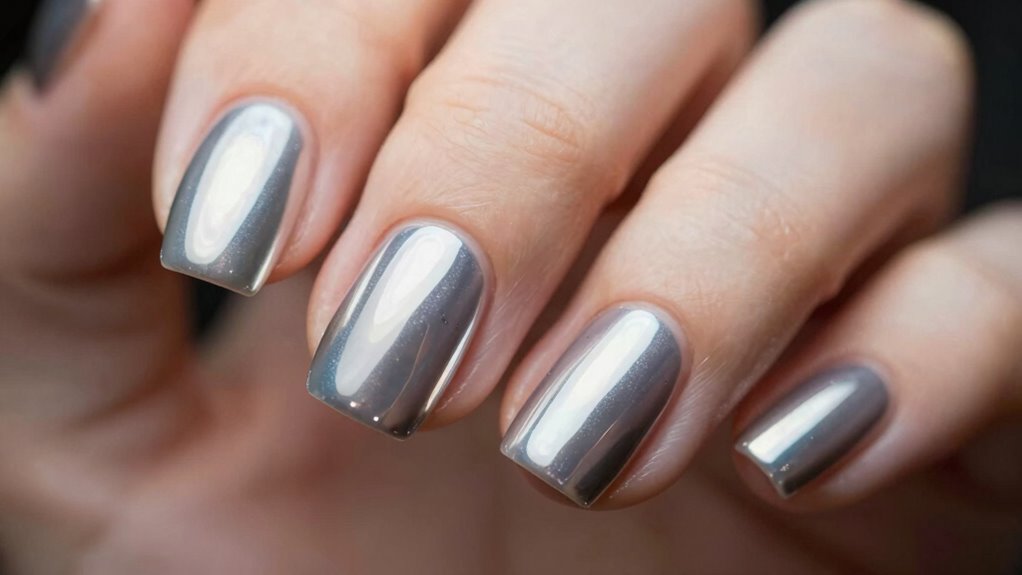
Sealing and protecting your chrome nails is essential to maintain their mirror-like shine and prevent chipping or fading. Start by ensuring your nails are well-hydrated; this keeps the surface smooth and reduces breakage. Proper cuticle care also plays a crucial role, as healthy cuticles support strong, resilient nails. Once your nails are hydrated and cuticles are neat, apply a clear top coat specifically designed for chrome finishes. This protective layer seals in the shine and guards against scratches and environmental damage. Avoid using harsh chemicals or abrasive tools that can dull the finish. Regularly reapply a lightweight top coat to preserve the glossy look and extend the longevity of your chrome manicure. Proper sealing and protection are key to keeping your nails looking flawless and vibrant.
Tips to Maintain Your Perfect Chrome Nails at Home
To keep your chrome nails looking perfect at home, start with proper surface preparation to guarantee smooth application. Apply thin coats of polish to prevent streaks and achieve an even finish. Don’t forget to seal and maintain your nails regularly to preserve their shine and durability.
Proper Surface Preparation
Achieving flawless chrome nails starts with properly preparing your nail surface. Good nail hygiene is essential to remove oils and dirt that can hinder surface adhesion. Start by cleaning your nails with a gentle, alcohol-based nail cleanser. Gently buff the surface to smooth out ridges and create a better grip for the chrome. Avoid over-buffing, which can weaken nails. Be sure your nails are completely dry before applying any product. Proper surface preparation ensures your chrome stays streak-free and long-lasting. Here’s a quick visual guide:
| Step | Purpose |
|---|---|
| Clean with alcohol wipe | Remove oils and dirt |
| Light buffing | Smooth surface for better adhesion |
| Dry nails | Prevent moisture from affecting finish |
| Avoid cuticle oil | Prevent interference with adhesion |
| Final wipe with alcohol | Ensure a clean, dry surface |
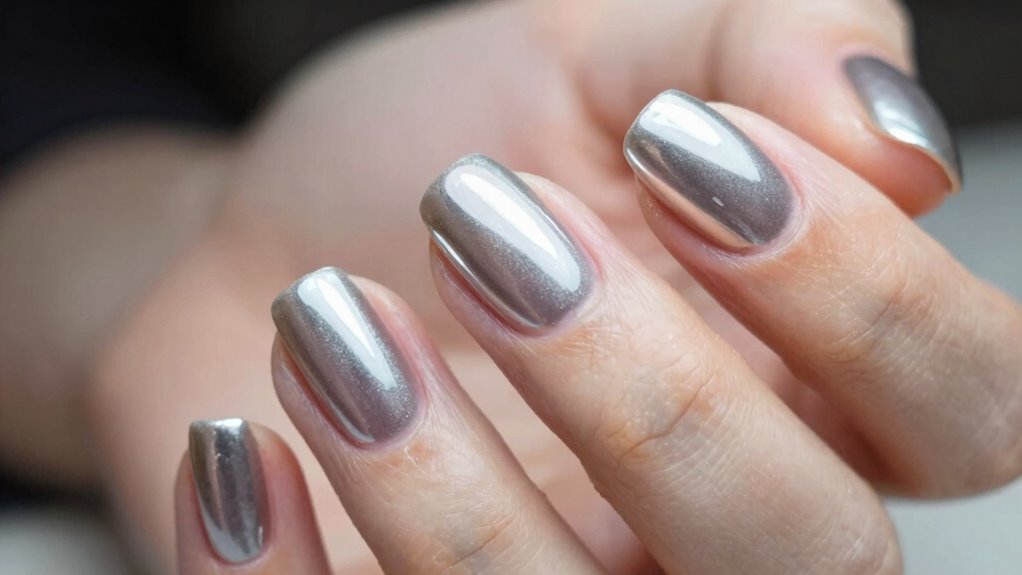
Applying Thin Coats
Applying thin coats is crucial to achieving a smooth, streak-free chrome finish that lasts. When you apply thin layers, the polish dries evenly, preventing bubbles and uneven texture. Before starting, confirm your nails are well-hydrated; healthy nails help the polish adhere better and reduce chipping. Proper cuticle care is also essential—push back or gently remove excess cuticles to create a clean surface. Use a good-quality brush and avoid overloading it with product; instead, dab a small amount and spread it evenly across your nail. Patience is key—allow each coat to dry completely before applying the next. By focusing on thin, even coats, you’ll achieve a flawless, mirror-like chrome finish that stays stunning longer.
Sealing and Maintenance
Once your chrome nails look flawless after applying thin coats, the next step is to protect and maintain that stunning finish. Sealing your nails with a high-quality, clear top coat helps prevent chipping and keeps the chrome looking shiny longer. Be mindful of nail health by avoiding harsh chemicals and giving your nails regular breaks from polish. When using UV lamps for curing, prioritize UV safety by applying a broad-spectrum sunscreen to your hands or wearing UV-protective gloves with fingertips cut out. Proper sealing not only preserves the mirror-like effect but also shields your nails from damage. Consistent maintenance, gentle handling, and UV safety practices ensure your chrome nails stay striking and healthy for as long as possible.
Frequently Asked Questions
Can I Use Regular Nail Polish Instead of Chrome Powder?
You can’t use regular nail polish instead of chrome powder for a true chrome finish, as they aren’t compatible. Nail polish doesn’t have the reflective qualities needed, and chrome powder requires a special base for it to adhere properly. Instead, look for chrome powder alternatives like metallic or mirror-effect polishes, but keep in mind they won’t give the same high-shine, streak-free finish. Always check nail polish compatibility before attempting chrome nail art.
How Long Does a Chrome Manicure Typically Last?
Did you know that a well-done chrome manicure can last up to two weeks? Typically, the longevity depends on nail care and application quality. If you follow proper nail prep and use a strong top coat, you’ll enjoy the full chrome durability, keeping those shiny nails looking fresh longer. Expect your chrome nails to stay flawless for about 7 to 14 days, but proper maintenance can help extend their vibrant, streak-free shine.
Is It Safe to Apply Chrome Nails at Home?
Yes, you can safely apply chrome nails at home if you prioritize nail health and chemical safety. Use high-quality, non-toxic products and follow instructions carefully. Make sure your nails are clean and well-prepped to avoid damage. Ventilate your space during application to minimize inhaling fumes. Regularly moisturize your cuticles afterward to maintain nail health. If you’re unsure, consult a professional to ensure you’re using safe, effective techniques.
What Tools Are Necessary for Professional Chrome Nail Application?
Imagine you’re wielding a knight’s lance—your tools are just as crucial. For professional chrome nail application, you need a high-quality chrome powder, a gel base, a UV/LED lamp, and a fine brush for application techniques. Make certain your tools stay clean and well-maintained to prevent streaks. Proper tool maintenance guarantees flawless, streak-free chrome nails. Keep your tools sharp and sanitized, and you’ll achieve that mirror-like finish every time.
How Do I Remove Chrome Nails Without Damaging My Natural Nails?
To remove chrome nails without damaging your natural nails, start with gentle removal techniques like soaking a cotton ball in acetone and wrapping it with foil. Avoid aggressive scraping, which can harm nail health. Instead, let the acetone break down the chrome, then carefully lift it. Always nourish your nails afterward with cuticle oil and moisturizer to maintain healthy, strong nails.
Conclusion
Did you know that properly prepping your nails can increase the longevity of your chrome finish by up to 50%? Skipping steps like cleaning, buffing, and applying a base coat might save time but can lead to streaks and bubbles. By following these simple tips, you’ll achieve a sleek, flawless chrome look that lasts. Invest a little extra effort now, and you’ll enjoy stunning nails that turn heads for weeks to come.