
Foil nail art is a simple way to add shiny, metallic accents to your manicure with minimal effort. Start by prepping your nails with a base coat and choosing a base color that makes the foil pop. Apply a special adhesive or transfer gel, then press the foil onto your nails where you want metallic details. Seal with a clear top coat for durability and extra shine. Keep watching to discover more tips and creative ideas to elevate your foil nail designs.
Key Takeaways
- Prepare nails with clean, buffed surfaces and a base coat to ensure proper adhesion for foil application.
- Apply a special adhesive or foil transfer gel before pressing foil onto desired areas for metallic accents.
- Press metallic foil onto nails, then lift to reveal shiny, reflective designs; layer different colors for added depth.
- Seal the foil design with a clear top coat to protect against chipping and enhance shine and durability.
- Combine foil with other techniques like stamping or hand-painting for customized, eye-catching nail art looks.
Foil nail art has become a popular way to add a striking, metallic finish to your manicure. It’s an easy yet eye-catching method to elevate your look with minimal effort. When you choose foil nail art, you’re opting for a style that instantly draws attention through its shiny, reflective surface. The key to a stunning metallic effect lies in the use of metallic accents, which can be applied in various ways to make your nails stand out. Whether you prefer a full foil coverage or subtle touches, foil nail art allows you to experiment with different metallic styles that suit your mood or occasion.
Getting started with foil nail art is simple. First, you need to prepare your nails by cleaning and buffing them, ensuring a smooth surface for the foil to adhere properly. Applying a base coat helps protect your nails and enhances the longevity of your design. Once the base is set, you can choose a base color, often a dark or neutral shade, to make the metallic accents pop even more. After the base color dries, you’ll apply a special adhesive or foil transfer gel, which acts as the glue for the metallic foil pieces. While it might sound complicated, the process is straightforward and forgiving for beginners.
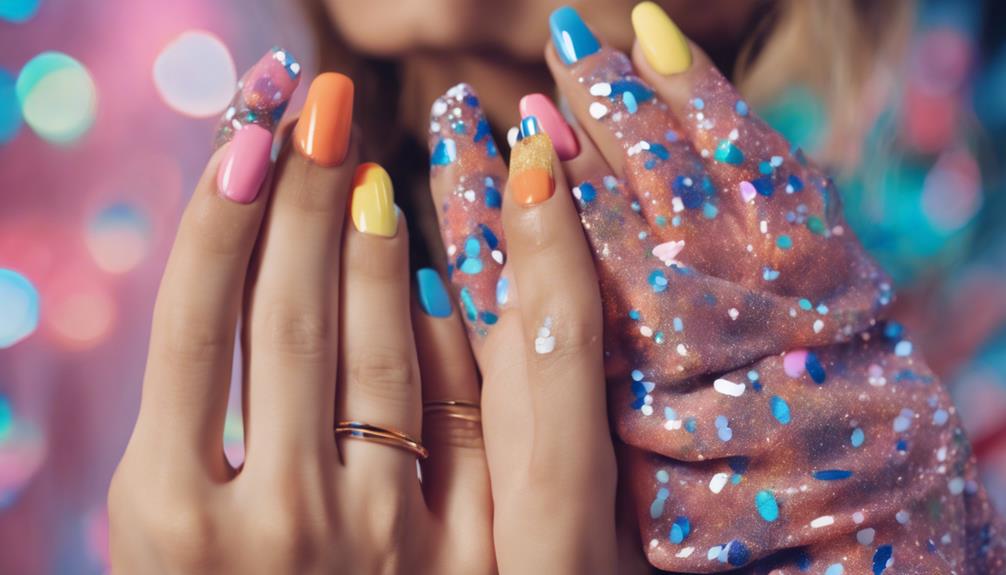
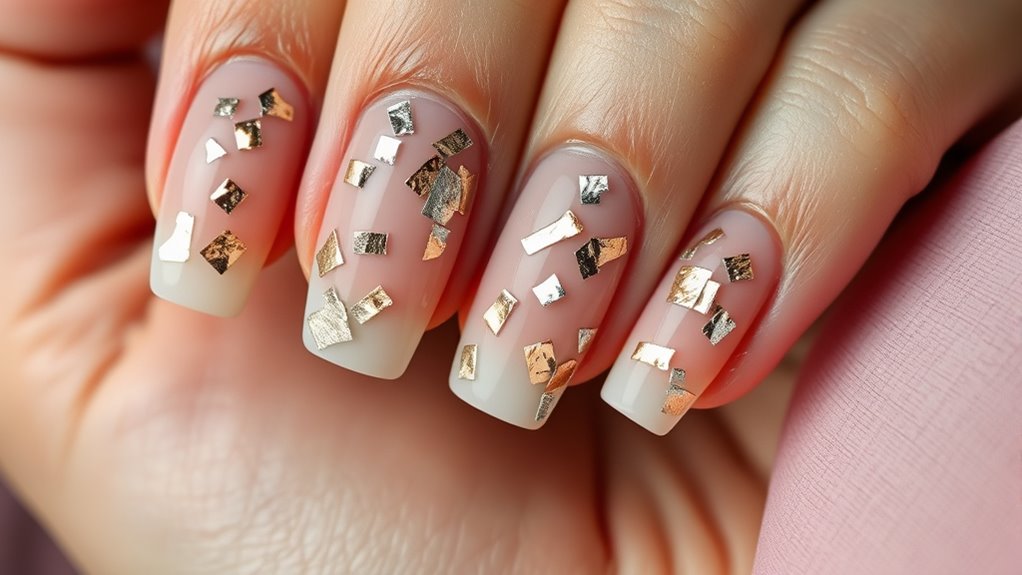
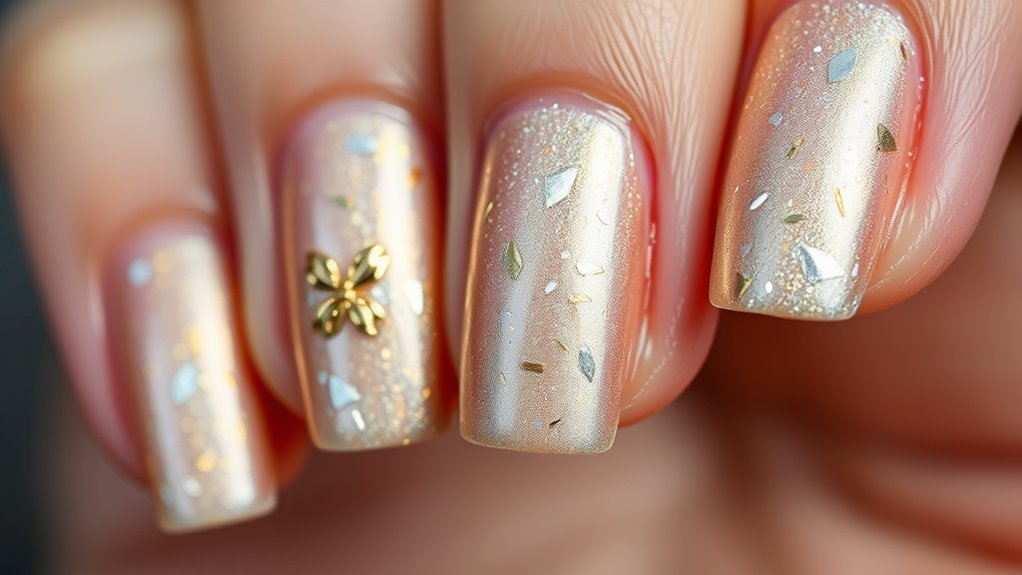
Next, you press the foil onto your nails where you want the metallic accents to appear. You can cover entire nails for a bold, mirror-like effect or create patterns and shapes for a more intricate design. When you lift the foil, the metallic layer sticks to the adhesive, revealing a shiny, reflective surface. You can also layer different colors of foil to add depth and dimension. To seal in your design and prolong its wear, finish with a clear top coat. This not only protects the metallic accents from chipping but also enhances their shine. Incorporating protective styling benefits can help your manicure last longer and stay vibrant.
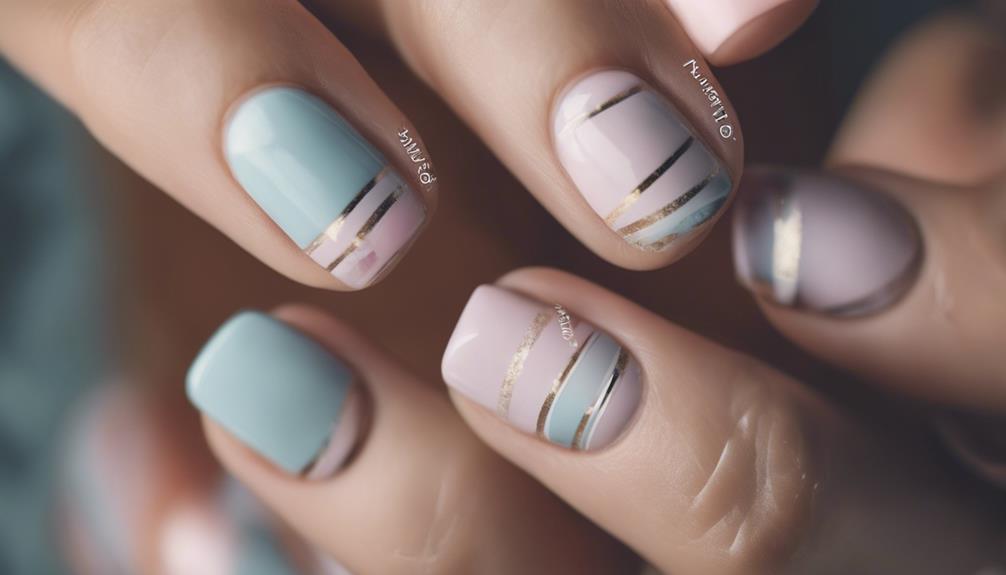
Foil nail art offers endless possibilities for creativity. You can combine it with other nail art techniques like stamping or hand-painting for added flair. The metallic accents can be subtle, like a single strip down the nail, or bold, covering the entire nail for a statement look. It’s perfect for special events or when you want your nails to make a statement. Plus, foil nail art is versatile enough to match any outfit or mood. Whether you’re going for a chic, understated style or a glamorous, bold statement, metallic accents through foil nail art give you a quick and effective way to transform your manicure into a true work of art.

Duufin 300 Sheets Nail Foils Nail Art Transfer Foil Stickers Laser Flower Color Sheet Adhesive Stickers Paper Starry Sky Stars Black White Lace Design for Nail Art DIY Decoration
Large quantity: 300 sheets colorful nail foils transfer stickers in different design, laser, flowers, starry sky, leopard, petal,…
As an affiliate, we earn on qualifying purchases.
As an affiliate, we earn on qualifying purchases.
Frequently Asked Questions
How Long Does Foil Nail Art Typically Last?
Foil nail art usually lasts about a week to ten days, depending on durability factors like your nail health and daily activities. To extend its lifespan, avoid harsh chemicals, wear gloves during chores, and apply a top coat every few days. Proper maintenance tips, like gentle handling and moisturizing your cuticles, help prevent chipping or peeling, ensuring your metallic accents stay shiny and beautiful longer.
Can Foil Nail Art Be Removed Easily?
Yes, foil nail art can be removed easily using simple removal methods like soaking a cotton ball in acetone and pressing it on your nails. You should be aware of durability concerns, as foil can lift or peel over time, making removal easier or more challenging depending on how well it’s adhered. To prevent damage, avoid forceful peeling and opt for gentle soaking, which preserves your natural nails.
Is Foil Nail Art Suitable for Sensitive Skin?
Foil nail art can be suitable for sensitive skin if you choose products with hypoallergenic ingredients. Always check labels to guarantee the foil and adhesives are free from irritants. If you have skin sensitivity, do a patch test first to avoid reactions. Using gentle, dermatologist-approved nail products can help you enjoy metallic accents without discomfort, making foil nail art a safe and stylish choice for sensitive skin.
What Are the Best Topcoats for Foil Nail Designs?
You should choose a high-quality, clear topcoat with excellent durability factors to protect your foil nail design. Look for topcoats that provide a glossy finish, enhance the metallic sheen, and resist chipping and peeling. Fast-drying formulas are also beneficial, ensuring your metallic accents stay smooth and vibrant longer. Applying a good topcoat seals in the foil and keeps your design looking fresh and shiny for days.
Can Foil Nail Art Be Done at Home Without Special Tools?
Yes, you can do foil nail art at home without special tools. With simple DIY techniques, you just need foil sheets, a base coat, and a clear topcoat. No fancy tools are necessary—use a small piece of foil pressed onto a sticky nail polish layer, then smooth it out. Finish with a topcoat to seal the design. This makes creating metallic accents easy and budget-friendly for your at-home manicure.
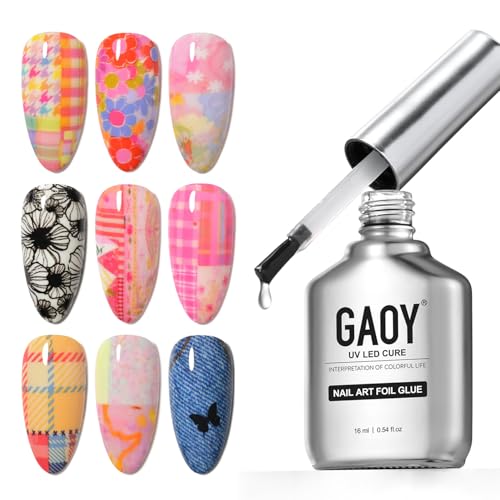
GAOY 16ml Nail Foil Glue, High Adhesion Foil Transfer Gel for Nail Art Stickers, Soak Off UV Light Cure Gel Nail Polish
Foil Glue: Easily and quickly transfer various foil sticker designs like leopard, flowers, lines, etc. The transferred pattern…
As an affiliate, we earn on qualifying purchases.
As an affiliate, we earn on qualifying purchases.
Conclusion
Now that you’ve learned how to add stunning metallic accents with foil nail art, aren’t you excited to try it out yourself? Imagine the compliments you’ll receive as you showcase your unique, eye-catching design. With just a little practice, you can transform any manicure into a dazzling masterpiece. So, why not embrace your creativity and let your nails reflect your bold personality? After all, isn’t life too short for boring nails?

Glamonade Top Coat Nail Polish Clear: Quick Dry Nail Polish No Chip High Shine Long Lasting Glossy Fast Air Dry Top Coat for Nail Art Manicure Salon Quality
Quick Dry Top Coat: Experience the convenience of our quick dry top coat. Fast drying nail polish efficient…
As an affiliate, we earn on qualifying purchases.
As an affiliate, we earn on qualifying purchases.

MWOOT 10 Rolls Metallic Color Holographic Nail Foil Transfer Sticker Set, Starry Sky Manicure Kit (Gold, Silver, Rose Gold, Red)
As an affiliate, we earn on qualifying purchases.
As an affiliate, we earn on qualifying purchases.