To customize press-on nails at home, start by choosing the right sizes for a perfect fit and smooth out any rough edges. Clean your natural nails thoroughly to guarantee better adhesion. Get creative with nail art by adding stickers, metallic accents, or painting intricate designs. Apply the press-ons carefully, press firmly, and seal with a top coat for extra durability. Keep practicing, and you’ll soon master creating stylish, personalized manicures—there’s plenty more to explore below.
Key Takeaways
- Select the correct nail sizes and smooth edges for a natural, comfortable fit.
- Use nail art tools like stickers, decals, or stamping kits to personalize designs.
- Apply press-ons with adhesive or nail glue, pressing firmly for secure adhesion.
- Seal designs with a clear top coat to enhance durability and add shine.
- Practice proper hygiene and precise application techniques for a professional-looking finish at home.
Have you ever wanted a quick, affordable way to achieve salon-worthy nails at home? If so, press-on nails are your best bet. These handy accessories have surged in popularity because they offer a simple solution for stunning nails without the need for appointments or expensive salon visits. With the right approach, you can customize press-on nails to match current nail art trends and create a look that’s uniquely yours. Plus, with some DIY manicure tips, you can make your press-ons look professionally done and last longer.
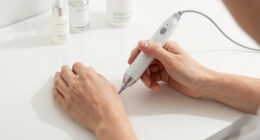
Start by choosing the right size for each nail. Most press-on sets come with a variety of sizes, so take your time to find the perfect fit for each finger. This step is vital because well-fitted nails look more natural and stay on longer. Once you’ve selected your sizes, gently file the edges to smooth out any roughness and ensure a snug fit. Before applying, clean your natural nails thoroughly to remove oils and dirt. This helps the adhesive stick better and prolongs wear. Proper nail hygiene also reduces the risk of infections and keeps your nails healthy.
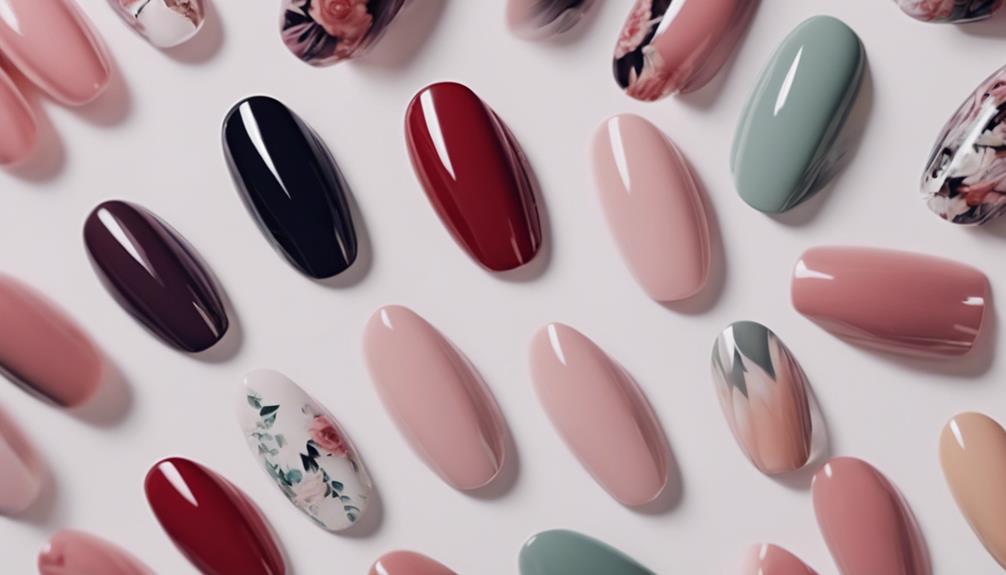
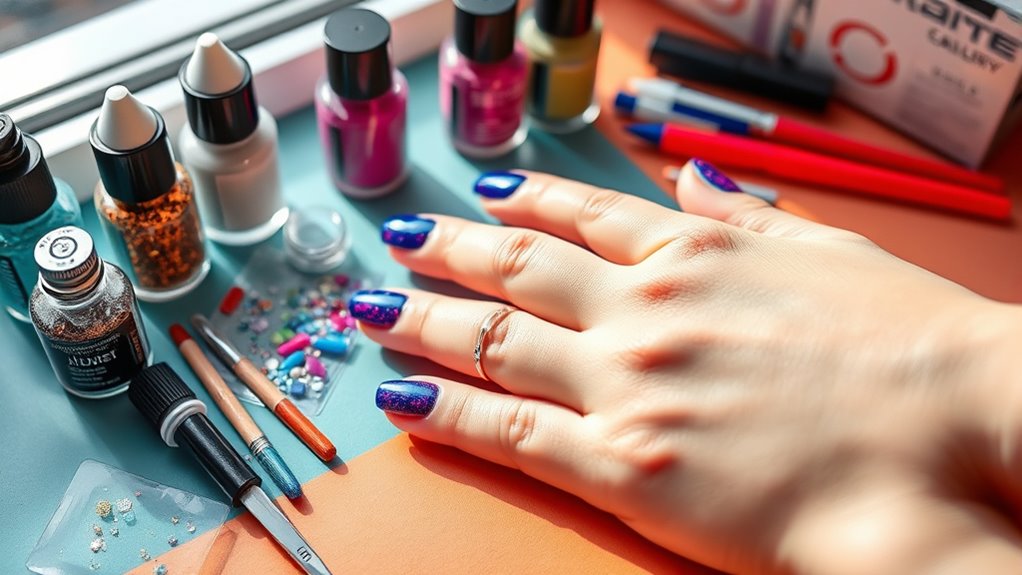
Now, it’s time to personalize your press-ons. Nail art trends are constantly evolving, and you can incorporate them into your DIY manicure tips to make your nails stand out. Consider using nail stickers, metallic accents, or small decals to add flair. You can also paint intricate designs or use stamping kits for detailed patterns. For a trendy look, experiment with negative space designs or minimalist accents. The key is to be creative—press-on nails provide a blank canvas that’s perfect for experimenting with different styles.
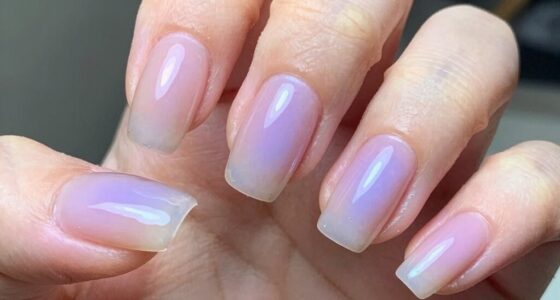
Applying the press-on nails is straightforward. Peel off the adhesive backing or apply a small amount of nail glue to the underside of the press-on, then position it carefully over your natural nail. Press down firmly for about 10-15 seconds to secure. Avoid rushing this step; proper application guarantees they stay put longer. To finish, file the edges lightly to blend the press-ons seamlessly with your natural nails and remove any sharp corners.
For a professional-grade look, seal your design with a clear top coat. This adds shine, protects your nail art, and extends the lifespan of your press-ons. Remember, the more you practice, the better your results will be. With patience and a bit of creativity, you can achieve stunning, customized nails at home that rival salon manicures. Whether you’re trying out a new nail art trend or just want a quick beauty boost, press-on nails are an easy, versatile solution you’ll love.
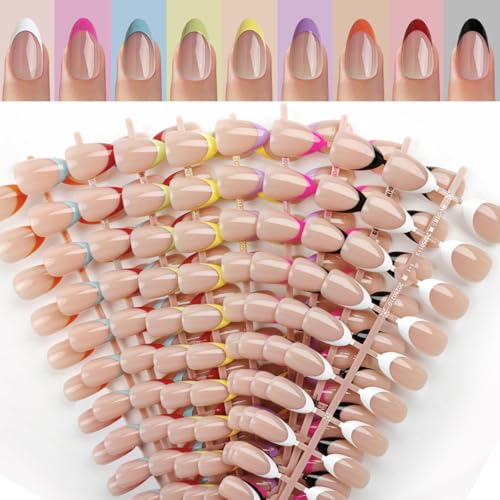
216 Pcs French Tip Press on Nails Kit – 9 Color Short Almond False Nails in 12 Sizes, Reusable Full Cover Glossy Manicure Set for Women
Package contents: You will receive a complete manicure set featuring 216 French tip nails in 9 stylish colors,…
As an affiliate, we earn on qualifying purchases.
As an affiliate, we earn on qualifying purchases.
Frequently Asked Questions
How Long Do Press-On Nails Typically Last?
Press-on nails typically last about a week to ten days, depending on your nail polish longevity and adhesive durability. If you use a strong adhesive and avoid activities that cause chipping, they can stay intact longer. You should also apply a top coat to extend their wear. Keep in mind that factors like nail oil or water exposure can affect how long your press-on nails stay looking fresh and secure.
Can I Reuse Press-On Nails After Removal?
Yes, you can reuse press-on nails after removal if you take proper care. First, gently remove any residual nail polish or nail art application, then clean and buff the nails to restore their surface. Make sure they’re free of dirt and oils. Use compatible nail polish if you want to add new designs. Store them in a safe place, and reapply with nail glue for a secure fit.
Are Press-On Nails Safe for Sensitive Skin?
About 10% of people report allergic reactions or skin irritation from press-on nails, so they can be risky for sensitive skin. If you have allergies or easily irritated skin, you should look for hypoallergenic options and do a patch test first. Always remove press-on nails carefully and monitor your skin for any signs of discomfort. If irritation occurs, remove the nails immediately and consult a dermatologist.
What’s the Best Way to Remove Press-On Nails?
To remove press-on nails safely, start with gentle nail prep by soaking your nails in warm, soapy water to loosen the adhesive. Then, gently lift the edges, avoiding force. Use an adhesive remover or acetone-based polish remover to dissolve the glue, and gently push off the nails. Always be patient, and avoid ripping to prevent damage to your natural nails. Finish with moisturizing to keep your nails healthy.
How Do I Ensure a Perfect Fit for My Nails?
To guarantee a perfect fit for your press-on nails, start by nail shaping your natural nails to a smooth, even surface. Measure and select the right size for each nail to avoid gaps. Use high-quality adhesive choices suited for your nails, and apply them evenly. Press the nails firmly for a few seconds, ensuring they bond well. This careful approach guarantees a comfortable, natural look and long-lasting wear.

VOTACOS Flower Nail Art Stickers – 5D Embossed, Spring/Summer Daisy Designs, Self-Adhesive Decals for Women's Nail DIY Decoration
【Package Contain】You will get 4 sheets flower nail stickers & 1 nail tweezers,large number of different patterns for…
As an affiliate, we earn on qualifying purchases.
As an affiliate, we earn on qualifying purchases.
Conclusion
With press-on nails, you can customize your look quickly, easily, and affordably. You can experiment with different styles, switch designs often, and express your personality boldly. You can create a polished, professional finish, a fun, playful vibe, or anything in between. You can save time, save money, and have fun. Press-on nails give you the freedom to change, the confidence to shine, and the joy of truly making your nails your own every single day.

Saviland French Tip Nail Stamp: 4PCS Nail Art Stamper Kit Clear Silicone Nails Stamping Long & Short Jelly Stamper with Scrapers Nails Stamper Kit for French Manicure Home DIY Salon
Jelly Nail Art Stamper Kit: Saviland nail stamper kit contains 2pcs long & short jelly nail stampers and…
As an affiliate, we earn on qualifying purchases.
As an affiliate, we earn on qualifying purchases.

Sally Hansen Insta-Dri®, Dries Instantly Top Coat, Quick Dry, Long Lasting, Streak-Free Shine, Clear Nail Polish
EASY TO USE – Apply 1 coat over dry nails for a shiny finish
As an affiliate, we earn on qualifying purchases.
As an affiliate, we earn on qualifying purchases.